In this assignment the goal is to insert virtual objects into real pictures. We do that by first creating an HDR image of the scene combining several LDR images. In the middle of this scene we place a spherical mirror which is a quick way to capture the light in the environment. In the end we render synthetic objects into the photograph and use the HDR picture as an environment map to illuminate the virtual models.
Part 1: Converting exposures into a single HDR radiance map
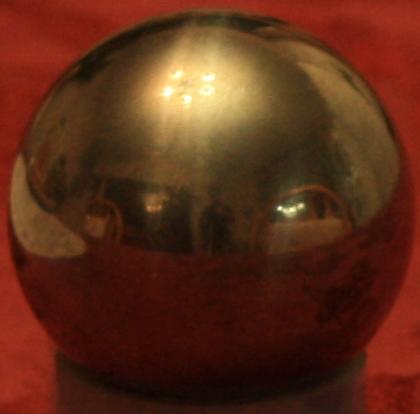
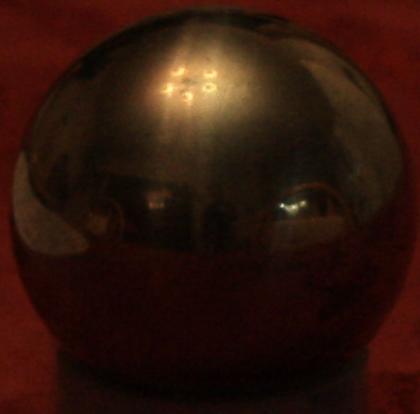
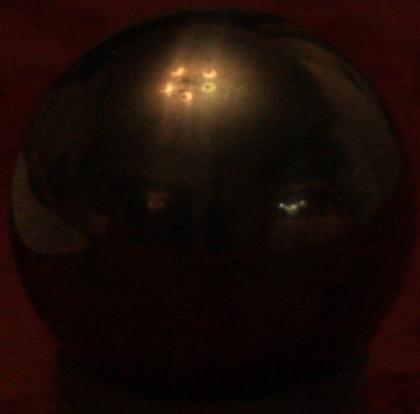
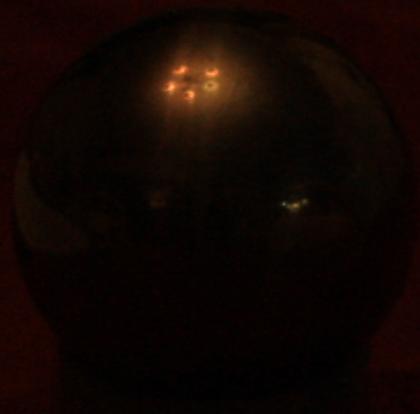
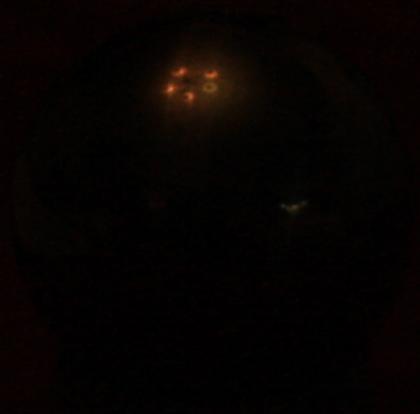
The first part of the assignment consisted of taking pictures of a static scene with different time exposures. For this I used a Canon 1000D with a tripod and use a metalic ball borrowed from the professor. Bellow we can see one example of pictures taken from the top of a table.
In the sequence we have to recover the luminous energy that each pixel stored during its exposure to the environment. We cannot recover it directly by sampling the LDR pictures because the camera itself handled the data in order to make it more similar to what humans would perceive if they saw the scene captured by the photo. So assuming this process (together with the characteristic curve of the film) is the function $f$, we can recover the exposure $X$ from the intensity $Z$ by solving $X = f^{-1}(Z)$. Moreover, since the exposure $X$ is actually the product of scene radiance (which is unkown) and exposure duration (which is known), we solve for the log of exposure values to make it linear. This is only possible since we will reconstruct $ln(f^{-1})$ in the discrete interval [0,255]. This lead us to the following formulation:
Now to recover the value of the function $ g(Z_{ij}) = ln(f^{-1}(Z_{ij})$ for pixel $i$ in image $j$ we can construct a system of linear equations where $Z_{ij}$ and $\Delta t_j$ are known. For that we randomly chose some pixels and take their intensity and exposure times on all images in the sequence. So for example if we pick 4 pixels and we have 5 images we will have 20 equations that will give us the value of $g$ given the intensities of the 4 pixels at different exposures.
Since this approach uses the pixel intensities directly we have to account for saturated values like 0 and 255. To go around this issue we can give weights to each sampled pixel regarding its intensity. In this assignment I used the indicated MATLAB function
w = @(z) double(128-abs(z-128)) which gives the maximum weight for a pixel that has intensity of 127.5 and linearly goes to zero as it approches the extreme values.
After preparing the system of linear equations we have an overdetermined system, which can be solved with SVD, for example. The result will be the value of $g$ for all discrete values in the interval [0,255]. To recover the radiance for the pixel located at $i,j$ and channel $c$, it suffices to compute the equation 6 from Debevec's
paper, which can be translated to MATLAB notation as
Radiance(i,j,c) = exp(sum(w(Z_R).*g(Z_R+1)-B,2)./sum(w(Z_R),2)) where
w is the weight function,
Z_R is a vector with the intensity of the pixel for each exposure and B is a vector with the exposure related to each picture. Bellow we can see the function $g$ and the resulting radiance map from the same sequence shown above, which were generated using the MATLAB function
imagesc.
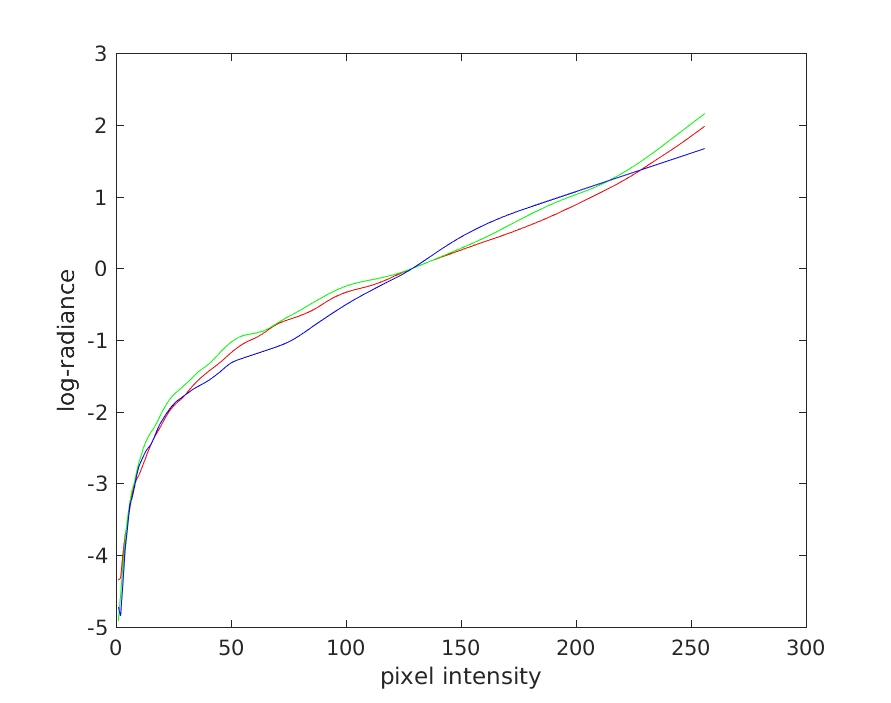
Function $g$ using 300 pixels and lambda = 50.
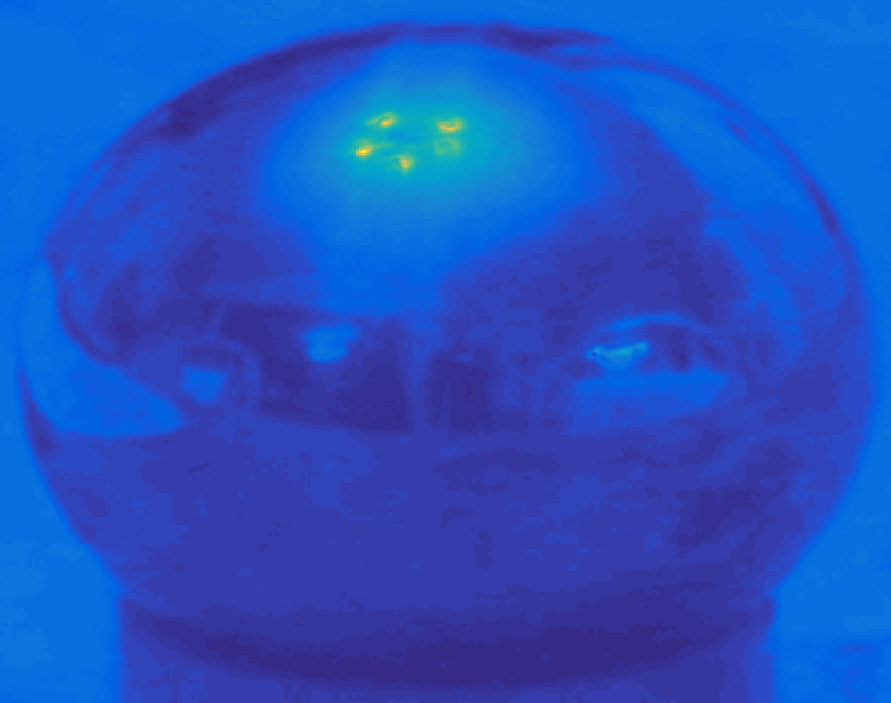
Recovered radiance for the color Red.

Recovered radiance for the color Green.

Recovered radiance for the color Blue.
Part 2: Rendering synthetic objects into photographs
Here the goal is to use Blender to render a synthetic model in a photograph and use the HDR image as an environment map. For that I implemented the differential rendering technique as suggested in the assignment. In MATLAB the technique can be described as
composite = M.*R + (1-M).*(I + (R-E).*c) where
R is the rendered image with objects and local scene geometry,
E is the rendered scene without objects,
I is the background and
M is a mask outlining the objects position in the image.
c is a constant to modulates the lighting effects of the inserted models.
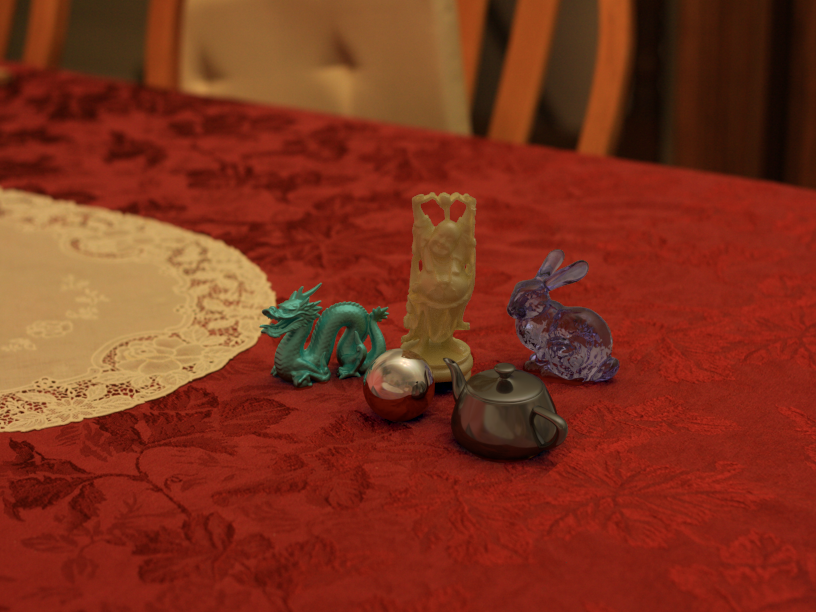
My first render uses the same objects with the same properties as the file provided by the assignment. The table was modeled as a plane with diffuse BSDF. But finding the good color for the table was really difficult since I could not find any single color that matched the whole variation of red the fabric presented. For any color I picked it was easy to see the discontinuity in the mirror ball, so I decided to use the background image as a texture (actually a crop of it with a projective transformation using TP4) to the plane following
this simple tutorial. Another advantage of using texture is that the reflection (specially in the mirror ball) looks more realistic than assigning just one color to the plane.
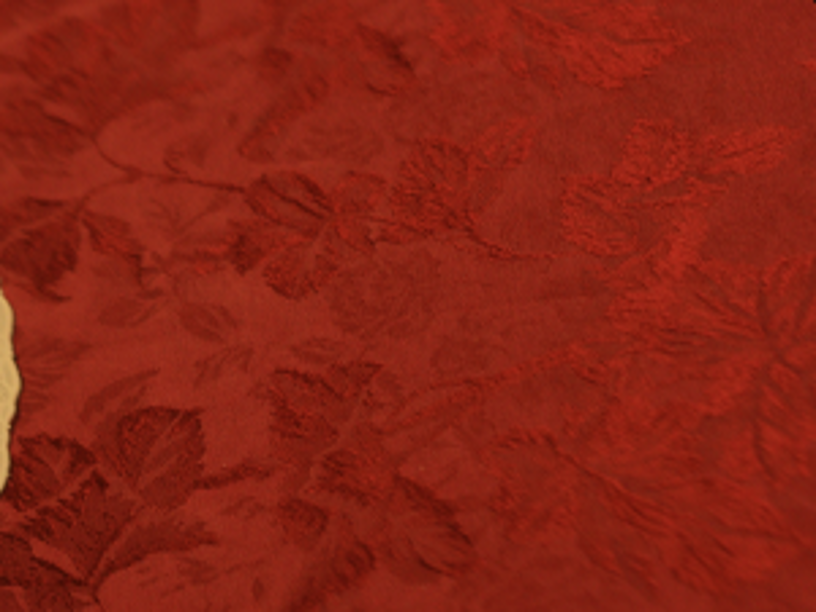
Texture used for the plane.
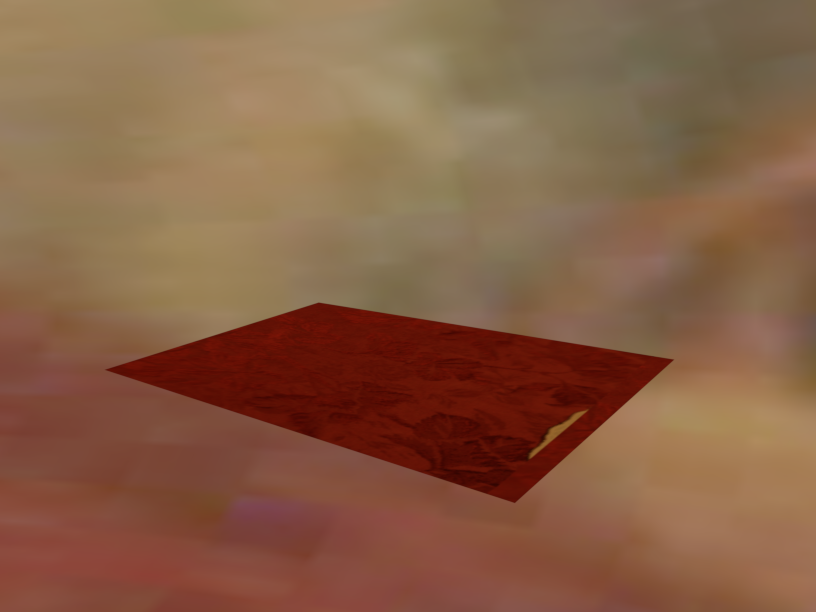
Rendered image without objects.
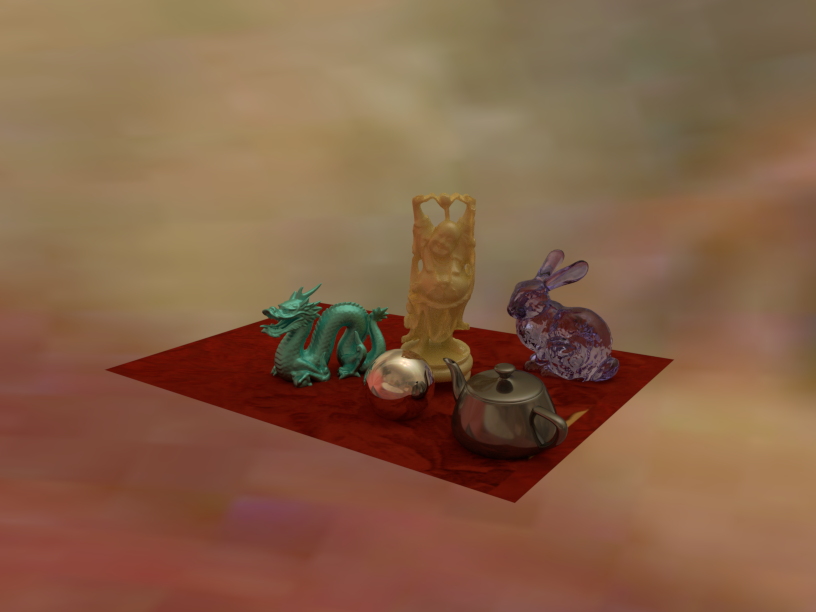
Rendered image with objects.
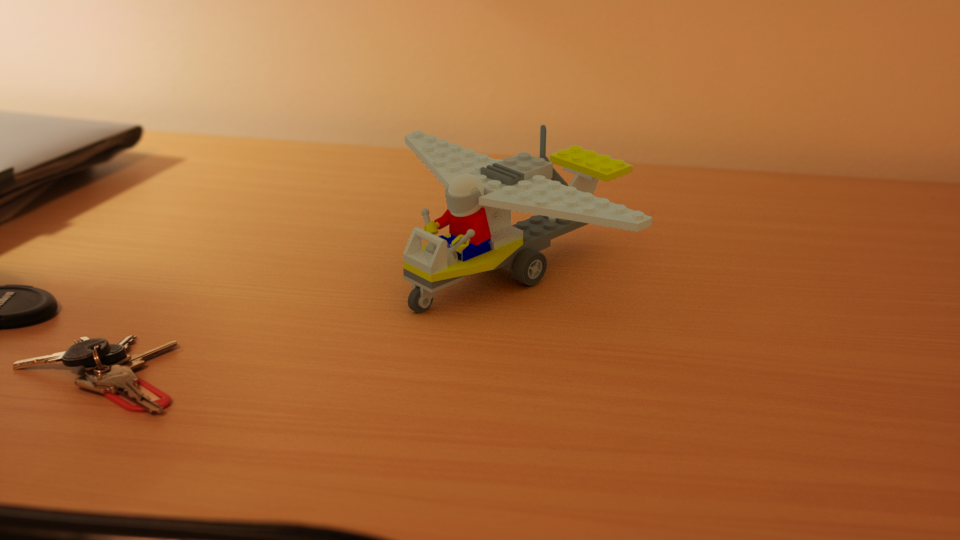
In my second scenario, I downloaded
this model from Google Sketch Up with all material properties already defined. In this case I modeled the plane as a diffuse BSDF but with one color only since there were no reflections in the model that could create an unrealistic reflection.
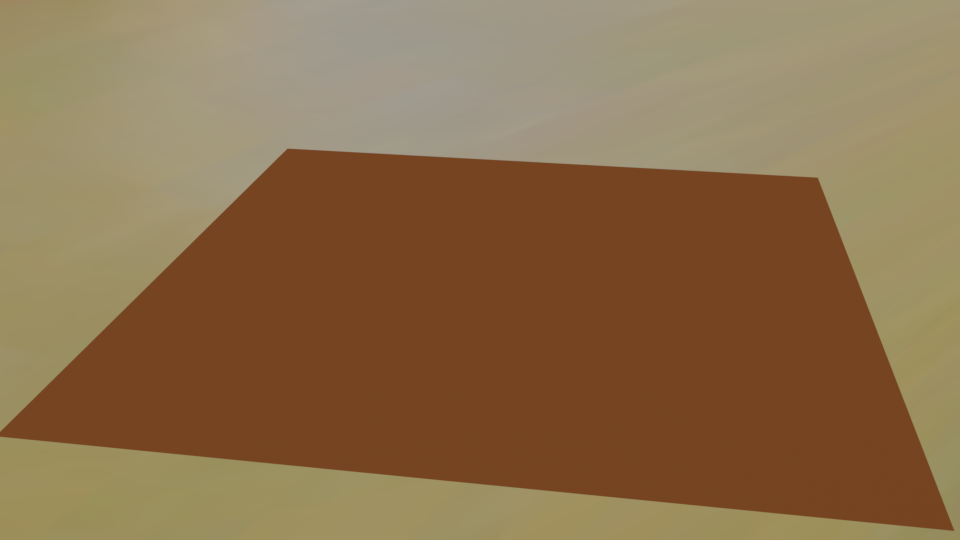
Rendered image without objects.
Rendered image with objects.
Bells and whistles
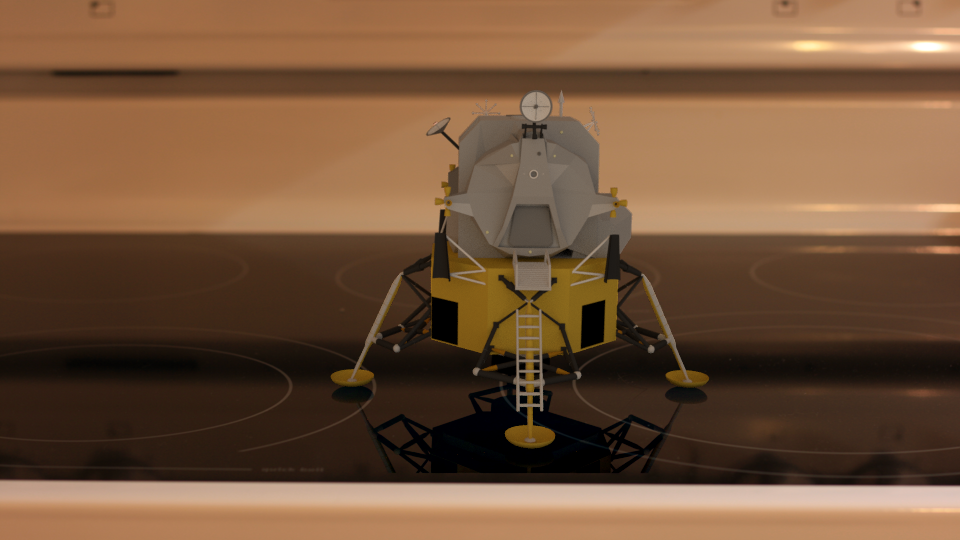
For my third result I used
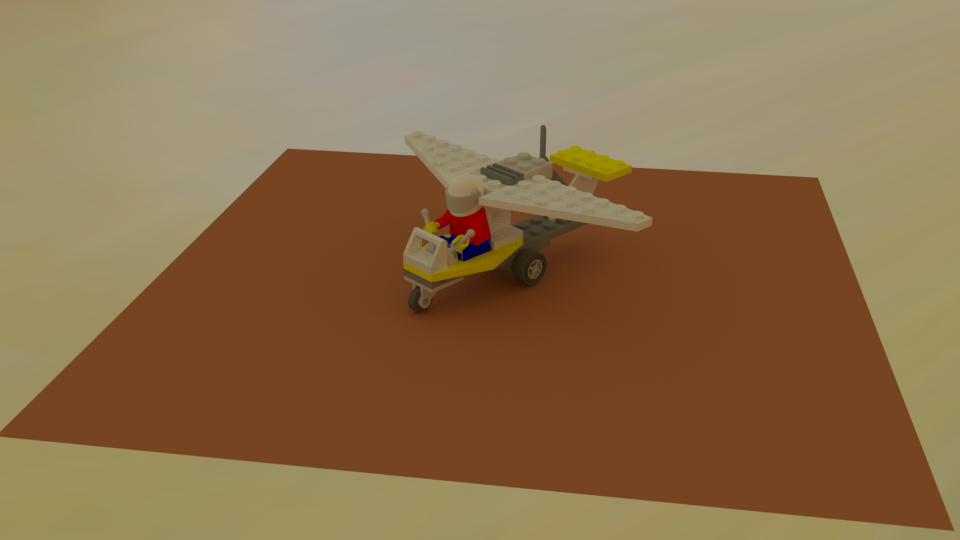
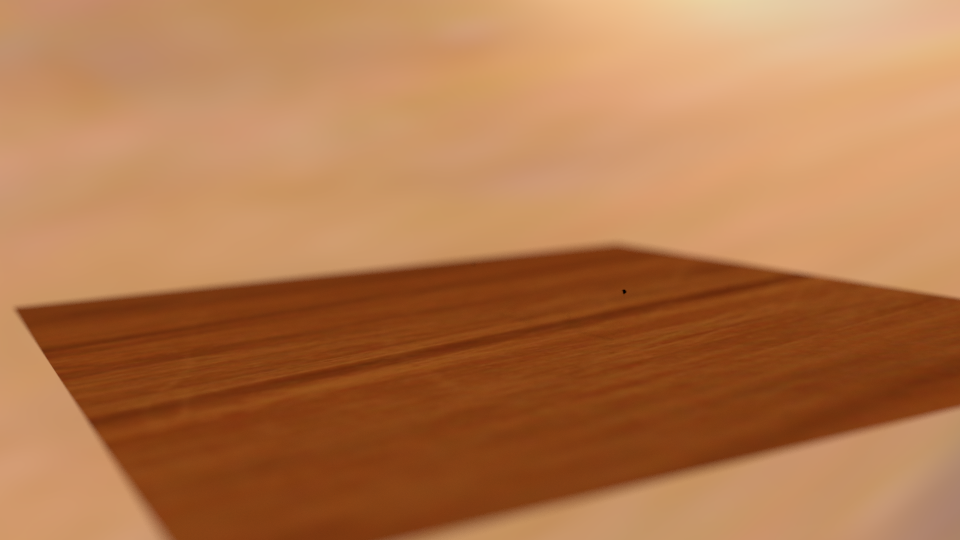
this model provided by NASA. The plane was modeled as a glossy BSDF to reflect the model.
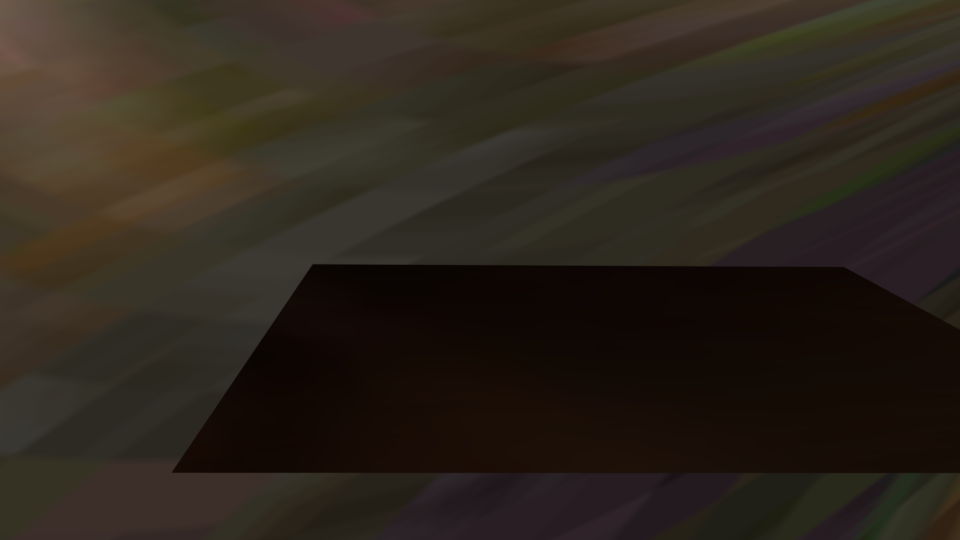
Rendered image without objects.
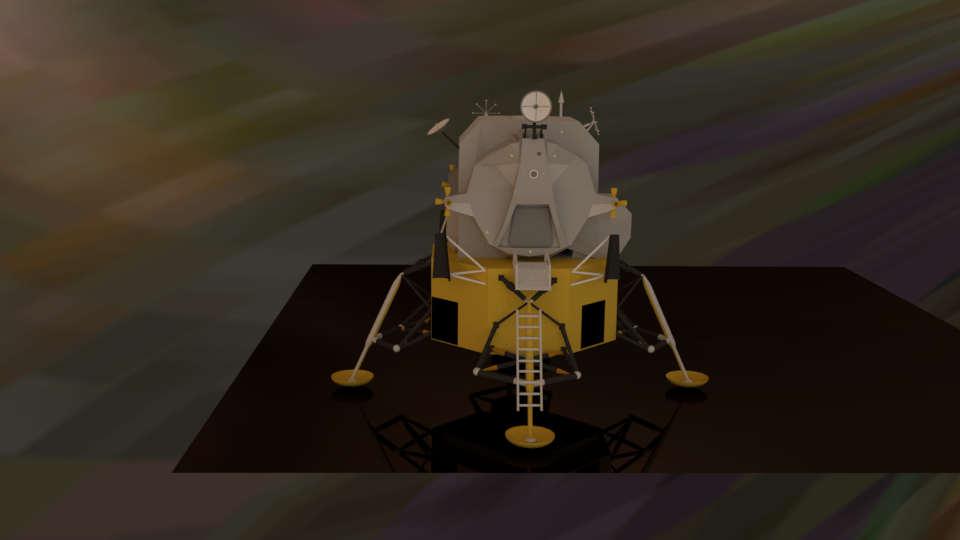
Rendered image with objects.
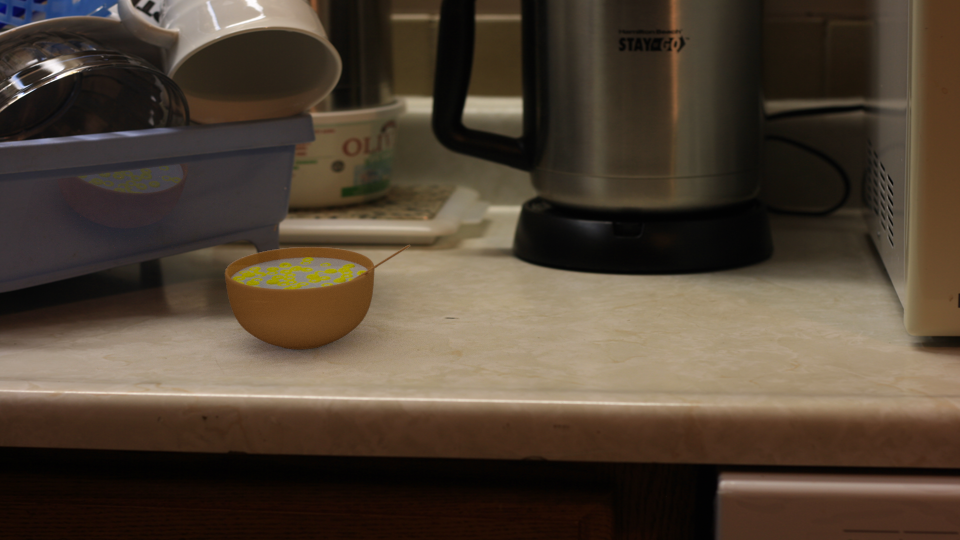
My fourth result was not that good since the model itself did not have good material properties. But I modeled the dish dryer with a plane as a glossy BSDF so it reflects the model which makes the result nice. It was harder than I thought since we have to be more accurate in the location of the planes, otherwise the reflective plane for the dish dryer would not reflect the object.
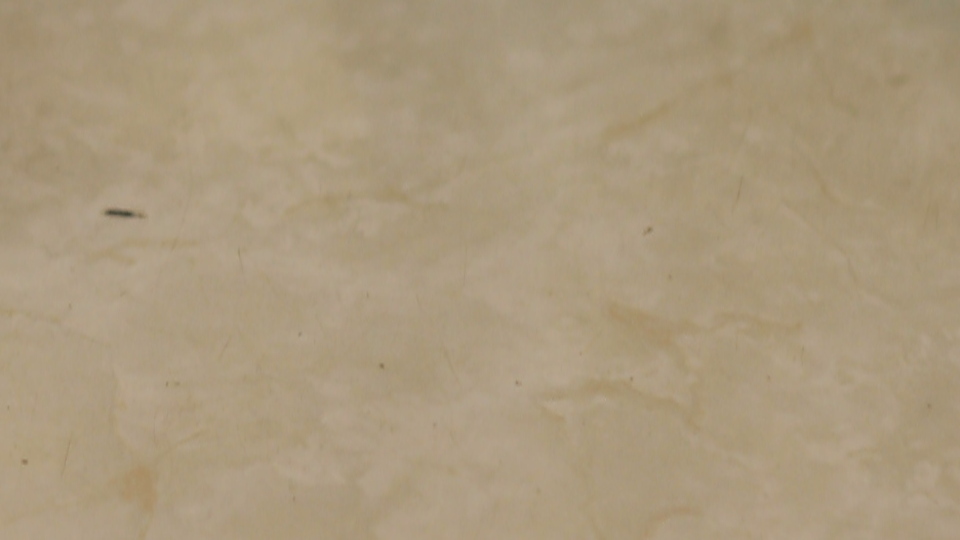
Texture used for the plane.
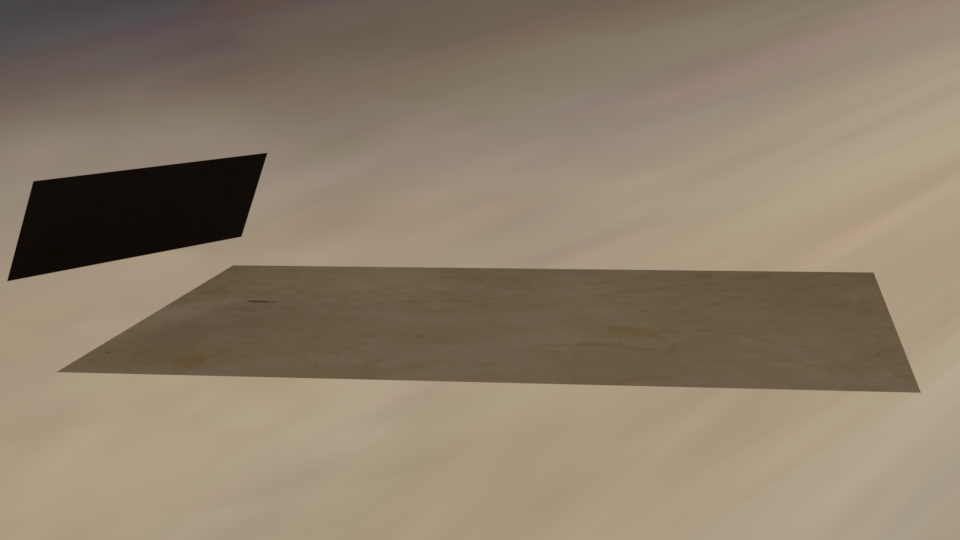
Rendered image without objects.
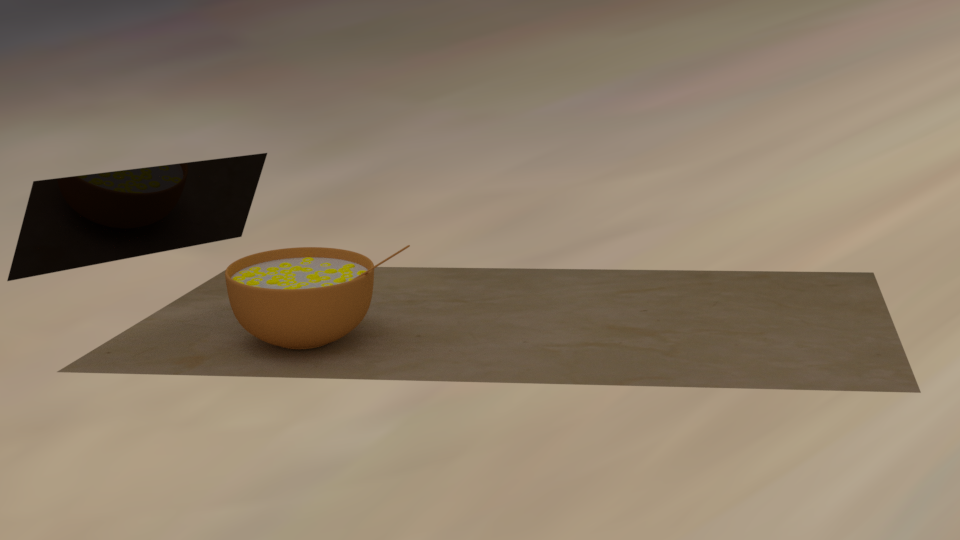
Rendered image with objects.
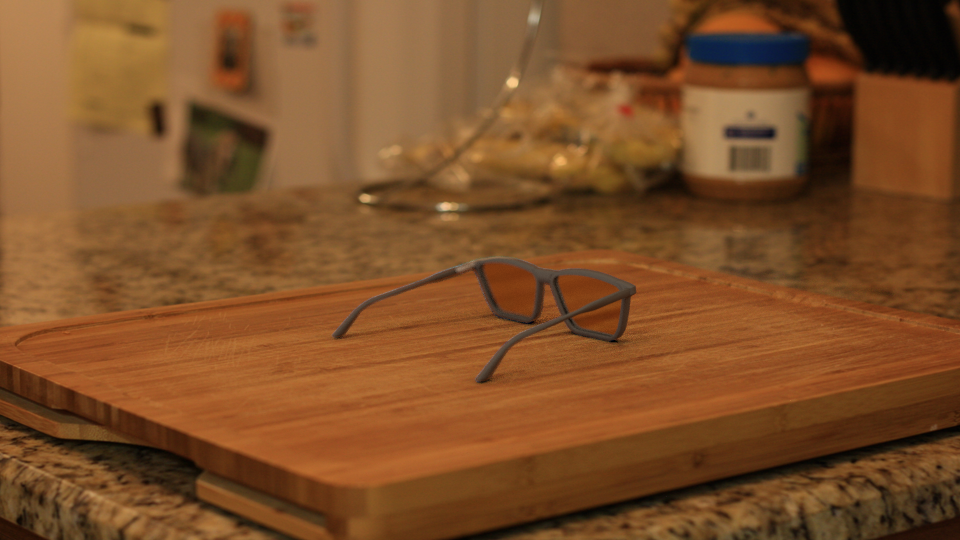
In this result the challenge was to model the sunglasses' glass (source of the model
here). For that I had to use the wood texture again, otherwise its transparency would reveal the plane with one colour (i.e. if I modeled the plane with one color only). The glass was modeled as a transparent BSDF, which was not the case of the original model. I also added depth of field focusing on the sunglasses with radius = 0.02.
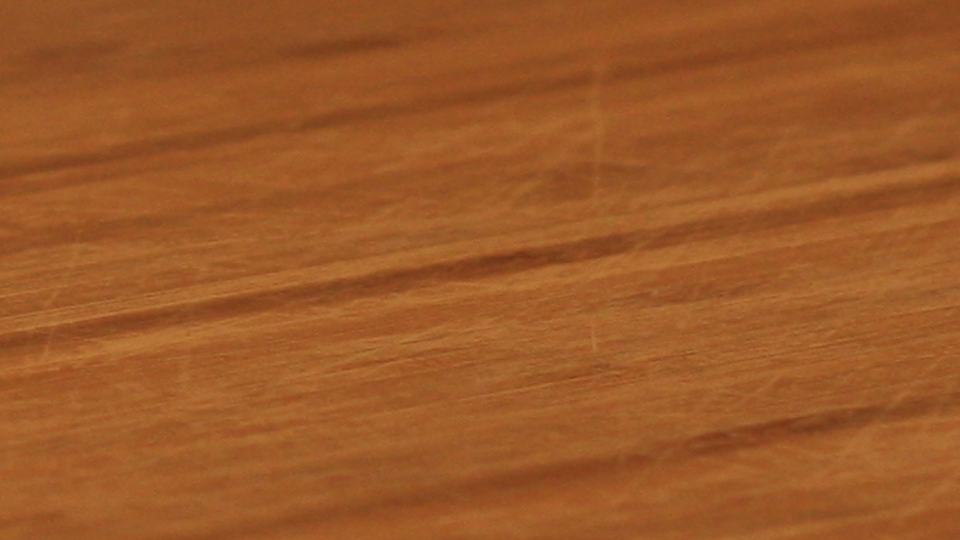
Texture used for the plane.
Rendered image without objects.

Rendered image with objects.