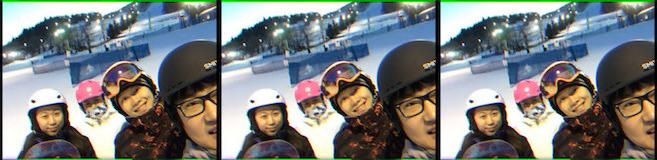
This is the easiest way to alogn the parts which separate RGB channel images into a single color-complete image by convolving a 10x10 pixel kernel image for the Blue and Red channel images against the base Green channel and minimizing its sum-squared differences.
My initial kernel size was 15x15, but after poor results with the photo I resized the window to 10x10.I just check the image 00907v.jpg which is small. so i use the relative small size of the images, and it works like the TP1-result.jpg.
The explainings are in the code.
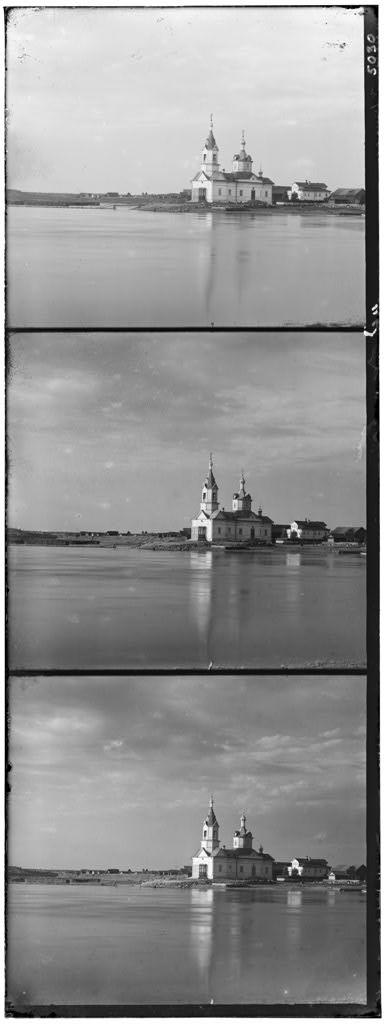
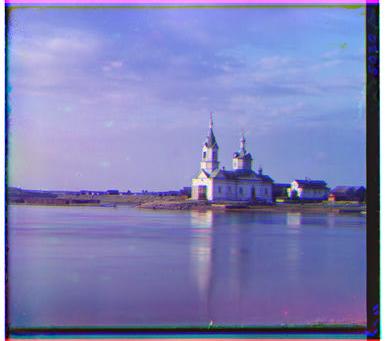
image:00907v.jpg AND image:TP1-result.jpg
When i use the lagre size image, the part 1 can not reach the level. So i change another way.
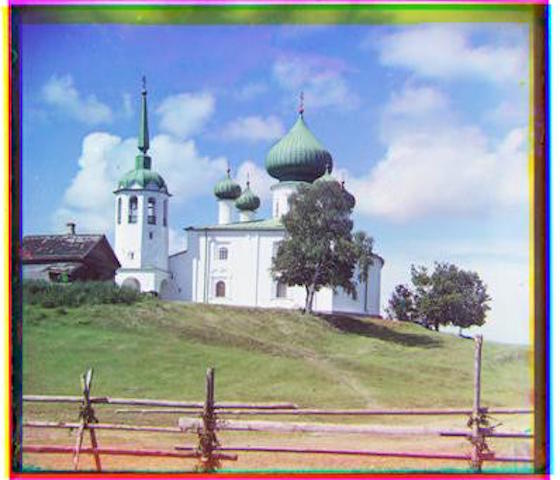
IMAGE alignment
According to the first part, i can know if i want to algin the image, only the cent 60% ot the image should be used. In other words, the 20% edge of the image will be cut. This is why we should make sure the borders which do not affect the image alignment.The size of the image is reduced until width is less than 300 pixels. We can use the Gaussian pyramid, which is done by scaliing the image with a factor 1/2 through Matlabb's function impyramid. Absoulutly it lets each reduced pixel contain the average pixel value of the un-reduced pixel’s neighbours. This gives us a scaled down version of the image without loosing too much information. The edges in the images are then found through looking at the local intensity gradient of neighbouring pixels. The images are then aligned by moving the red and blue channel and multiplying them with the green channel. Since the function edge returns a logical matrix, we can use the sum of this multiplication to find the movement that leads to the best match. This gives us an offset value for both x and y, and we then apply the corresponding value to our un-scaled image.
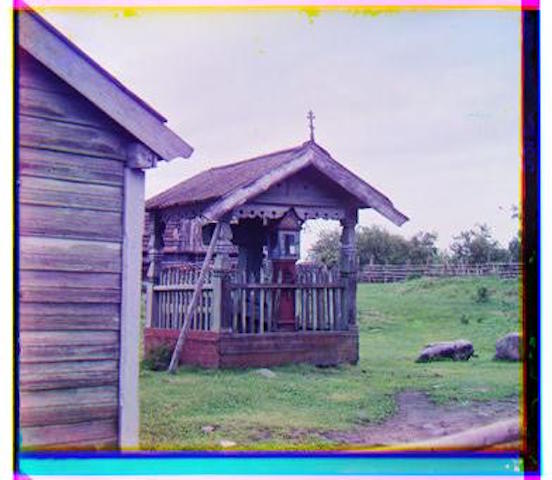
Border cropping
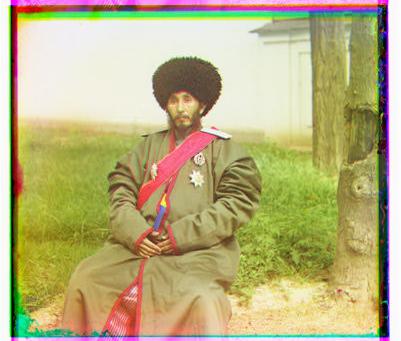
When i aligne the images, it will have lots unwanted borders and colored lines around the edges. i will check the top and left corner of the image is extracted firstly. This is to improve the performance of the program. In order to speed things up a bit, it is assumed that the border has the same width on the left side as it does on the right side, and similarly for the top and bottom. I will show the figure under the line>
The explainings are in the code.
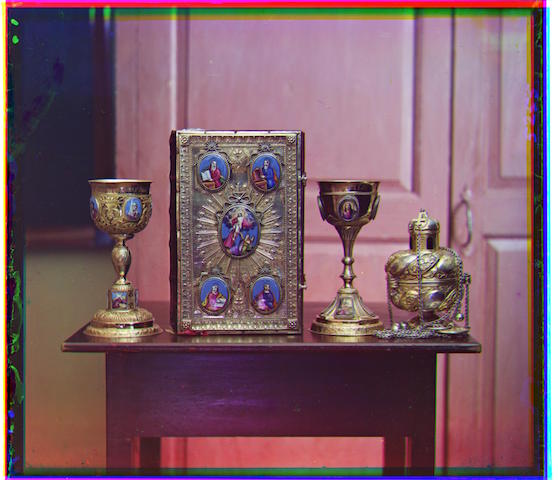
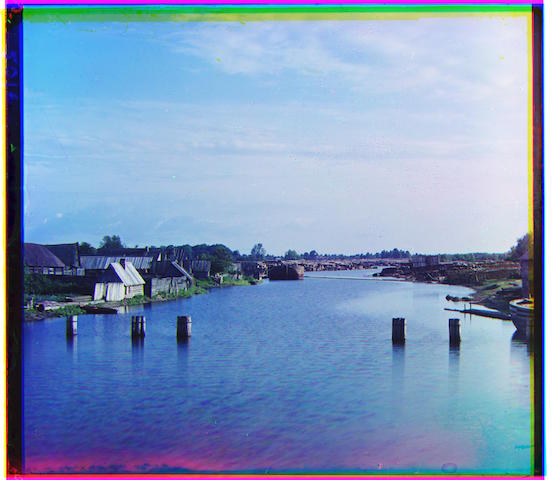
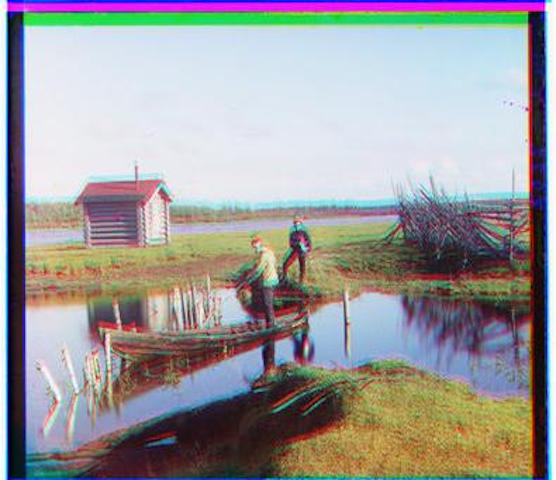
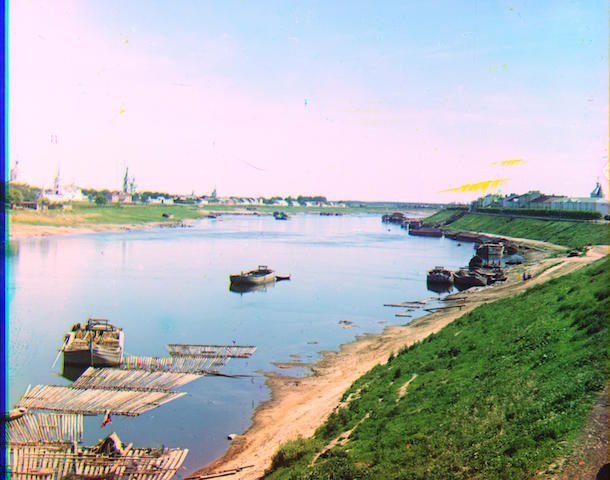
image:00106v.jpg
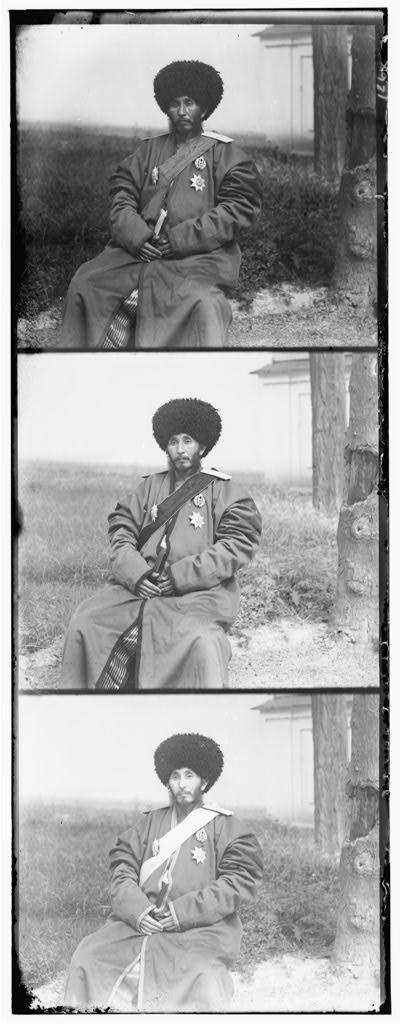
image:TP1_part2_algined.jpg
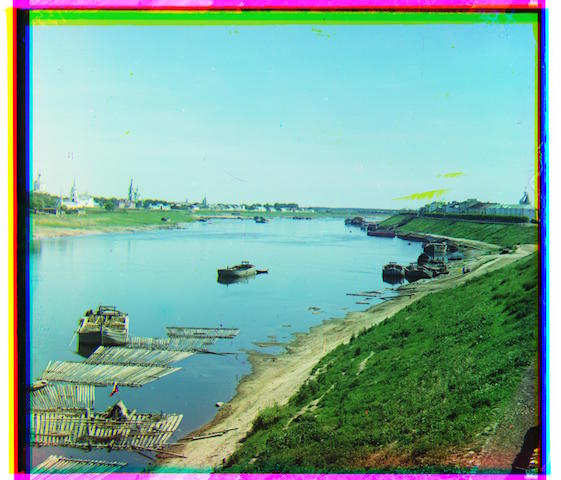
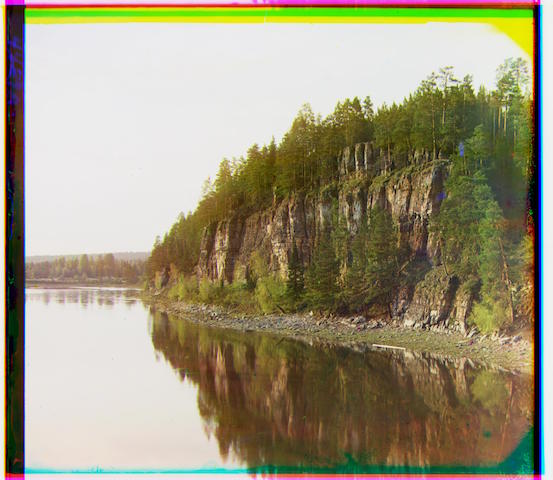
There are many large size images which i check. I will show tow of them.
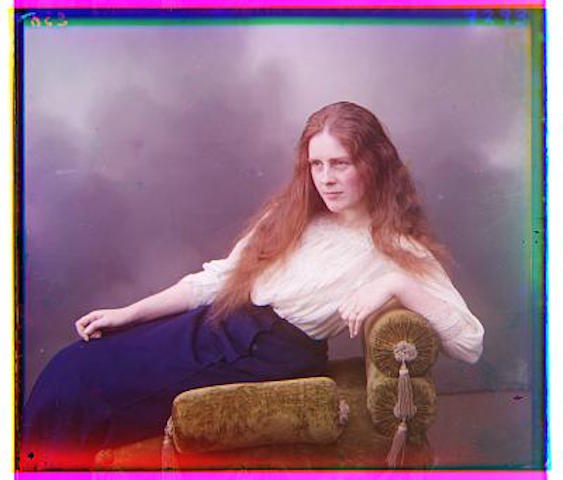
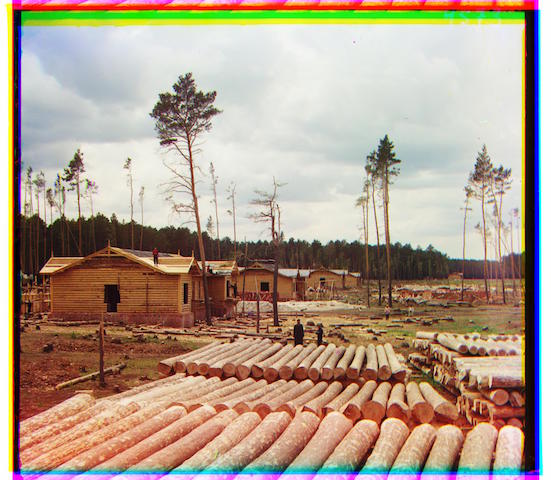
In this part, i use my own image. Firstly i use one picture separate into RGB, and then put them together. And put the new image into the part 2, and i will show the image.
My own image and new RGB image:
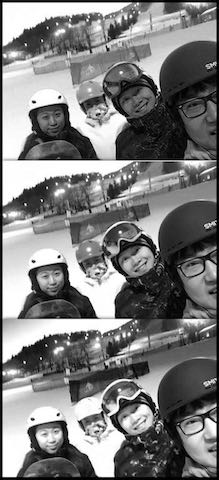
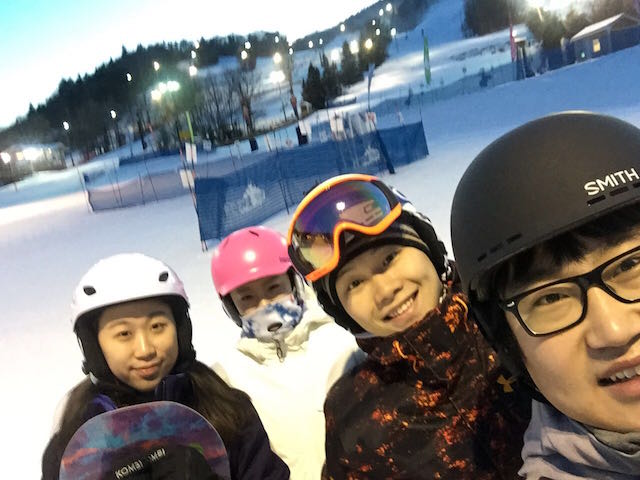
Become-Gorski(my own picture):

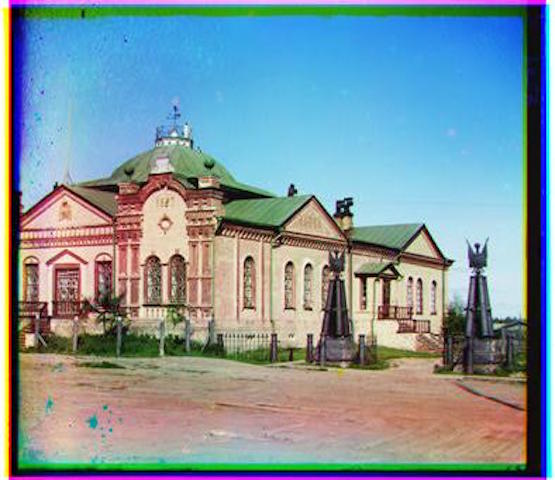
color correction
image:TP1_part2_corrected.jpg

Other corrected images:


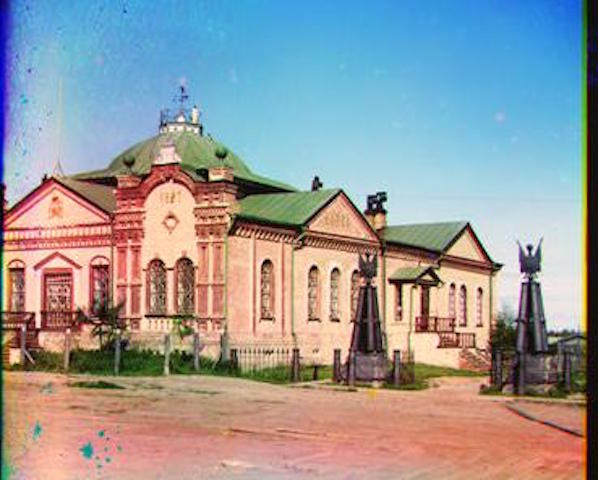

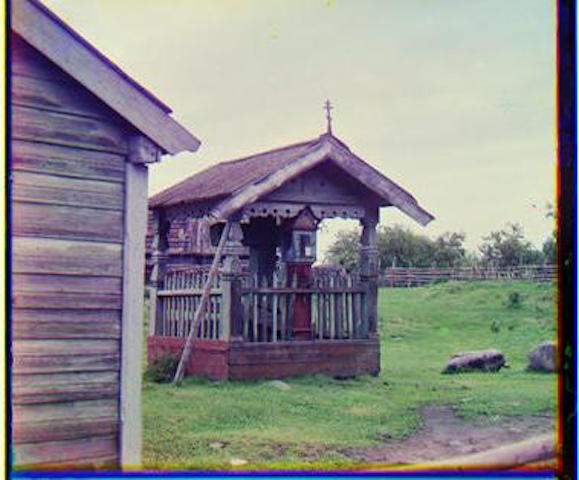


The color correction is not perfect for every photo. All it does is to normalize the average intensity, without taking the light source or weather into consideration.
According to my own picture, the image alignment is wrong, it couldnot be separate into there parts. That is what i dont know. Maybe, while the alignment works well for all tested image, there is a potential problem in the fact that the program does not rotate the image.