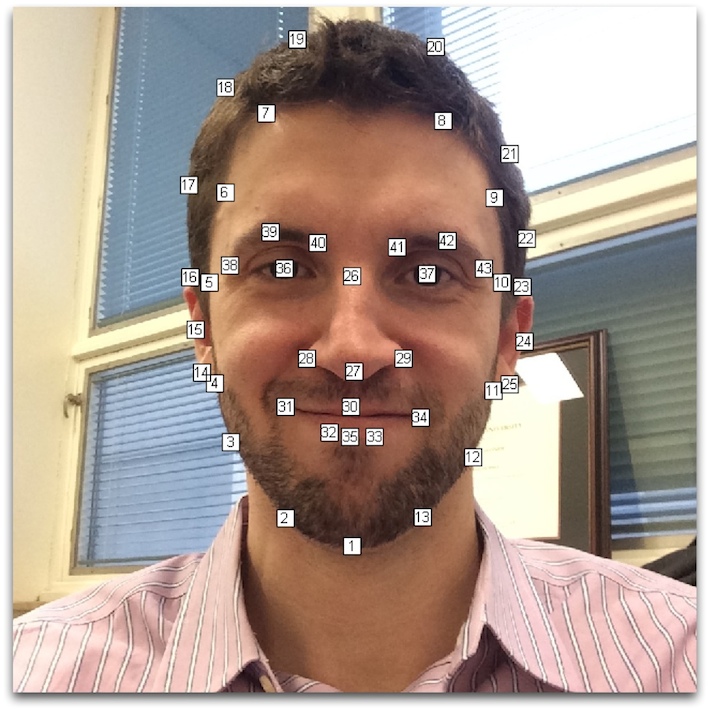
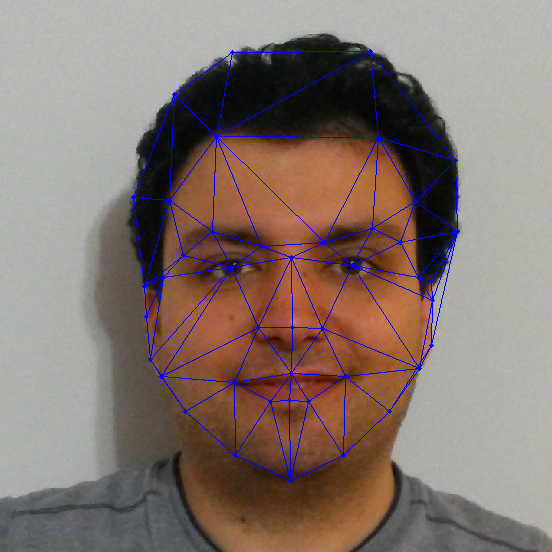
Figure 1 - Face keypoints template
The main goal of this assignment is to produce a video sequence of a face morphing to another. To morph a face into another, I am going to need to blend both colors and positions of different parts of the first face into the second one. In order to do that, the lecturer (Dr. Jean-François Lalonde) and his TA (Maxime Tremblay) took pictures of all the classmates, resized all the pictures and asked each student to select the keypoints of their own faces according to a given template (Figure 1).
|
Figure 1 - Face keypoints template |
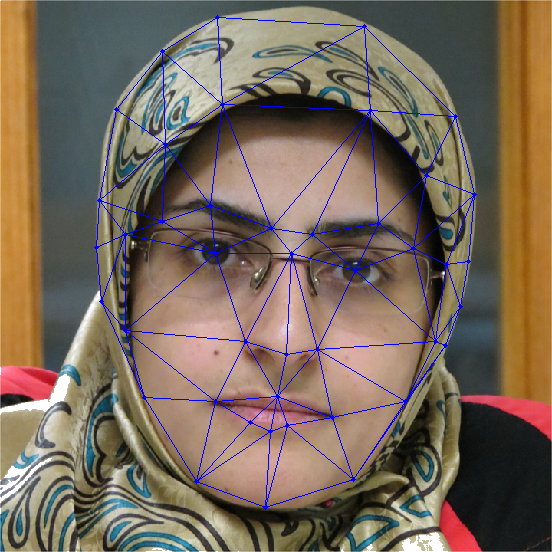
First I needed to convert the physical specifications of the first face into the second one, gradually. For this purpose, I used Delaunay triangulation (delaunayTriangulation function in Matlab). The Delaunay triangulation is a good choice since this algorithm does not produce triangles that are too thin.
As for the keypoints to use for triangulation, there were 3 options:
Since the number of triangles must be the same for both pictures, it is not possible to use their own keypoints to triangulate. I tried all three options and the 3rd one showed better results.
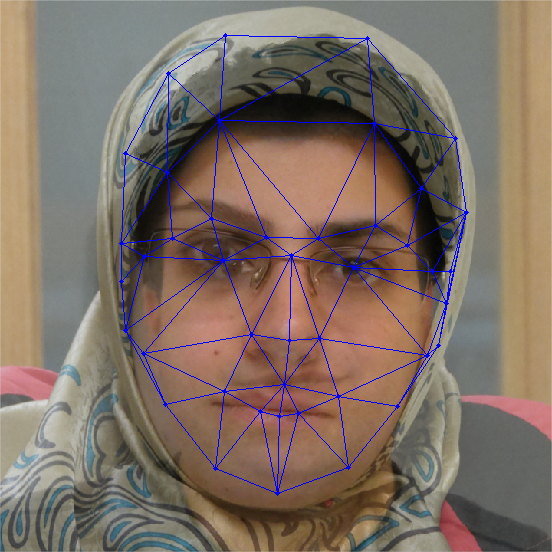
The triangulation of each image separately would generate these results:
 |
 |
The triangulation of average keypoints on the same images:
 |
 |
And finally the triangulation of average keypoints on average of the images (average, not morphed!) :
After successfully applying the triangulation algorithm on calculated keypoints, it is time to actually warp the first image towards the other. To do so, I used a technique similar to alpha blending between two keypoints using warp_frac as blending coefficient (alpha).
In the beginning of the morphing animation warp_frac equals to zero (it means the output has the exact shape of the first face), then it will increase gradually to 1 (which will generate an output exactly shaped like the second face).
Note that I used warp_frac only for physical morphing. In order to complete the morphing process, a color morphing process is needed too. Therefore, I used another blending coefficient called dissolve_frac for color blending. Again, in the beginning of the sequence this parameter would be equal to zero (the pixel colors of the output would be exactly like first picture), then it will increase to 1 at the end.
To get better and smoother morphing, warp_frac should grow considerably faster than dissolve_frac. I will explain this matter later.
The heart of this homework is the morph function which has a declaration like this:
morphed_img = morph(img1, img2, img1_pts, img2_pts, tri, warp_frac, dissolve_frac)
Where, img1 is the picture of the first face, img2 is the second one, img1_pts and img2_pts are key points of the first and second image, respectively. tri is the triangulation calculated on the average points in the type of delaunayTriangulation class (see Matlab documentation). warp_frac and dissolve_frac are, as described above, the blending coefficients. The output of this function is the morphed image which has the same dimension as the input images.
What I do step by step in this function is:
In this part I explain how affine transform between two triangles is estimated, having 3 points (here we have vertices) from each triangle. Affine transformation is a 6 DOF transformation which can translate, rotate, scale and shear images at the same time. The matrix of this transformation is like this:
 |
Eq 1 - Affine Tranformation |
For estimate the six unknown parameters (a, b, c, d, e, f), I solved this equation:
 |
Eq 2 - Matrix equation to estimate the affine transform |
Where [x1, y1], [x2, y2], [x3, y3] are the triangles vertices of the output image and [x’1, y’1], [x’2, y’2], [x’3, y’3] are triangle vertices of input images. Using these transforms I could determine the coordinates of a specific pixel of the output image in both input images to pick the colors from source images and mix them using dissolve_frac (See Figure 2).
 |
Figure 2 - Using an affine transform to obtain the pixel coordinates in each image |
We were supposed to produce a morphing video in which our own face morphed into the next student in the list. Here are input images and the results of my code:
Input images:
 |
 |
Image 1 (Me) |
Image 2 (My classmate) |
The result (video on vimeo):
You can find all images used to generate this sequence in higher resolution Here!
As can be seen the first image morphs into the second one gradually. If you pay attention you can see triangles changing their form and color and you also might see that the physics of the face morphes more quickly than its color. It is because of difference between increasing speed of two blending coefficients.
You can also change the value of warp_frac and dissolve_frac in the following table and see the result.
 |
||
warp_frac = |
||
dissolve_frac = |
||
Our mean face (warp_frac = 0.5 and dissolve_frac = 0.5):
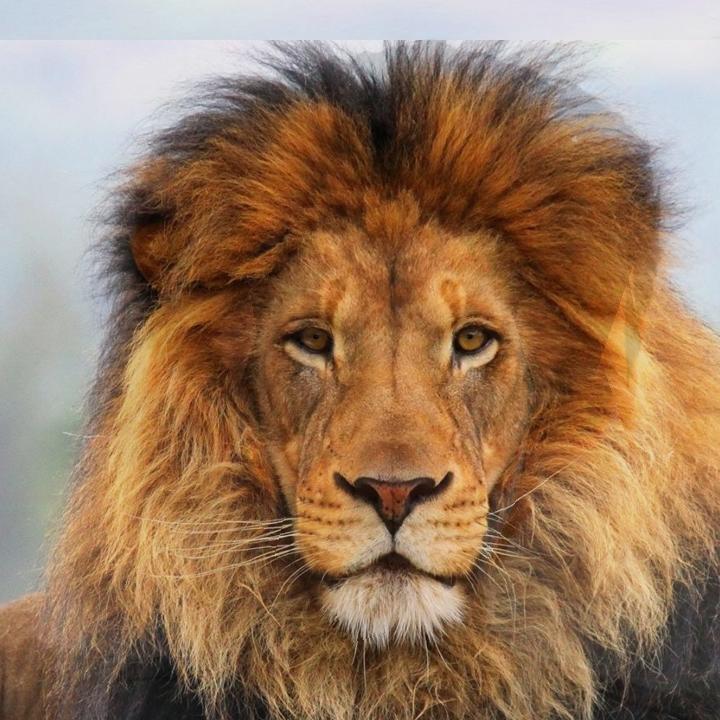
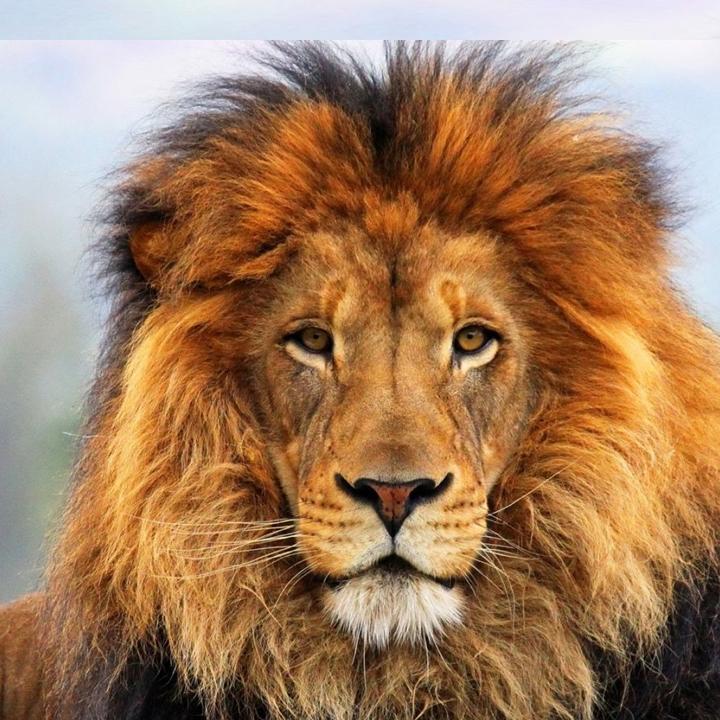
And a little surprise!
You can find all images used to generate this sequence in higher resolution Here!
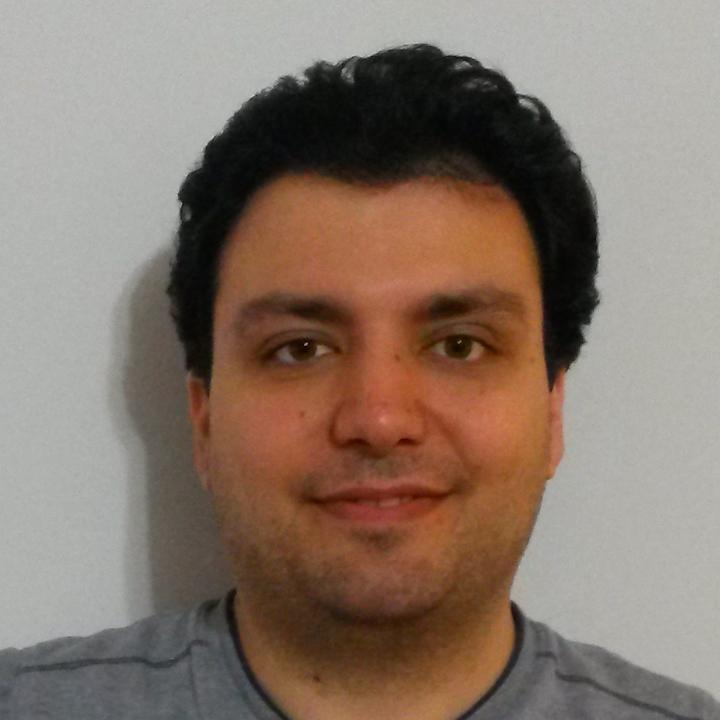
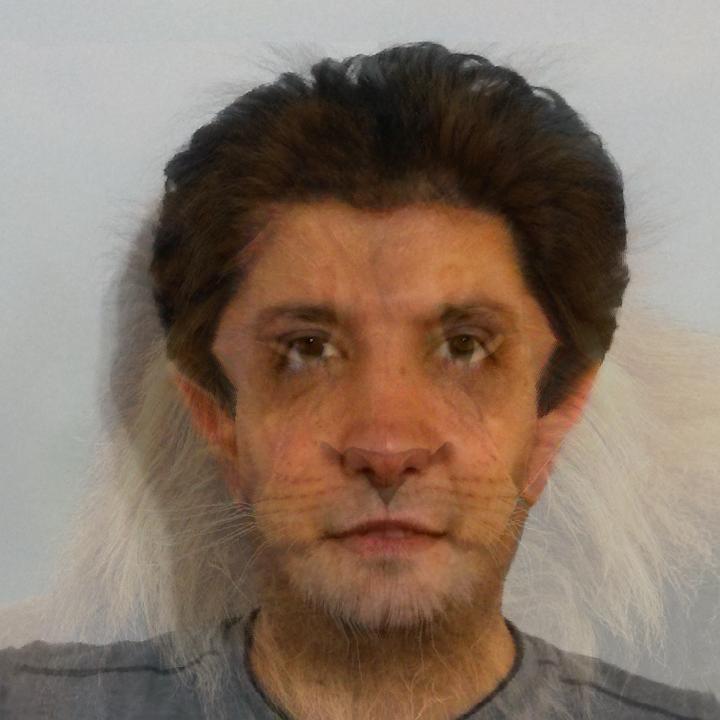
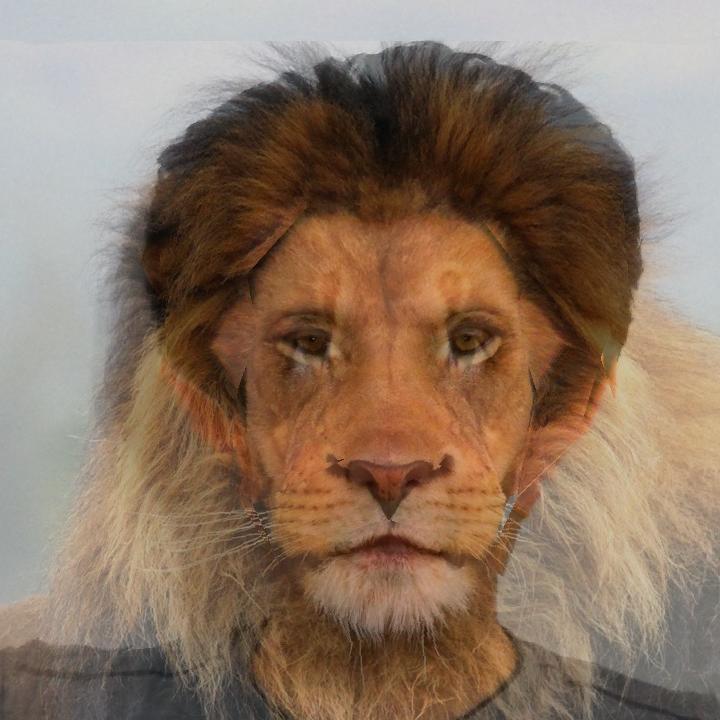
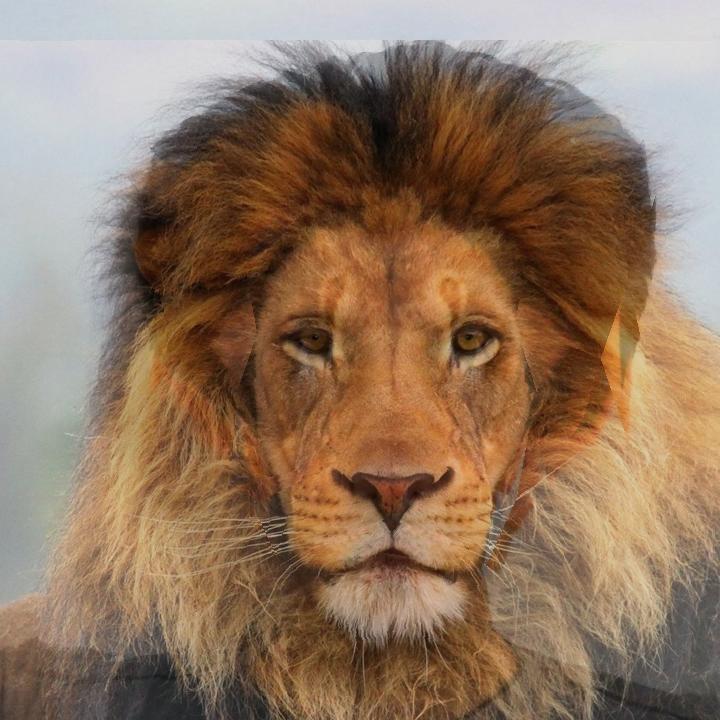
My friends used to tell me that I look like a lion and I used not to believe them!
You can find all images used to generate this sequence in higher resolution Here!
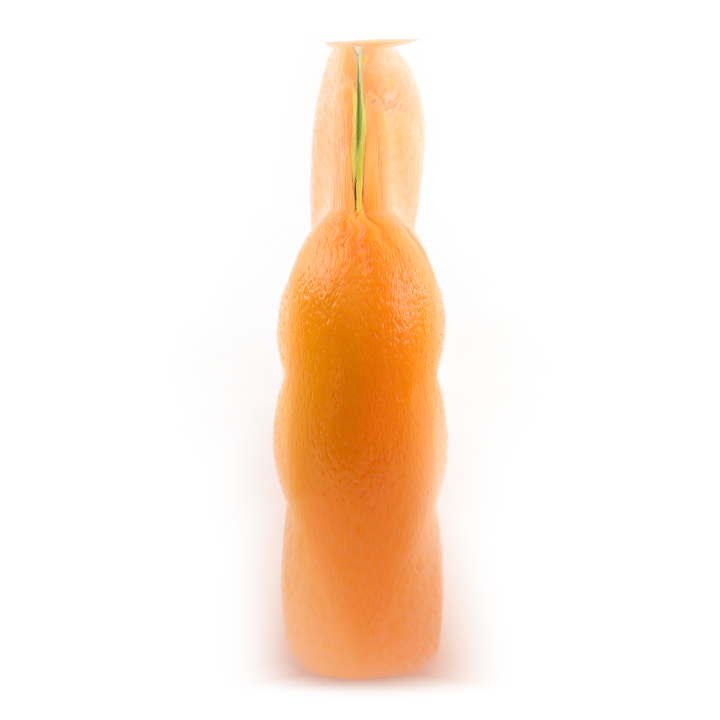
Converting an orange to a bottle
You can find all images used to generate this sequence in higher resolution Here!
In this homework we were supposed to use delaunay function to do the triangulation and mytsearch tool to determine the triangle which owns the pixel. Since delaunay function is about to obsolete in Matlab, I used delaunayTriangulation class and pointLocation function (See Matlab documentation) which is faster than the above-mentioned tools.
As I mentioned before the output will be better and smoother if warp_frac grows faster than dissolve_frac. In order to do that I used these two functions.
The curve created by these two functions are shown in Figure 3.
The comparison between two results is shown in the following tables:
Top row is generated using the first equation (Eq 3) and the bottom, with second equation (Eq 4).
Click on the images for higher resolutions.
As can be seen (especially in 2nd and 3rd step), using the second function, the morphing is more smooth and continuous.
The second objective of this assignment was to calculate the mean (average) face of the class. In order to do this I had to deform all faces of the classmates to a calculated average (using average of their keypoints) and then calculate the average.
This function (which is called MorphToMean) works exactly like morphing with some changes. First I calculate the average for all keypoints of the class and perform the triangulation. Then warp all faces into the average keypoints; you can image this step as put the average keypoints as img2_pts in morph function with warp_frac equal to 1 and dissolve_frac equal to 0. At the end I calculate the average image of all obtained images.
The result is this:
 |
Figure 4 - The average face of the class |
You can find all warped images in higher resolution Here!
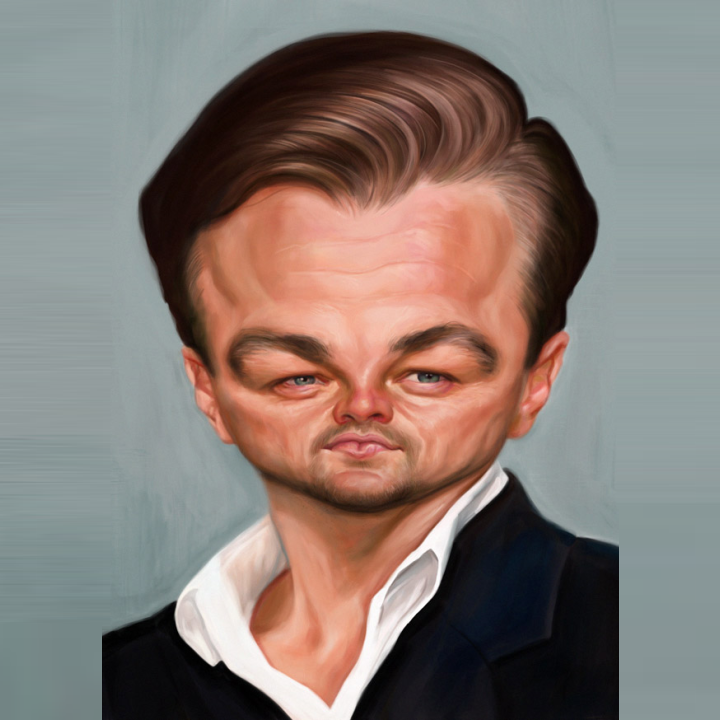
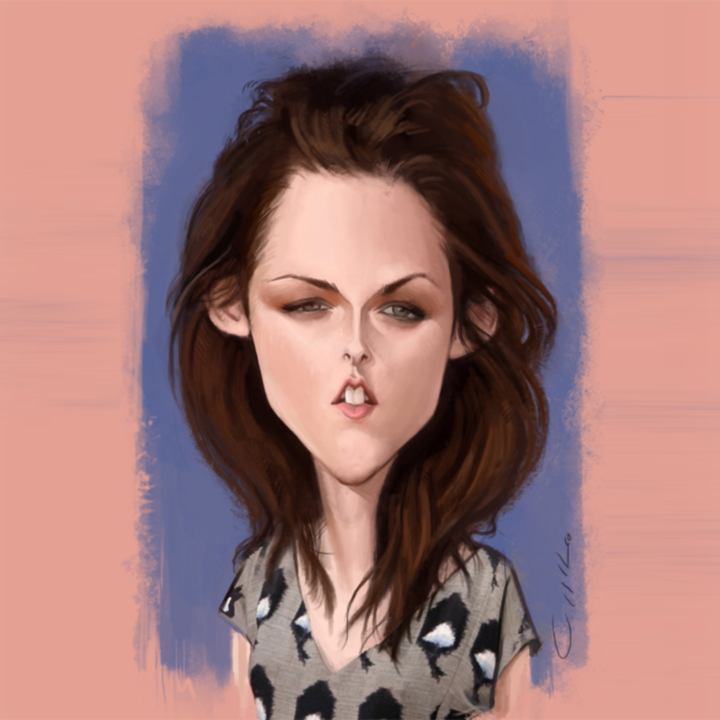
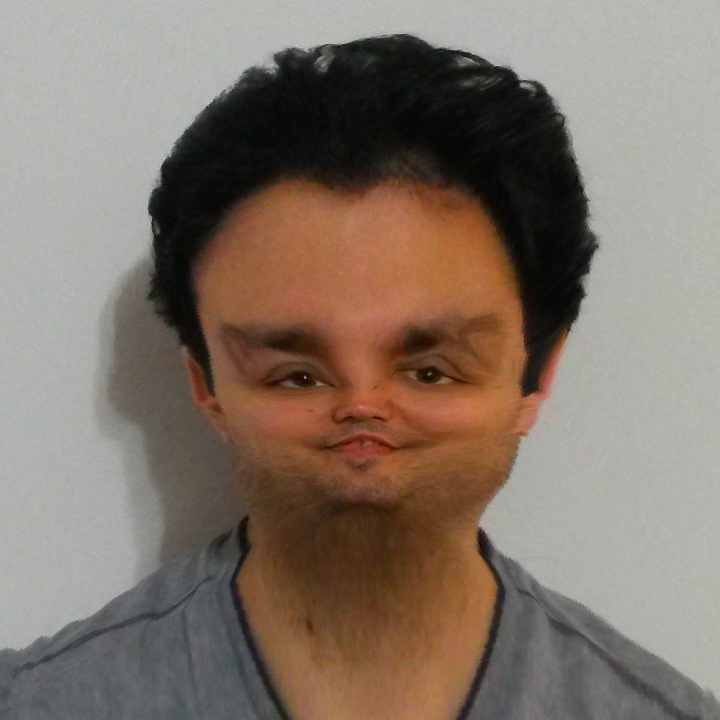
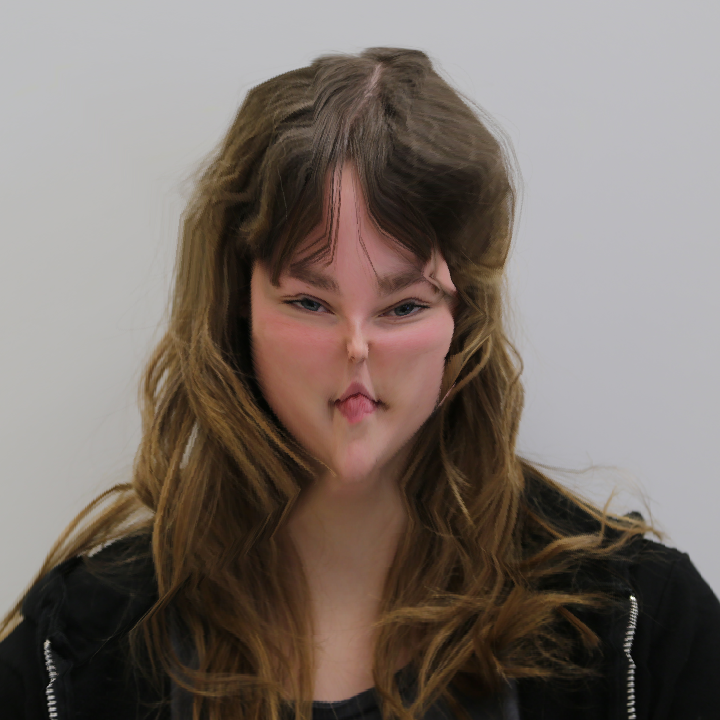
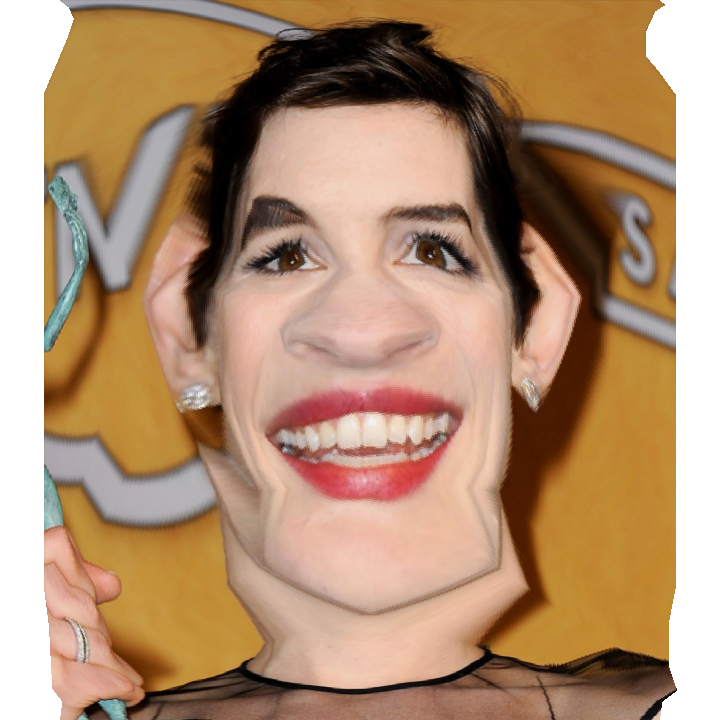
We can use the mean face idea to generate cartoons and caricatures in no time! We just have to deform our source image into a funny image using MeanToMorph function described above. Please note that you have to select the keypoints of the second image manually and pass them to the function.
Here are some inputs and outputs:
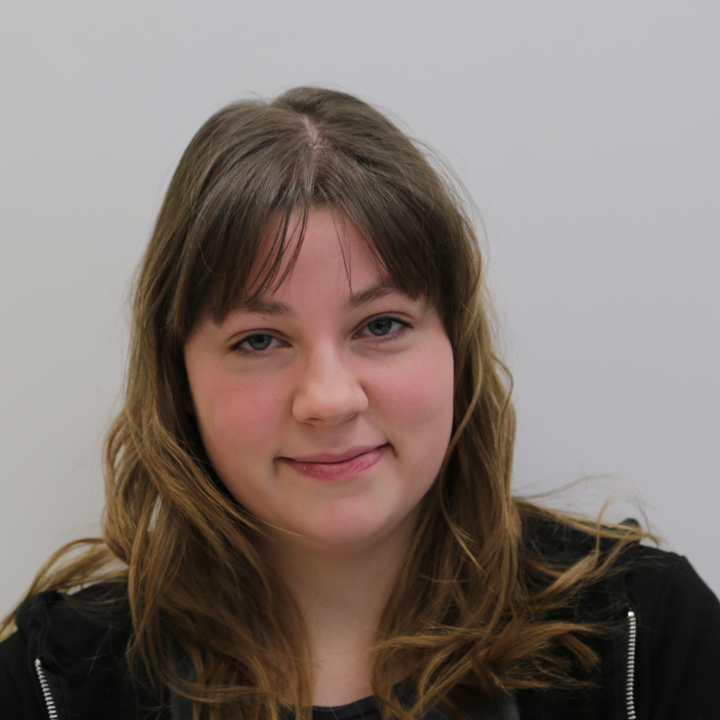
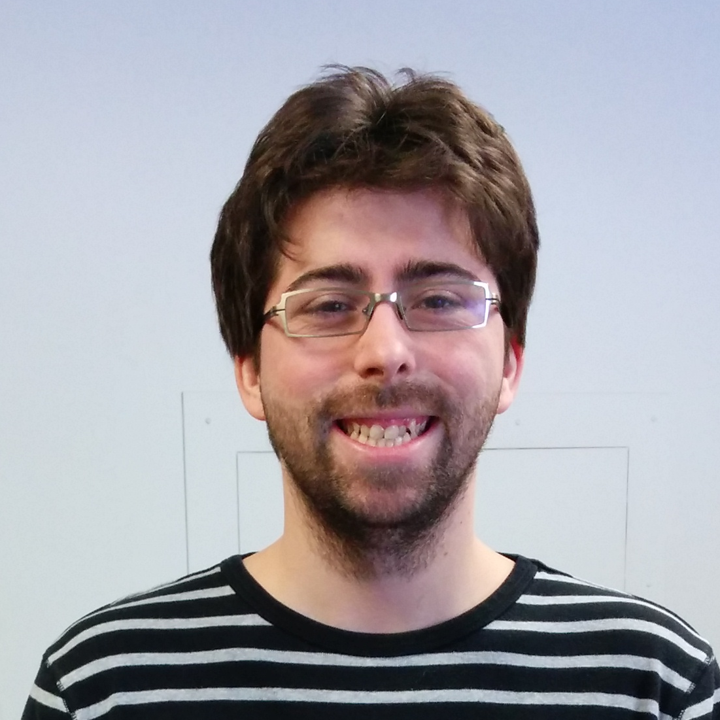
First, myself:
Input 1 |
 |
Input 2 |
Input 1 |
 |
Input 2 |
Input 1 |
 |
Input 2 |
One of my classmates:
Input 1 |
 |
Input 2 |
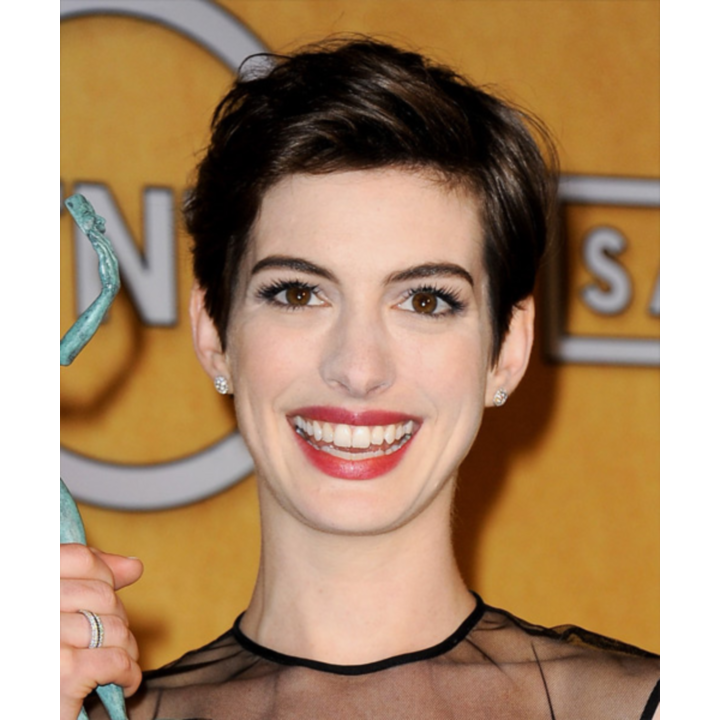
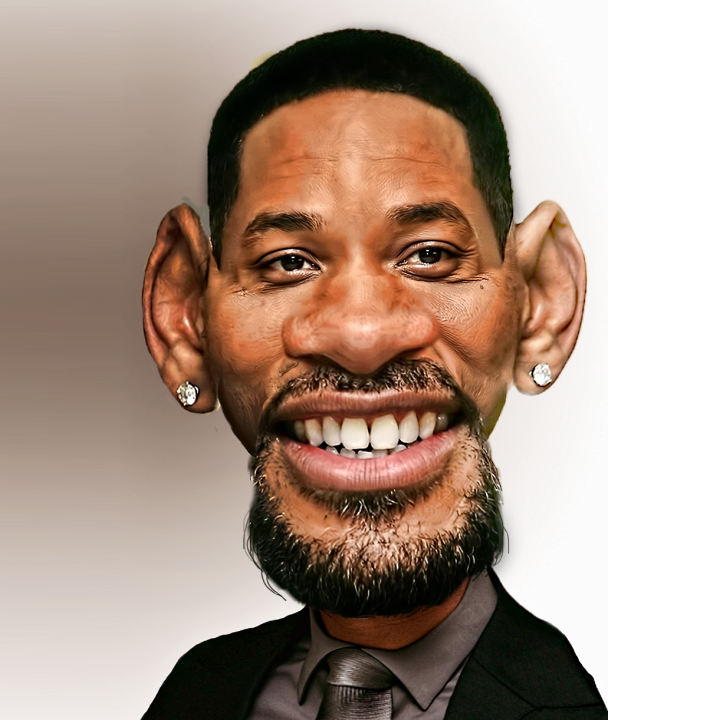
Anne Hathaway:
Input 1 |
 |
Input 2 |
And our talented TA, Maxime
Input 1 |
 |
Input 2 |
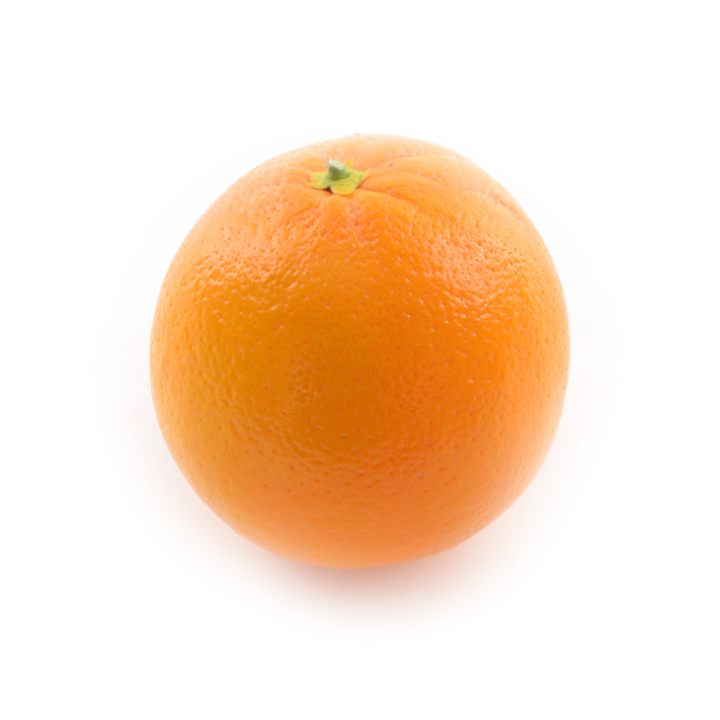
We can also be creative with objects. Have a bottle of orange!
Input 1 |
 |
Input 2 |
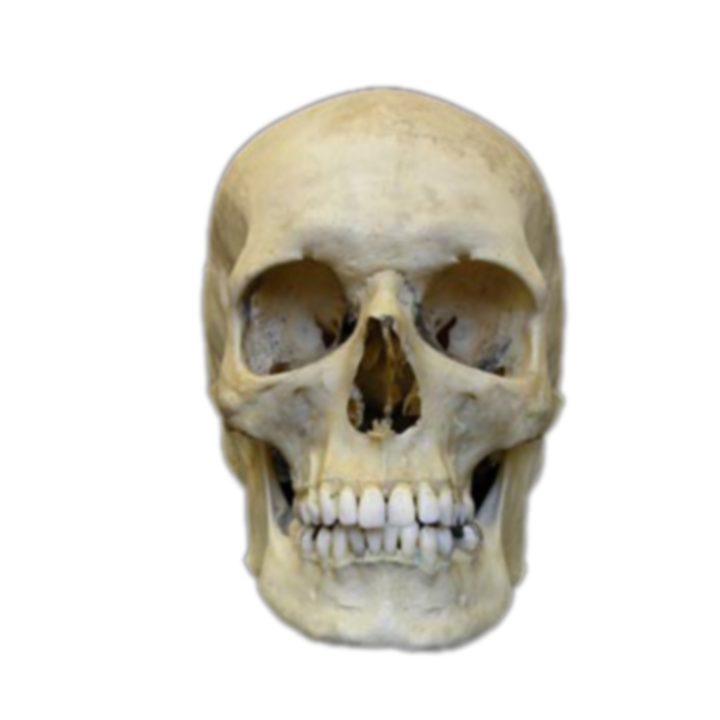
And at last a little contribution to Woody Allen: