The goal of this project is to take the digitized Prokudin-Gorskii glass plate images as input, and automatically produce a colour image with as few visual artefacts as possible as output. In order to do this, we needed to extract the three colour channel images. We assume the negatives are evenly divided into three plates (i.e. each plate is in exactly 1/3 of the negatives). To align R, G, B images well, the first important things is to find what is the property which is different between channels, there are different assumptions we can use to solve this problem for instance, SSD,NCC( Normalized Cross-Correlation ). In this project, We used the image matching algorithm based on L2 norm distance or so called Sum of Squared Differences which compute the SSD between two images and return offset value and then we can place channels on top of each-others base of the offsets and align them so that they form a single RGB colour image.
We first cropped the R,G,B images evenly to get better data to align since the border added unwanted noise to the channels, We exactly used same function that We exploited for the final image`s enhancement which will be described in Bells and Whistles Section in detail. The program can be done in two ways:
- Low resolution images
- High resolution images
Both methods use roughly same basis strategy just their performances is different. To handle high resolution images in order to speed up the alignment we use image pyramids, we take the original image and recursively resized it by 50% then run SSD on the lowest resolution image to get the offset, and then translate that offset to the next larger resolution, it could be as initial guess in the finer scale. You only need to search in coarsest scale to do fine adjustment.
You can find the result as following which will be elaborated in next section.
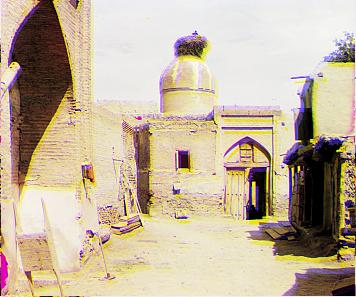
Small Images
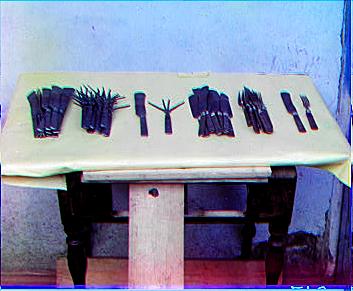
Red Offset : x = 0, y = -1
Green Offset : x = -1, y = 2
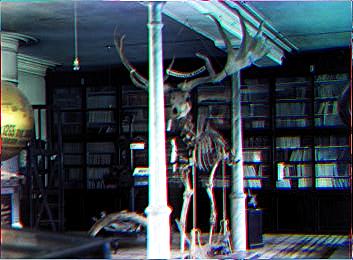
Red Offset : x = 50, y = 2
Green Offset : x = -52, y = -9
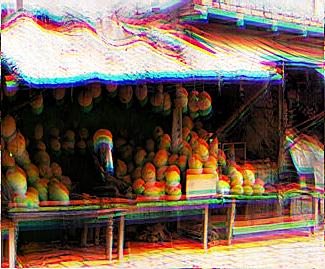
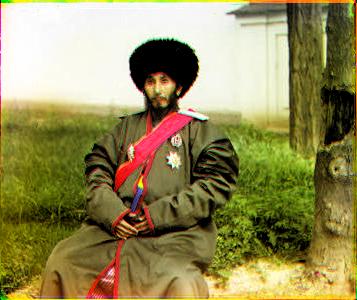
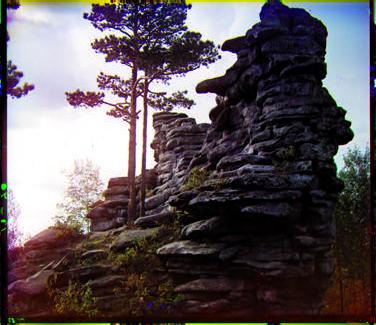
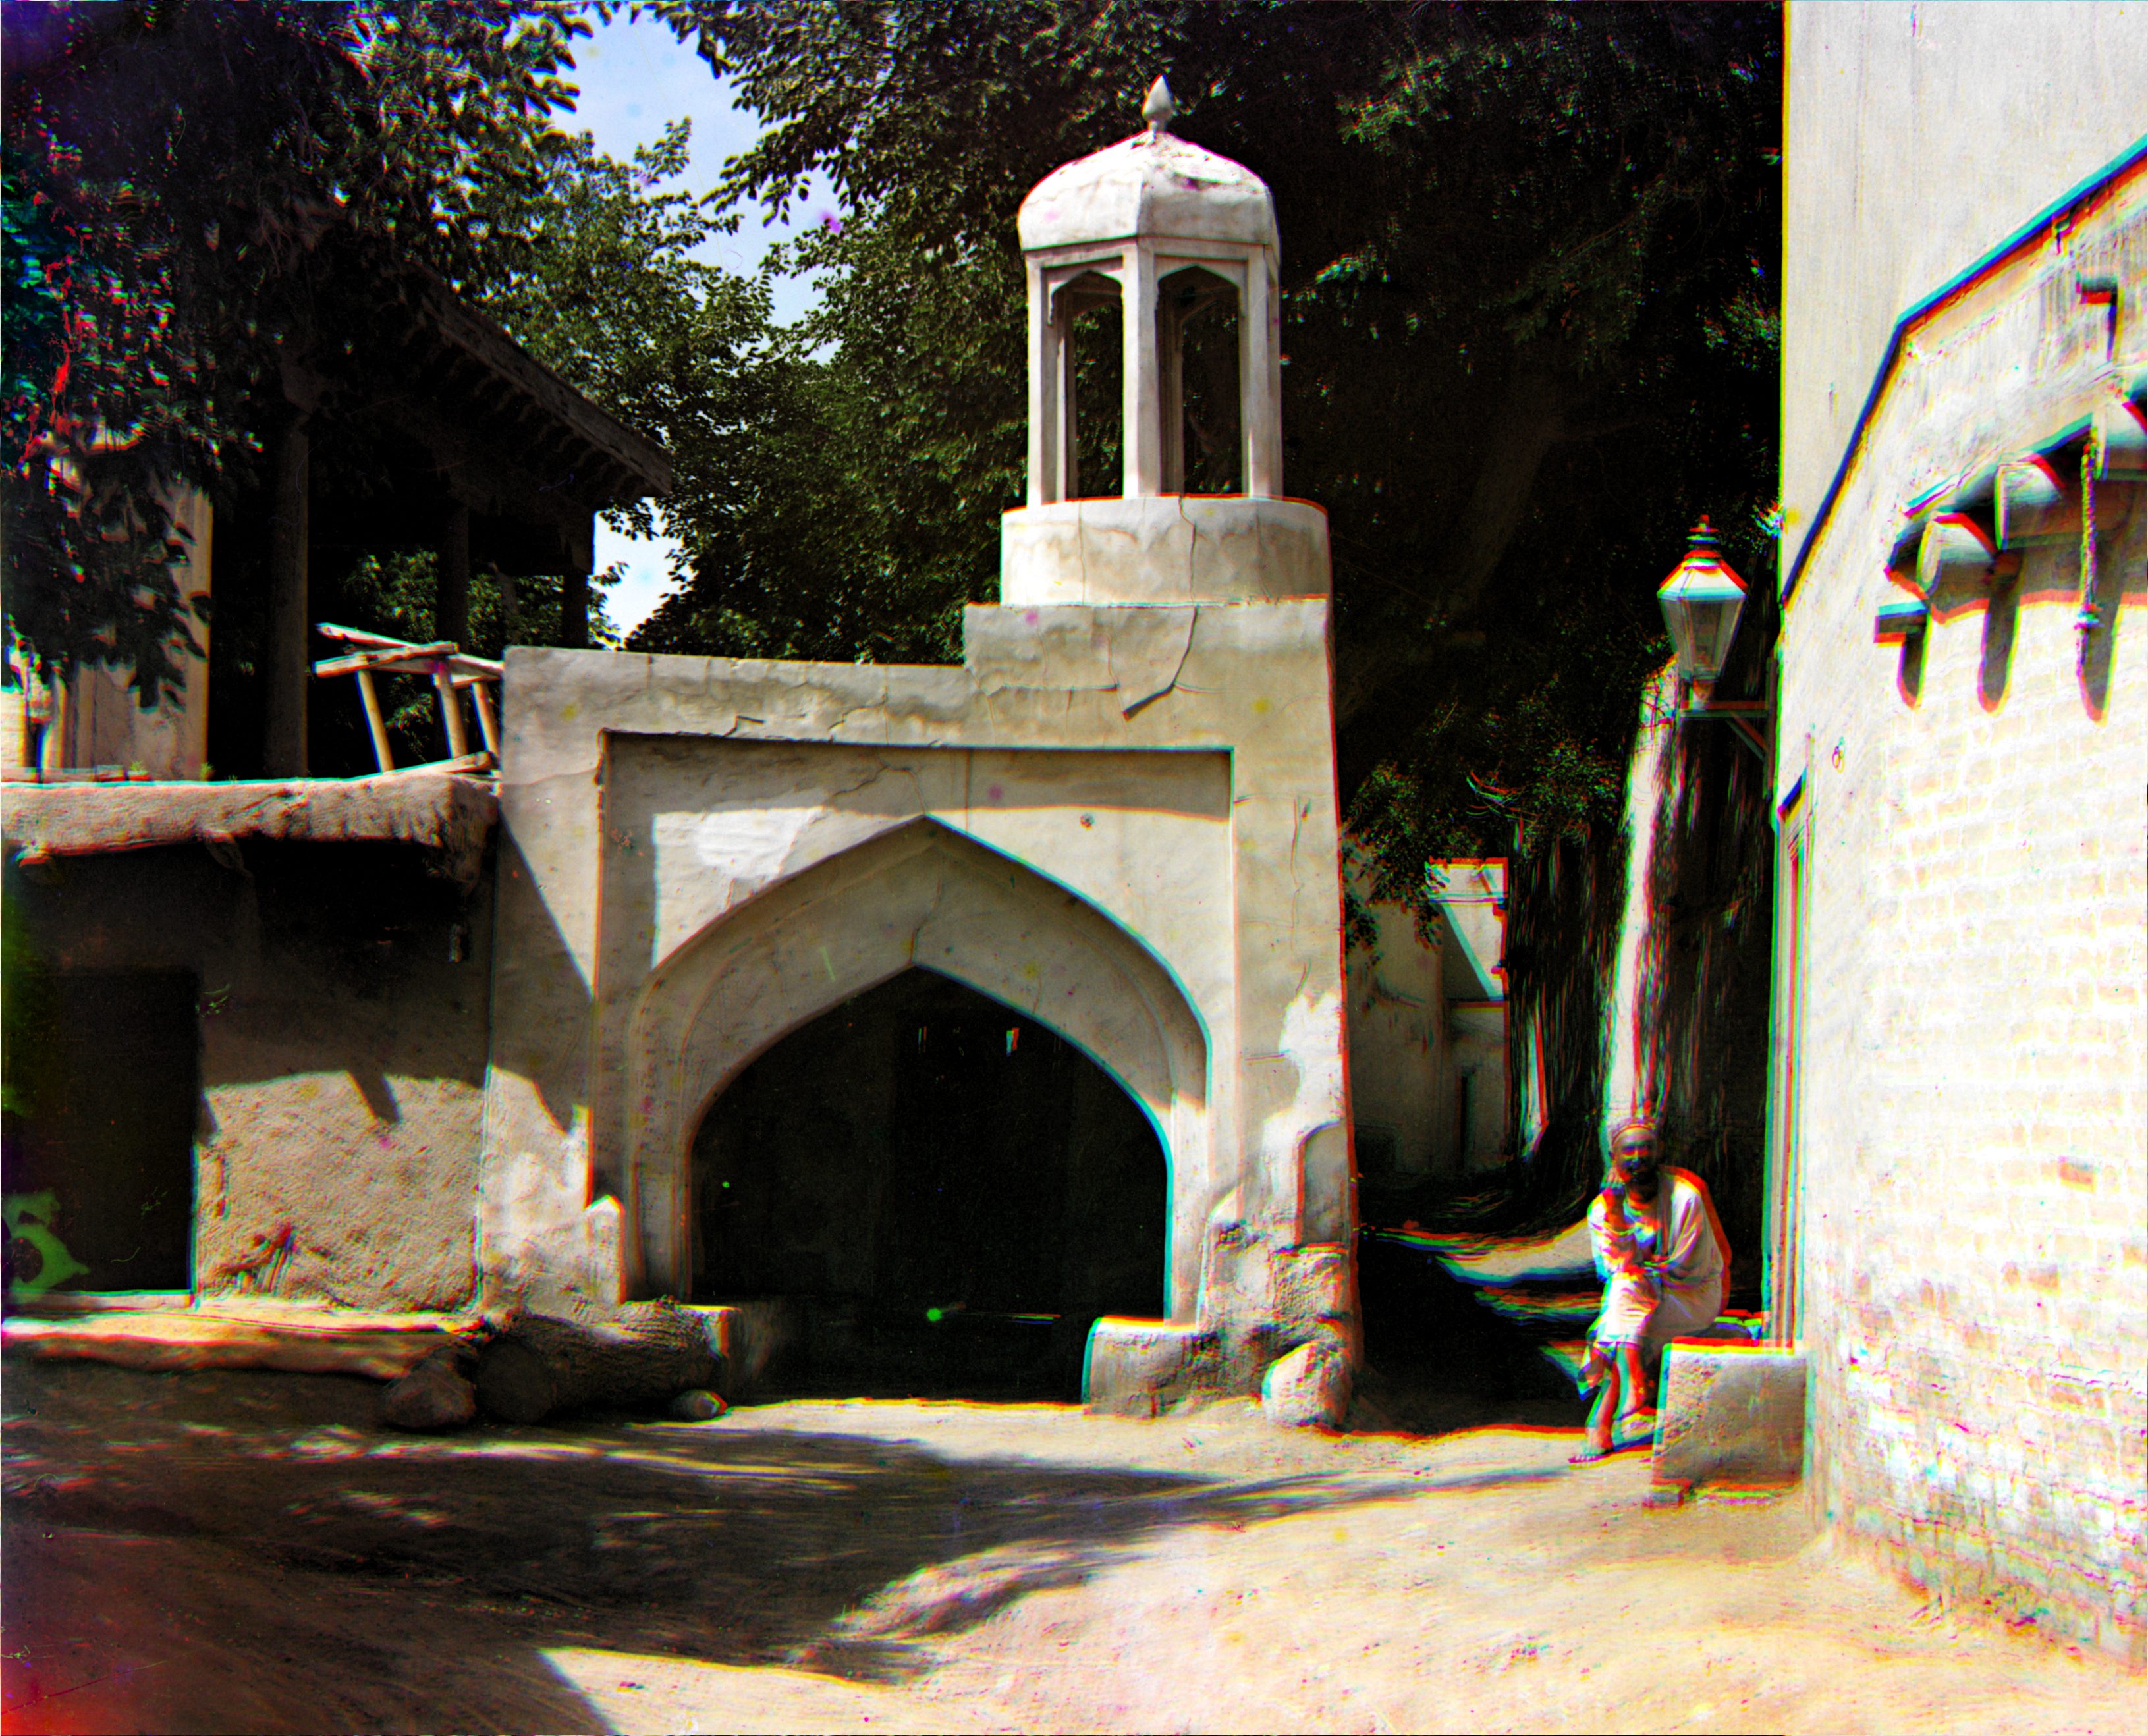
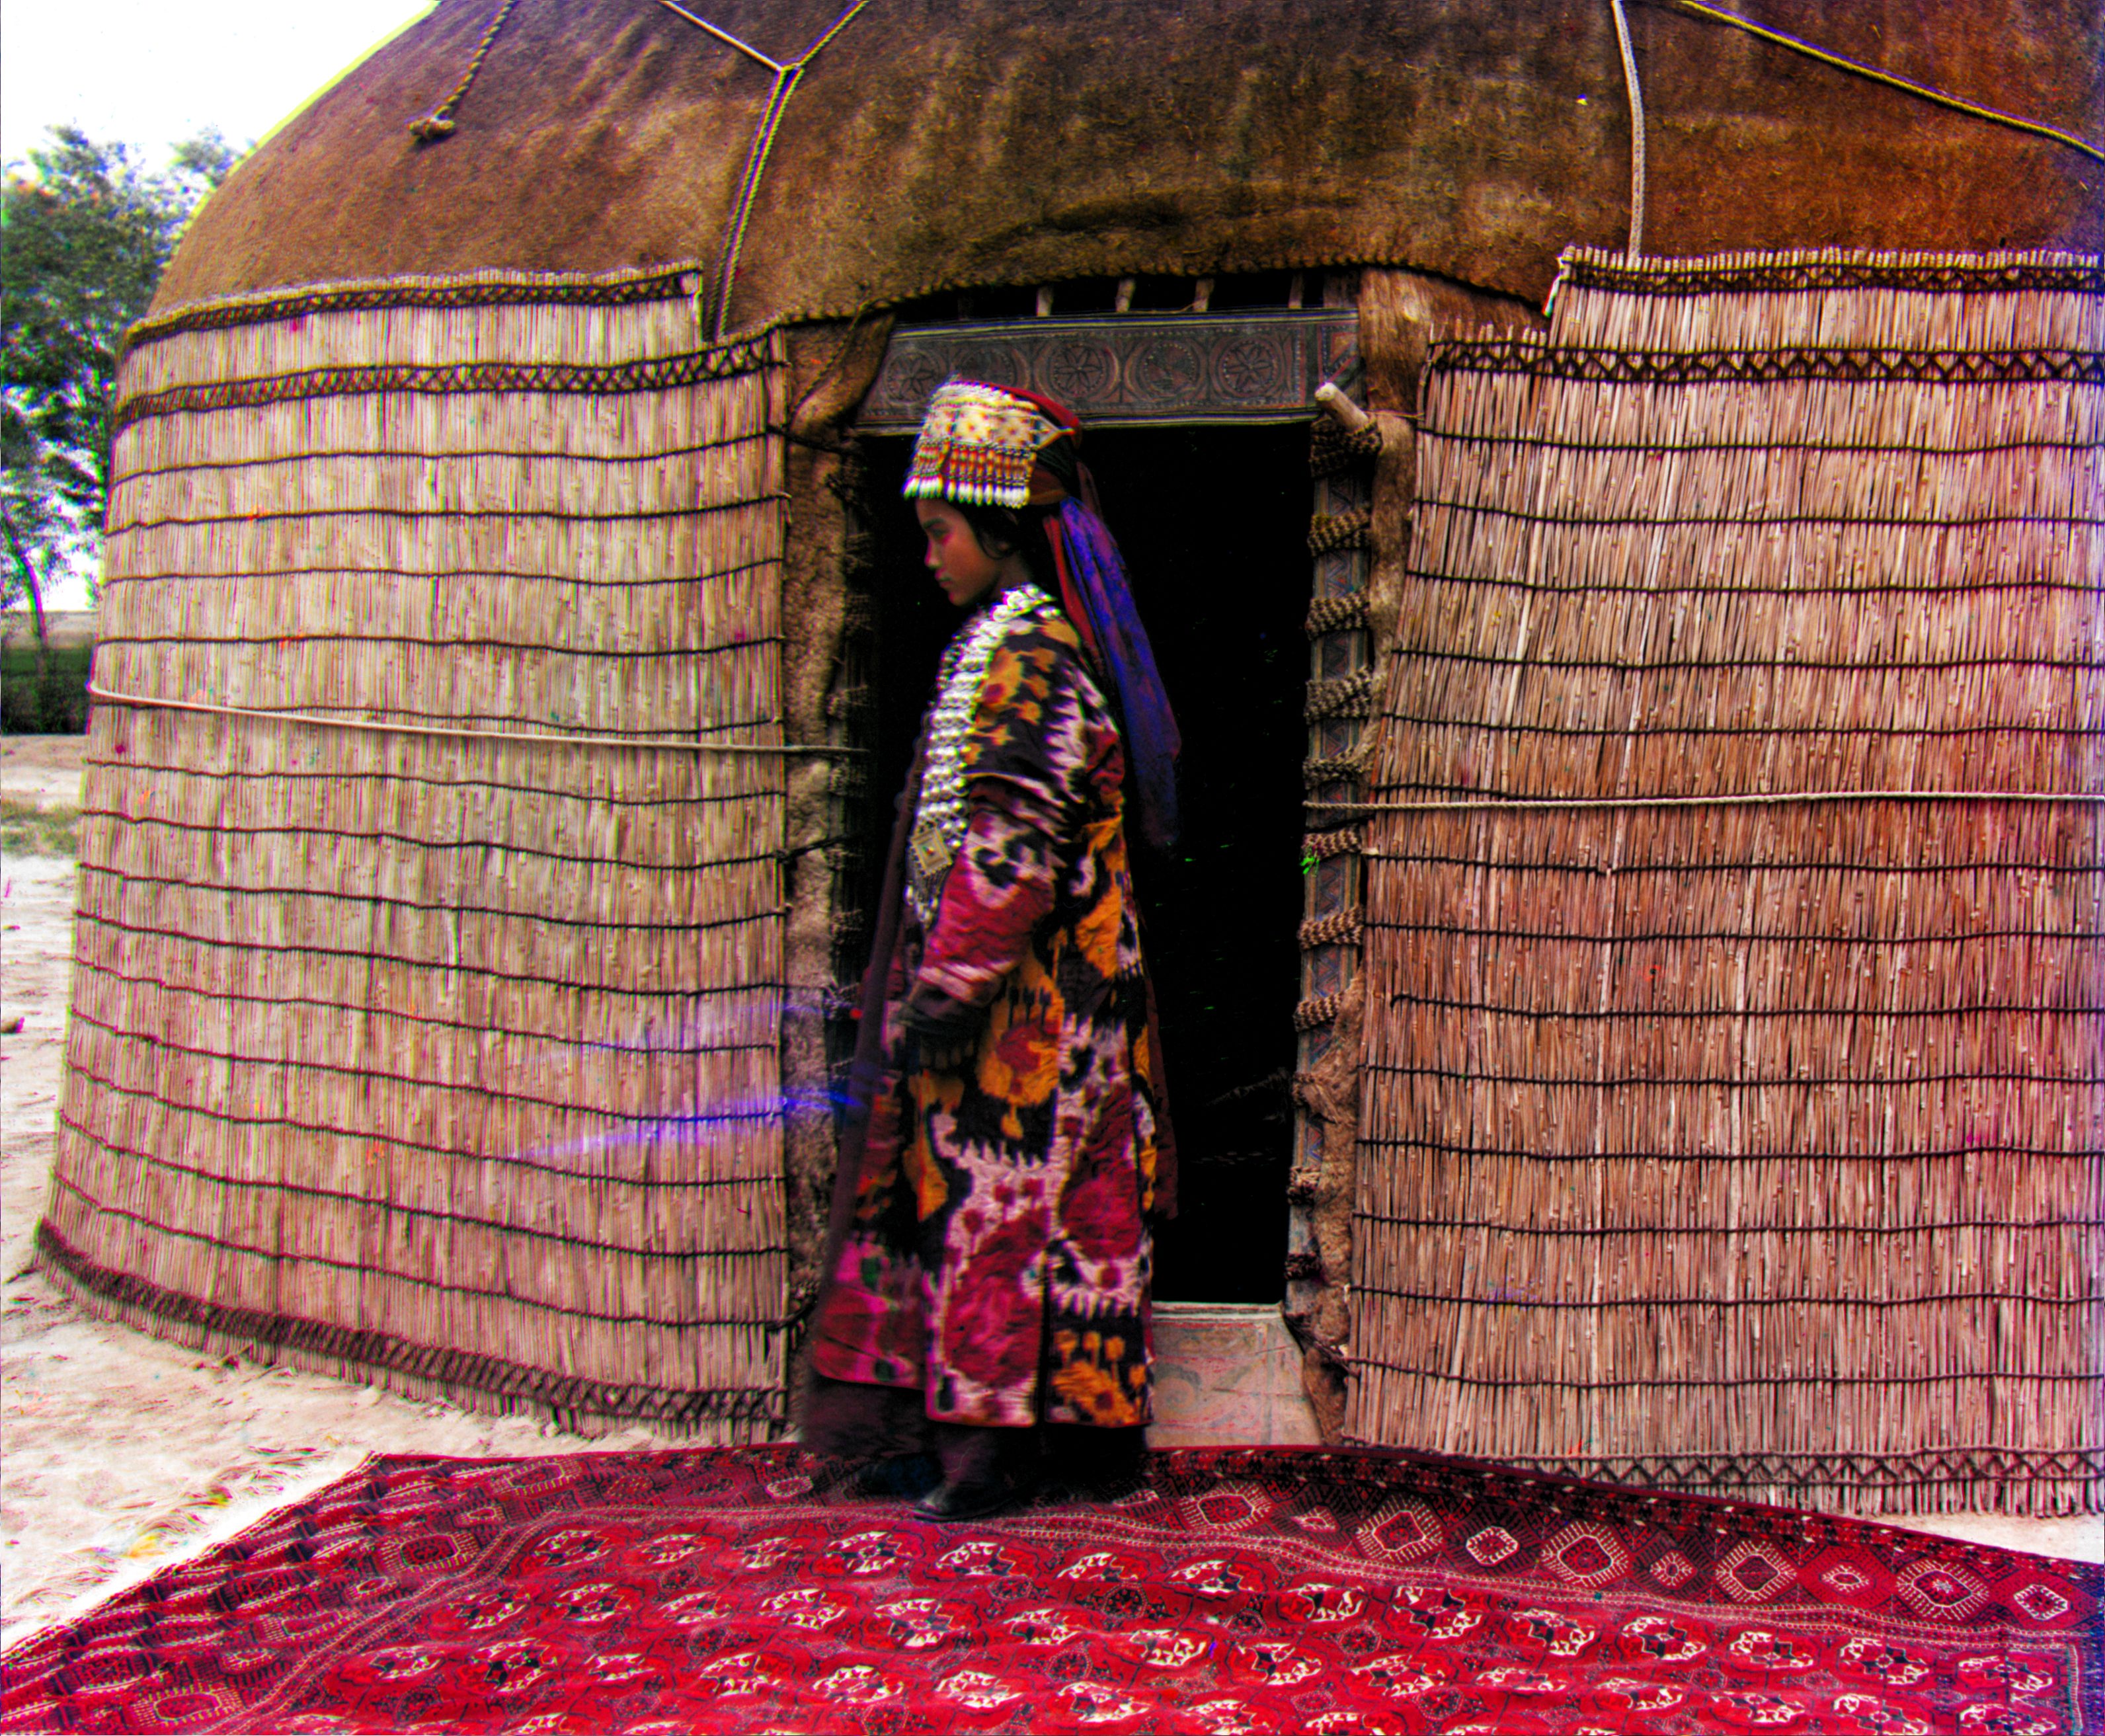
Red Offset : x = 4, y = -1
Green Offset : x = -4, y = -1

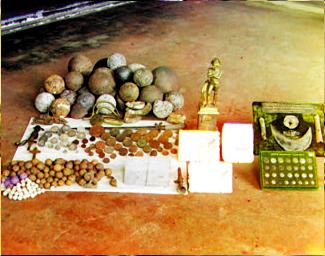
Red Offset : x = 4, y = -4
Green Offset : x = -4 y = 4
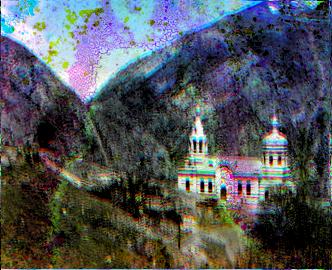
Red Offset : x = 4, y = -2
Green Offset : x = -4, y = -1
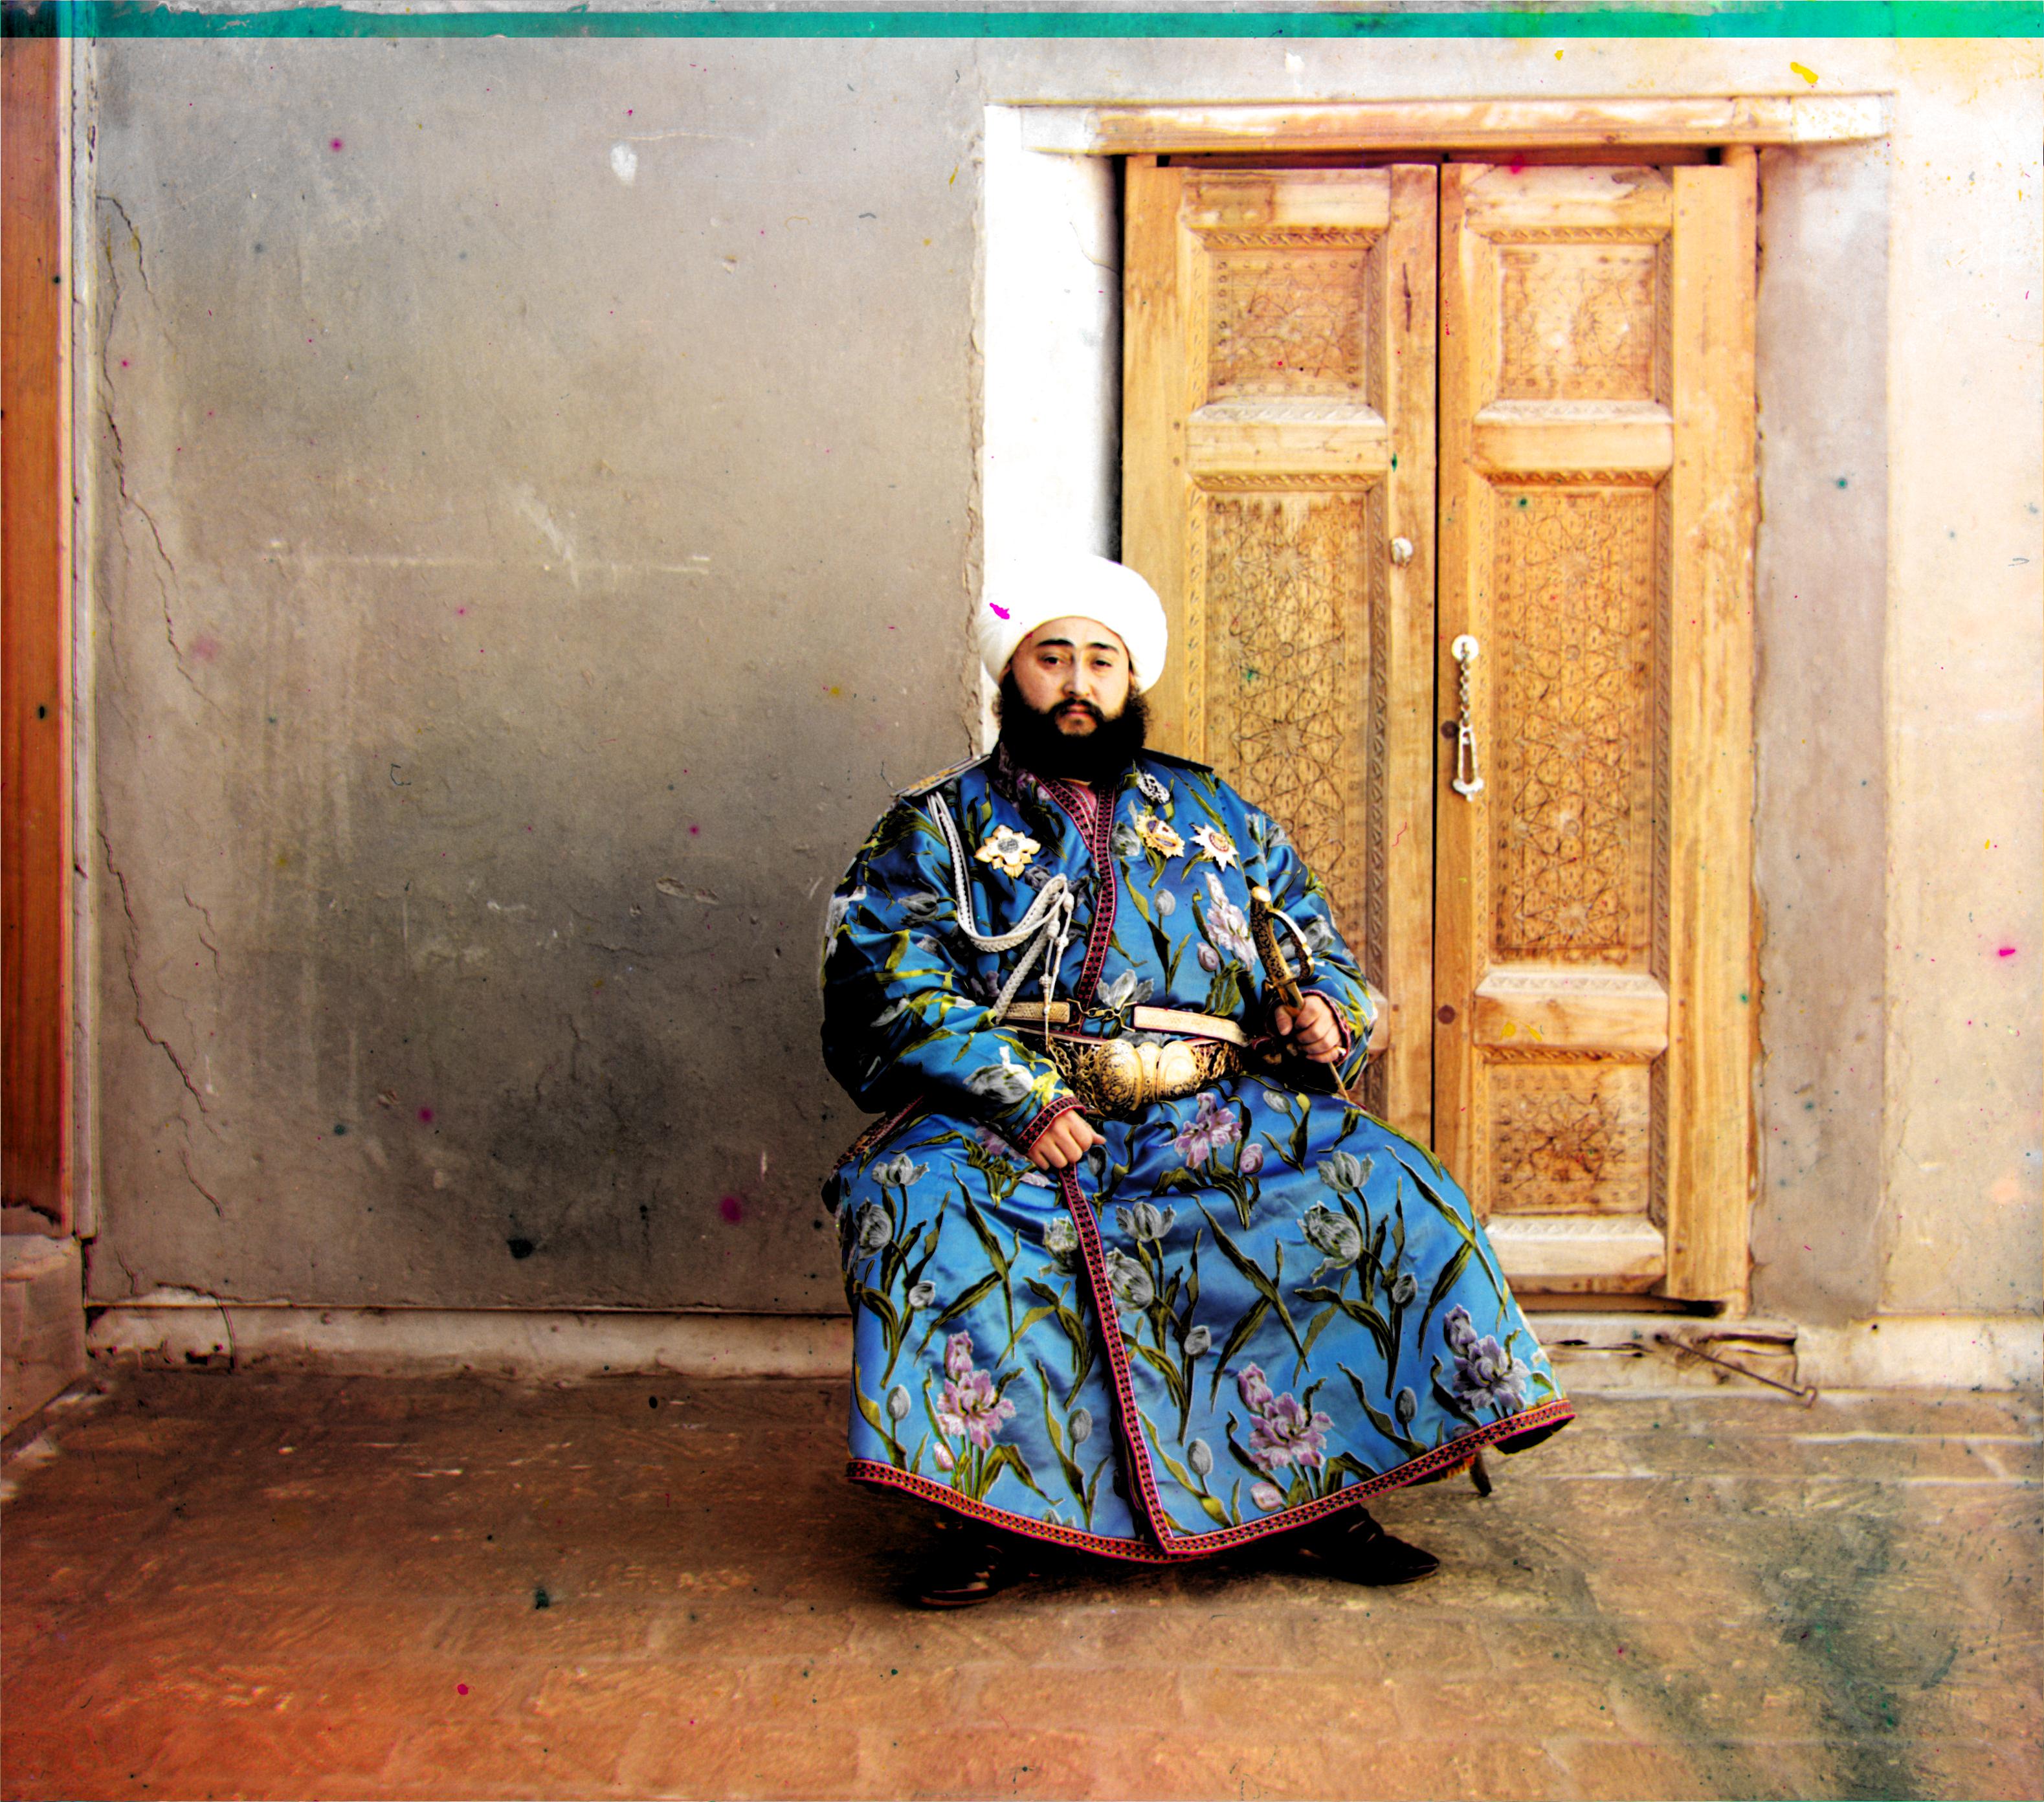
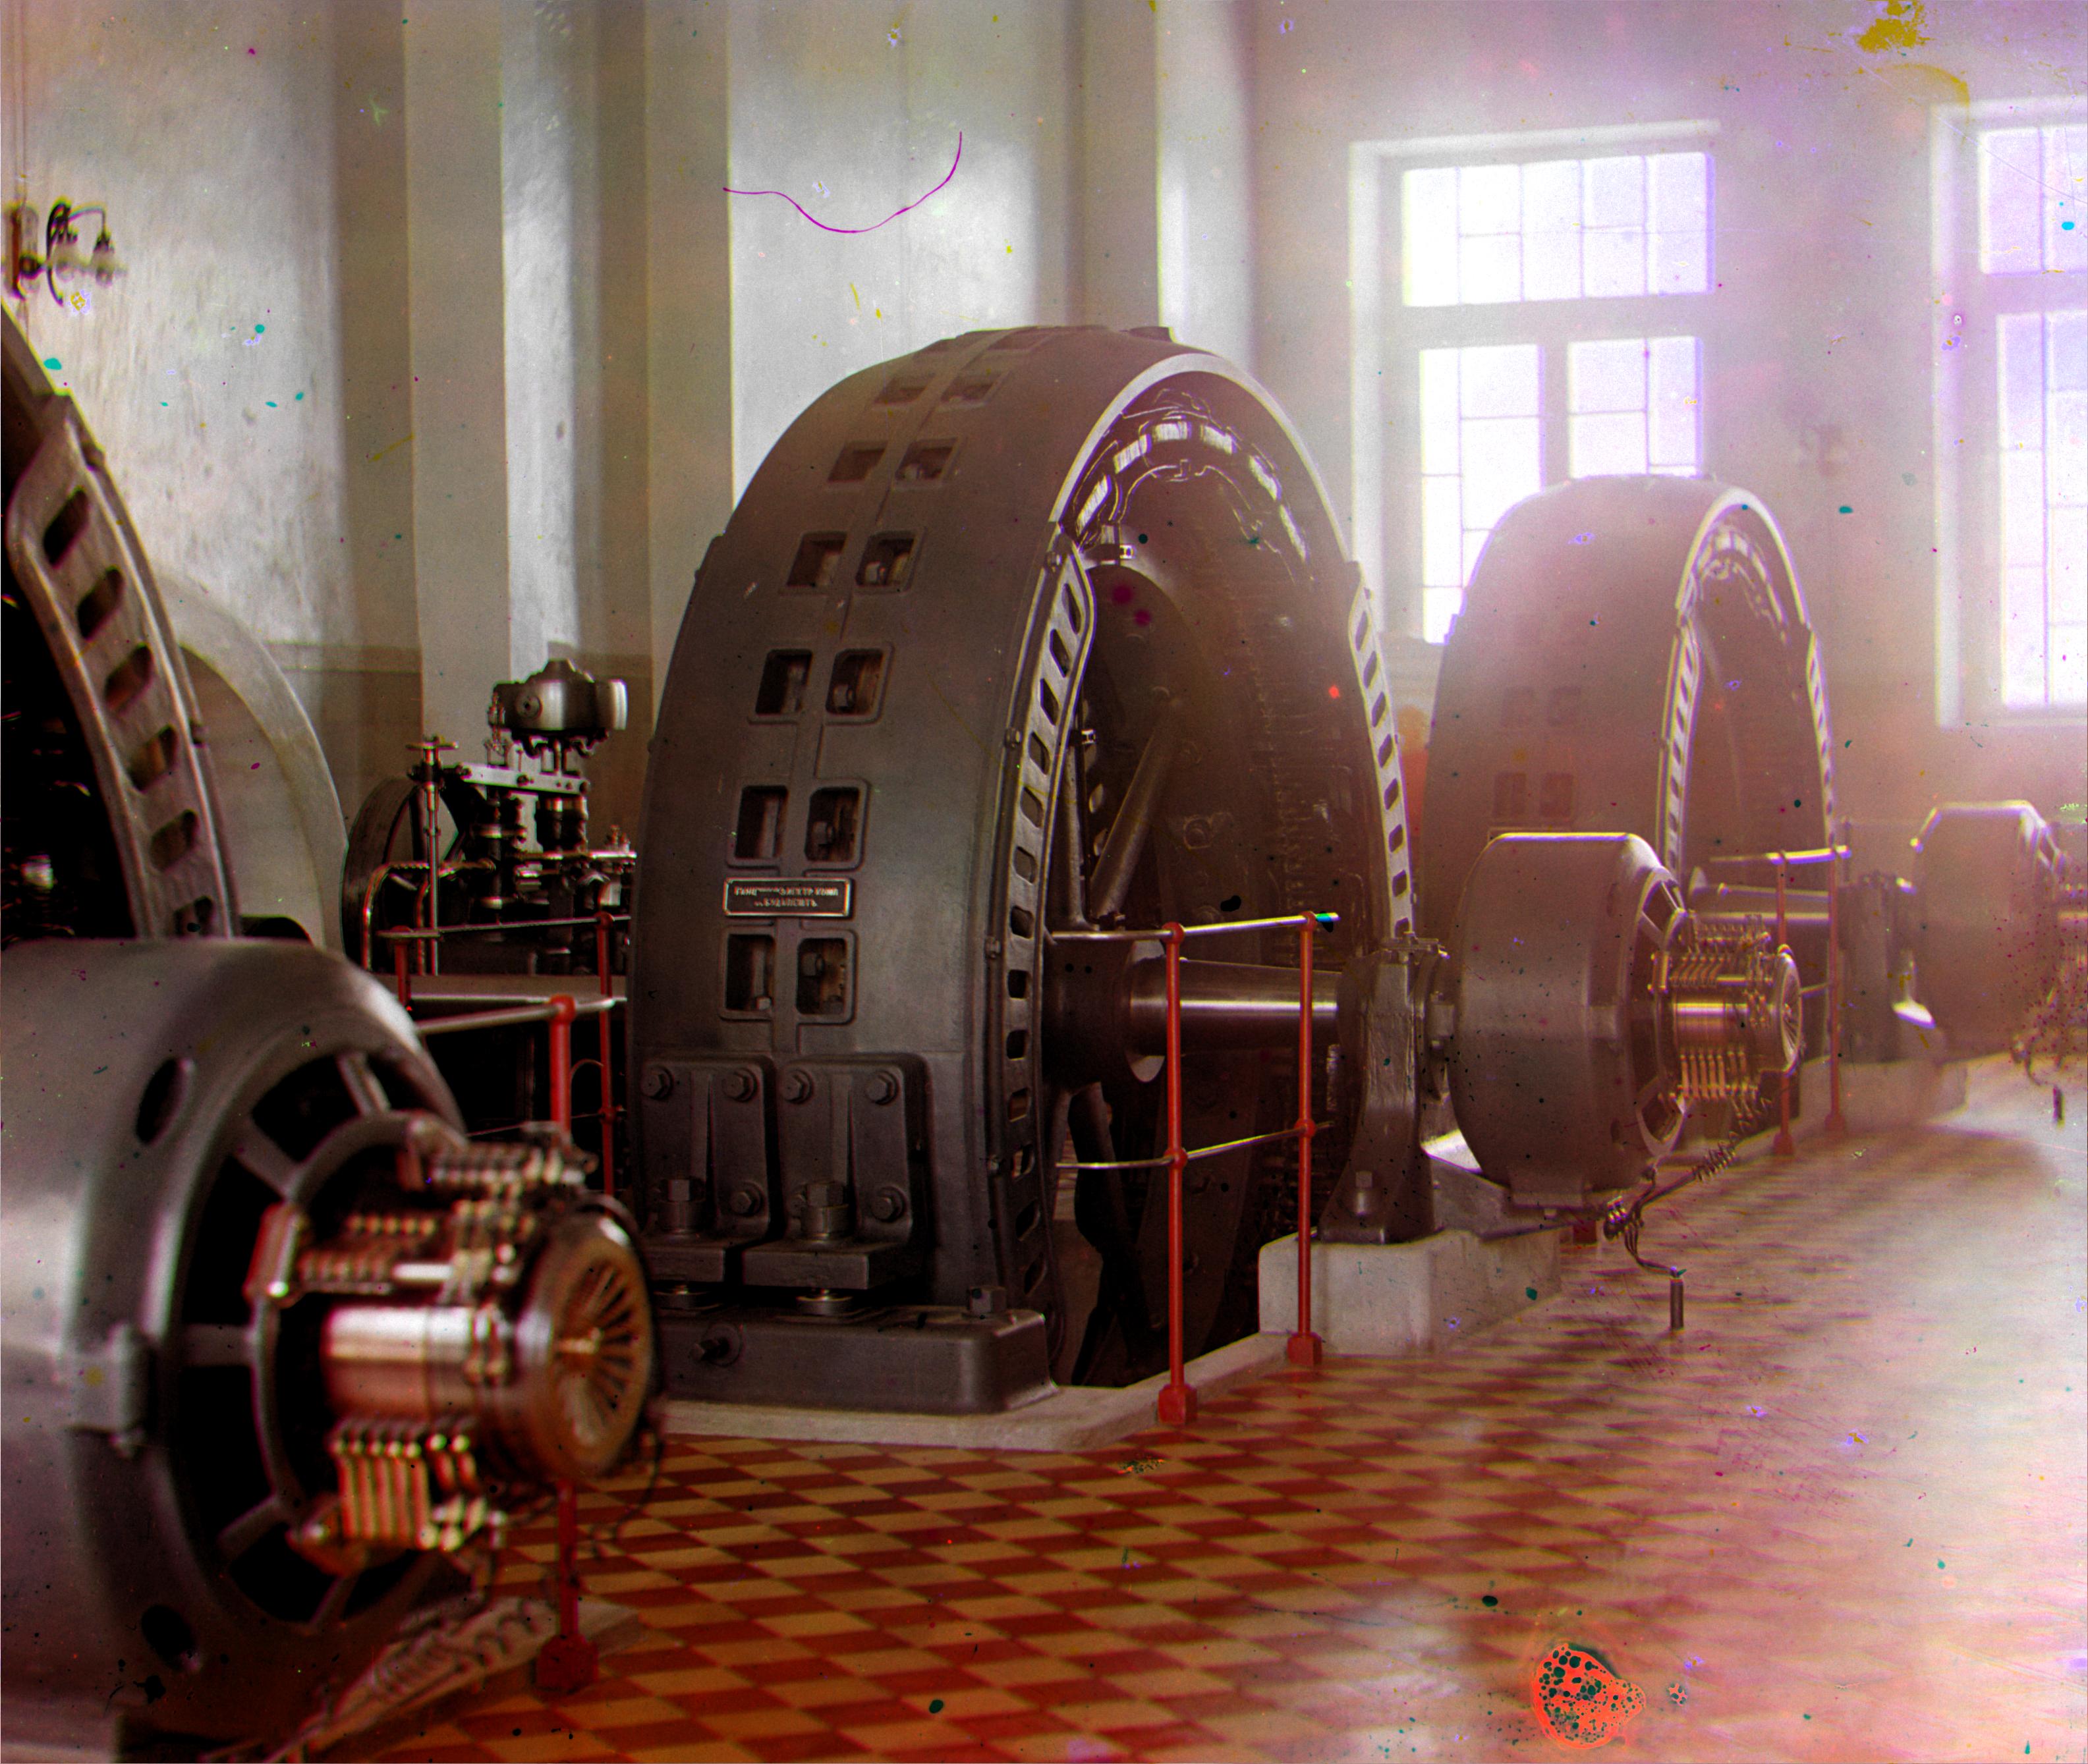
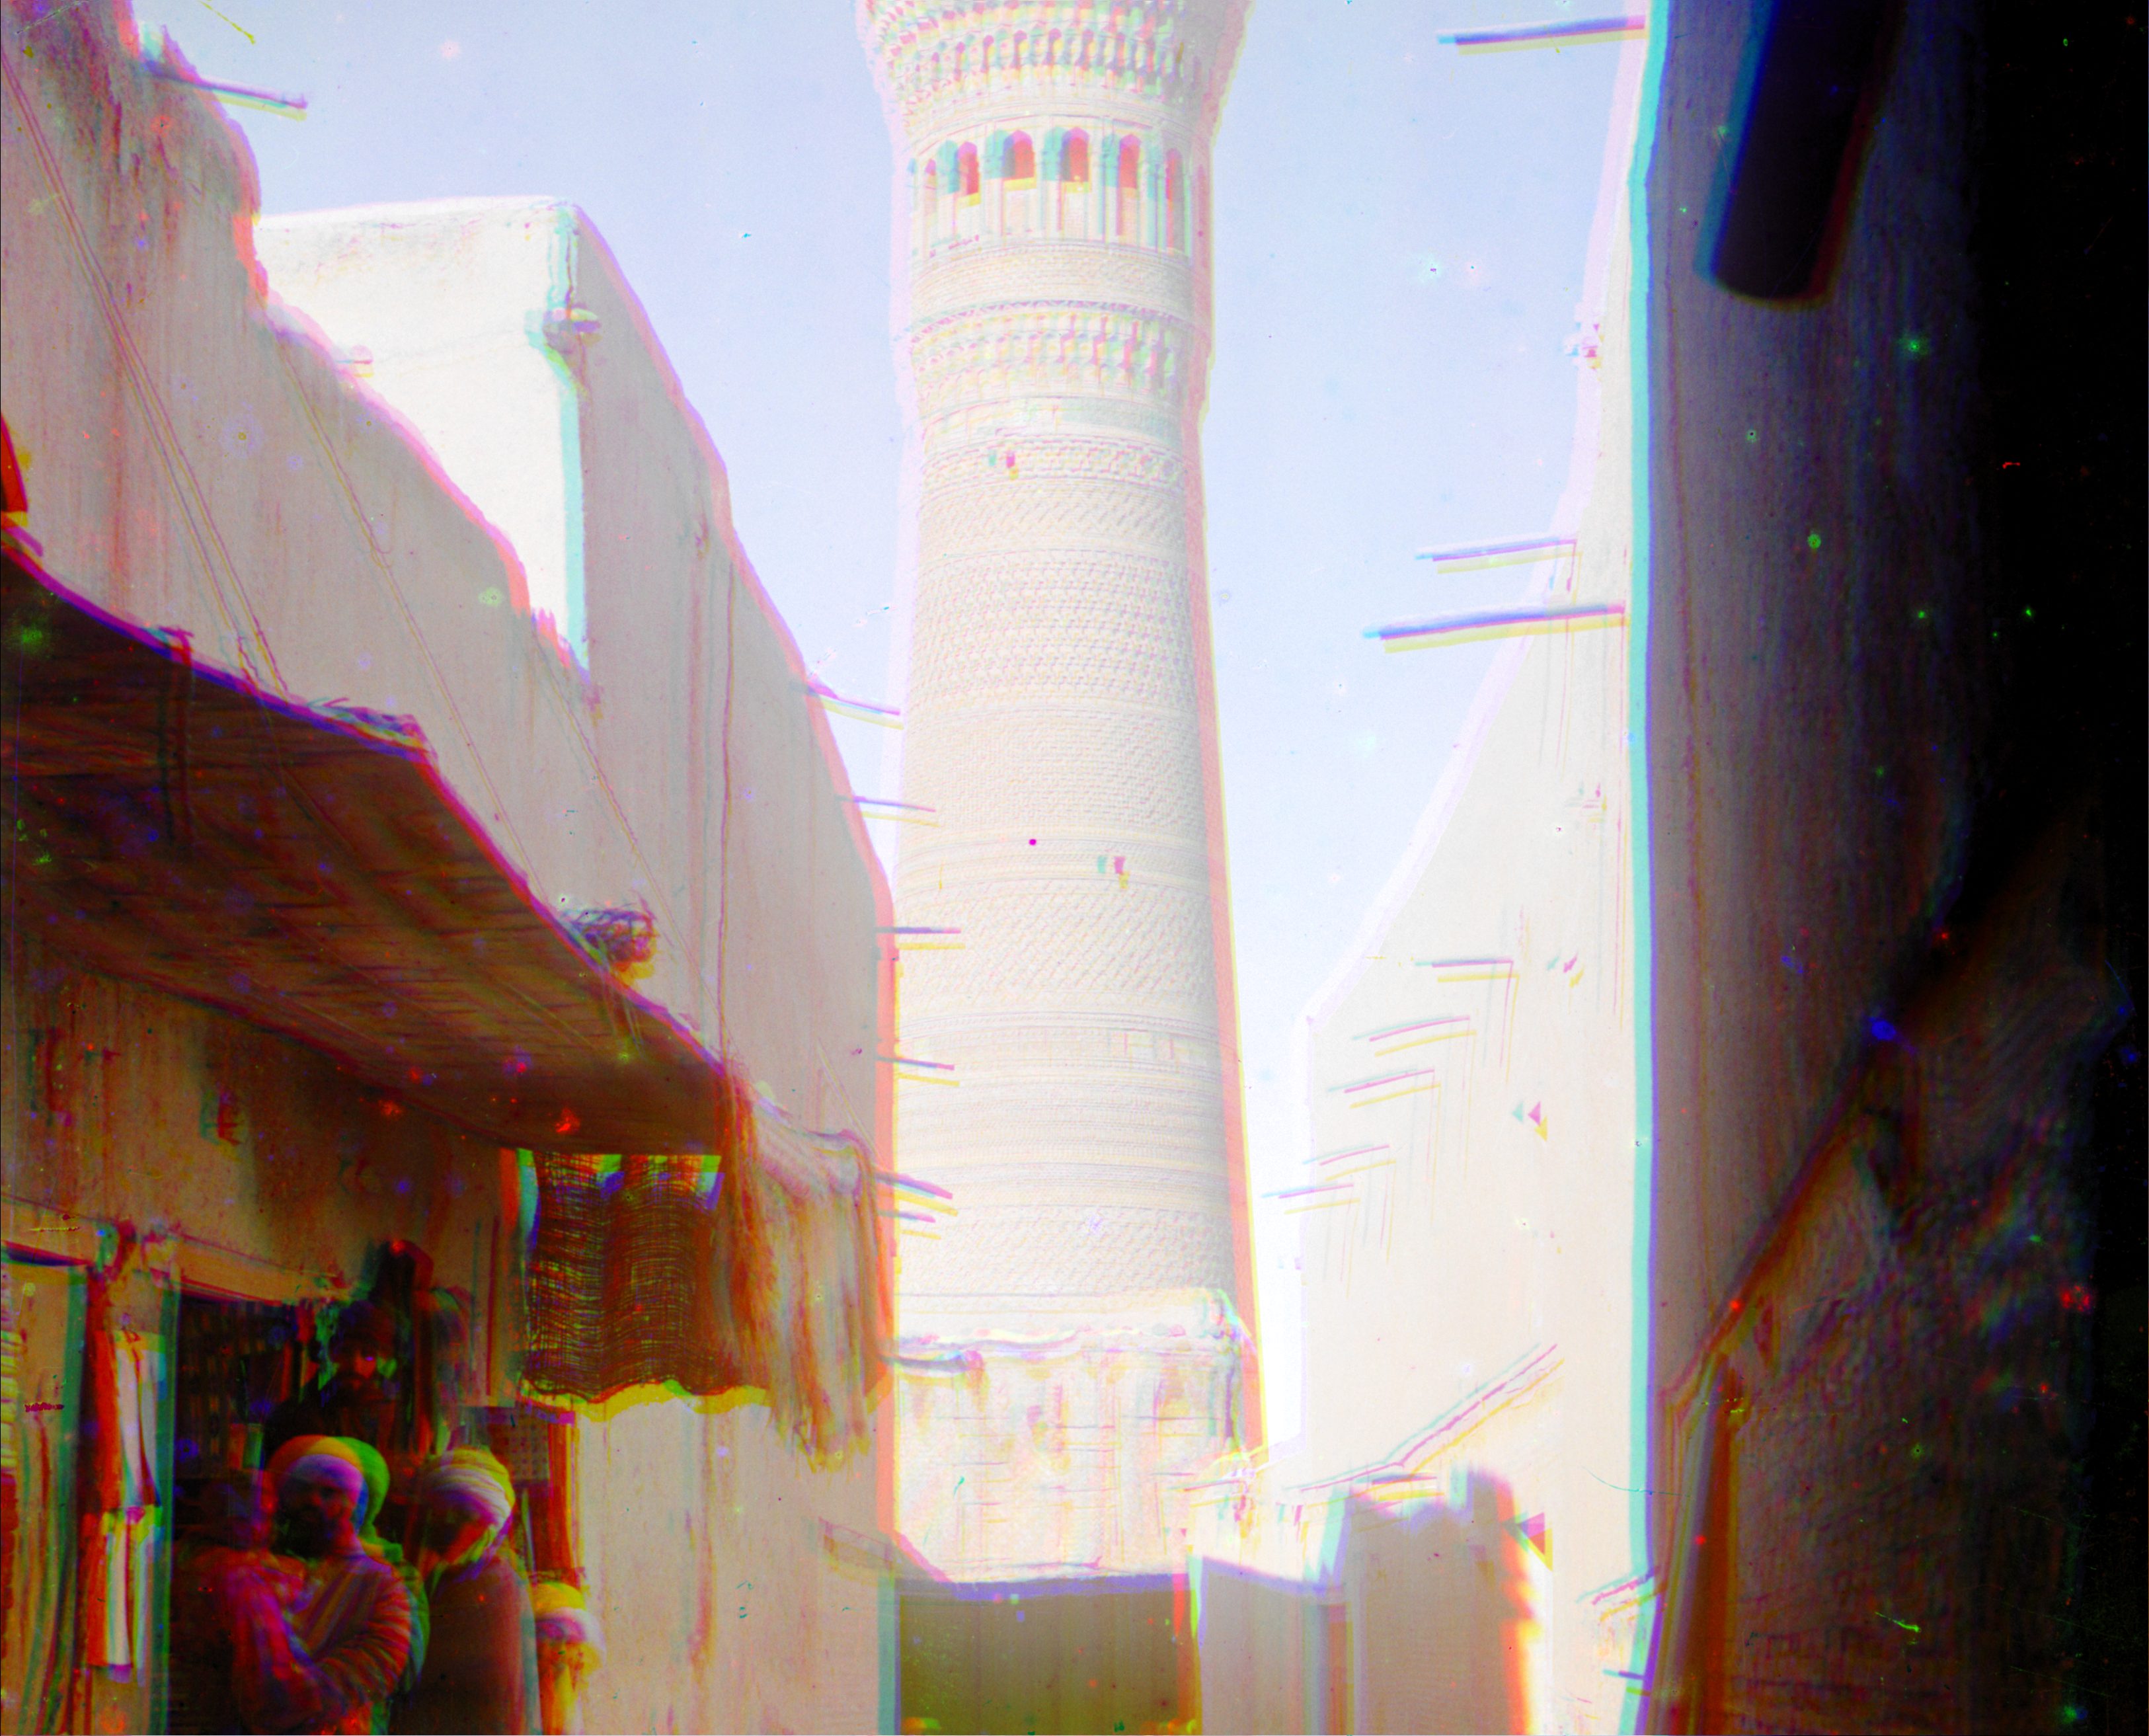
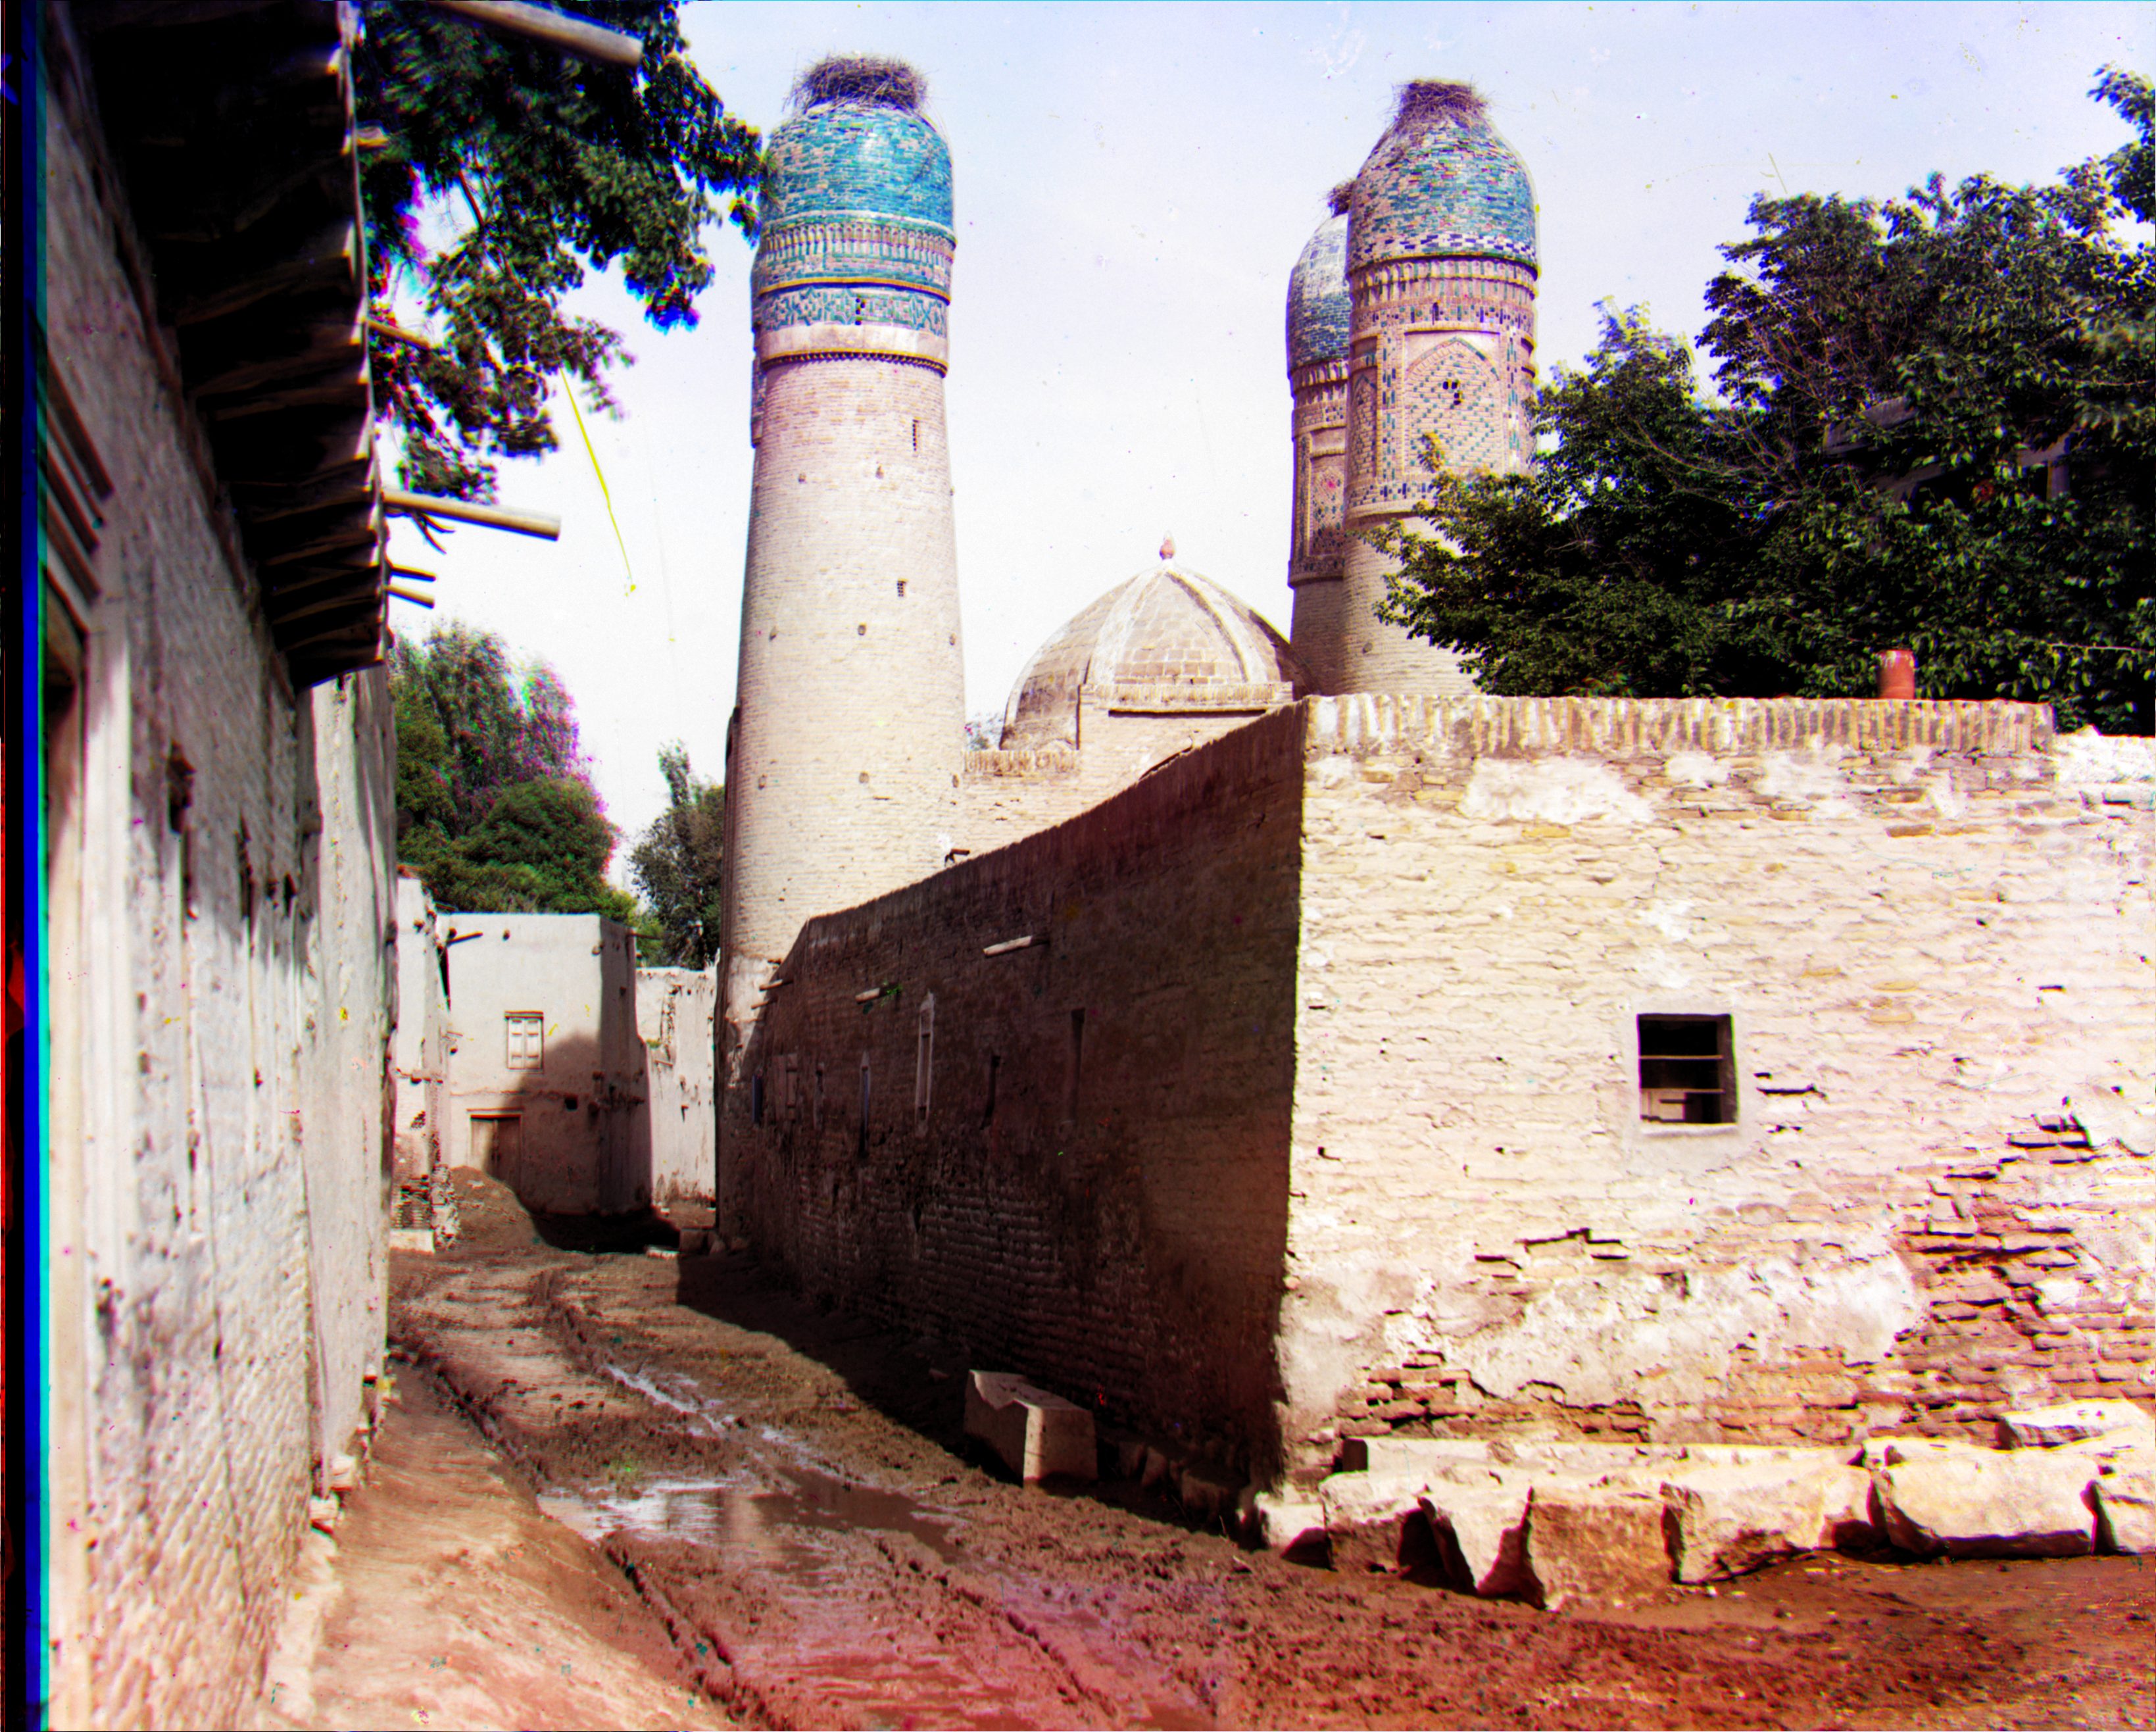
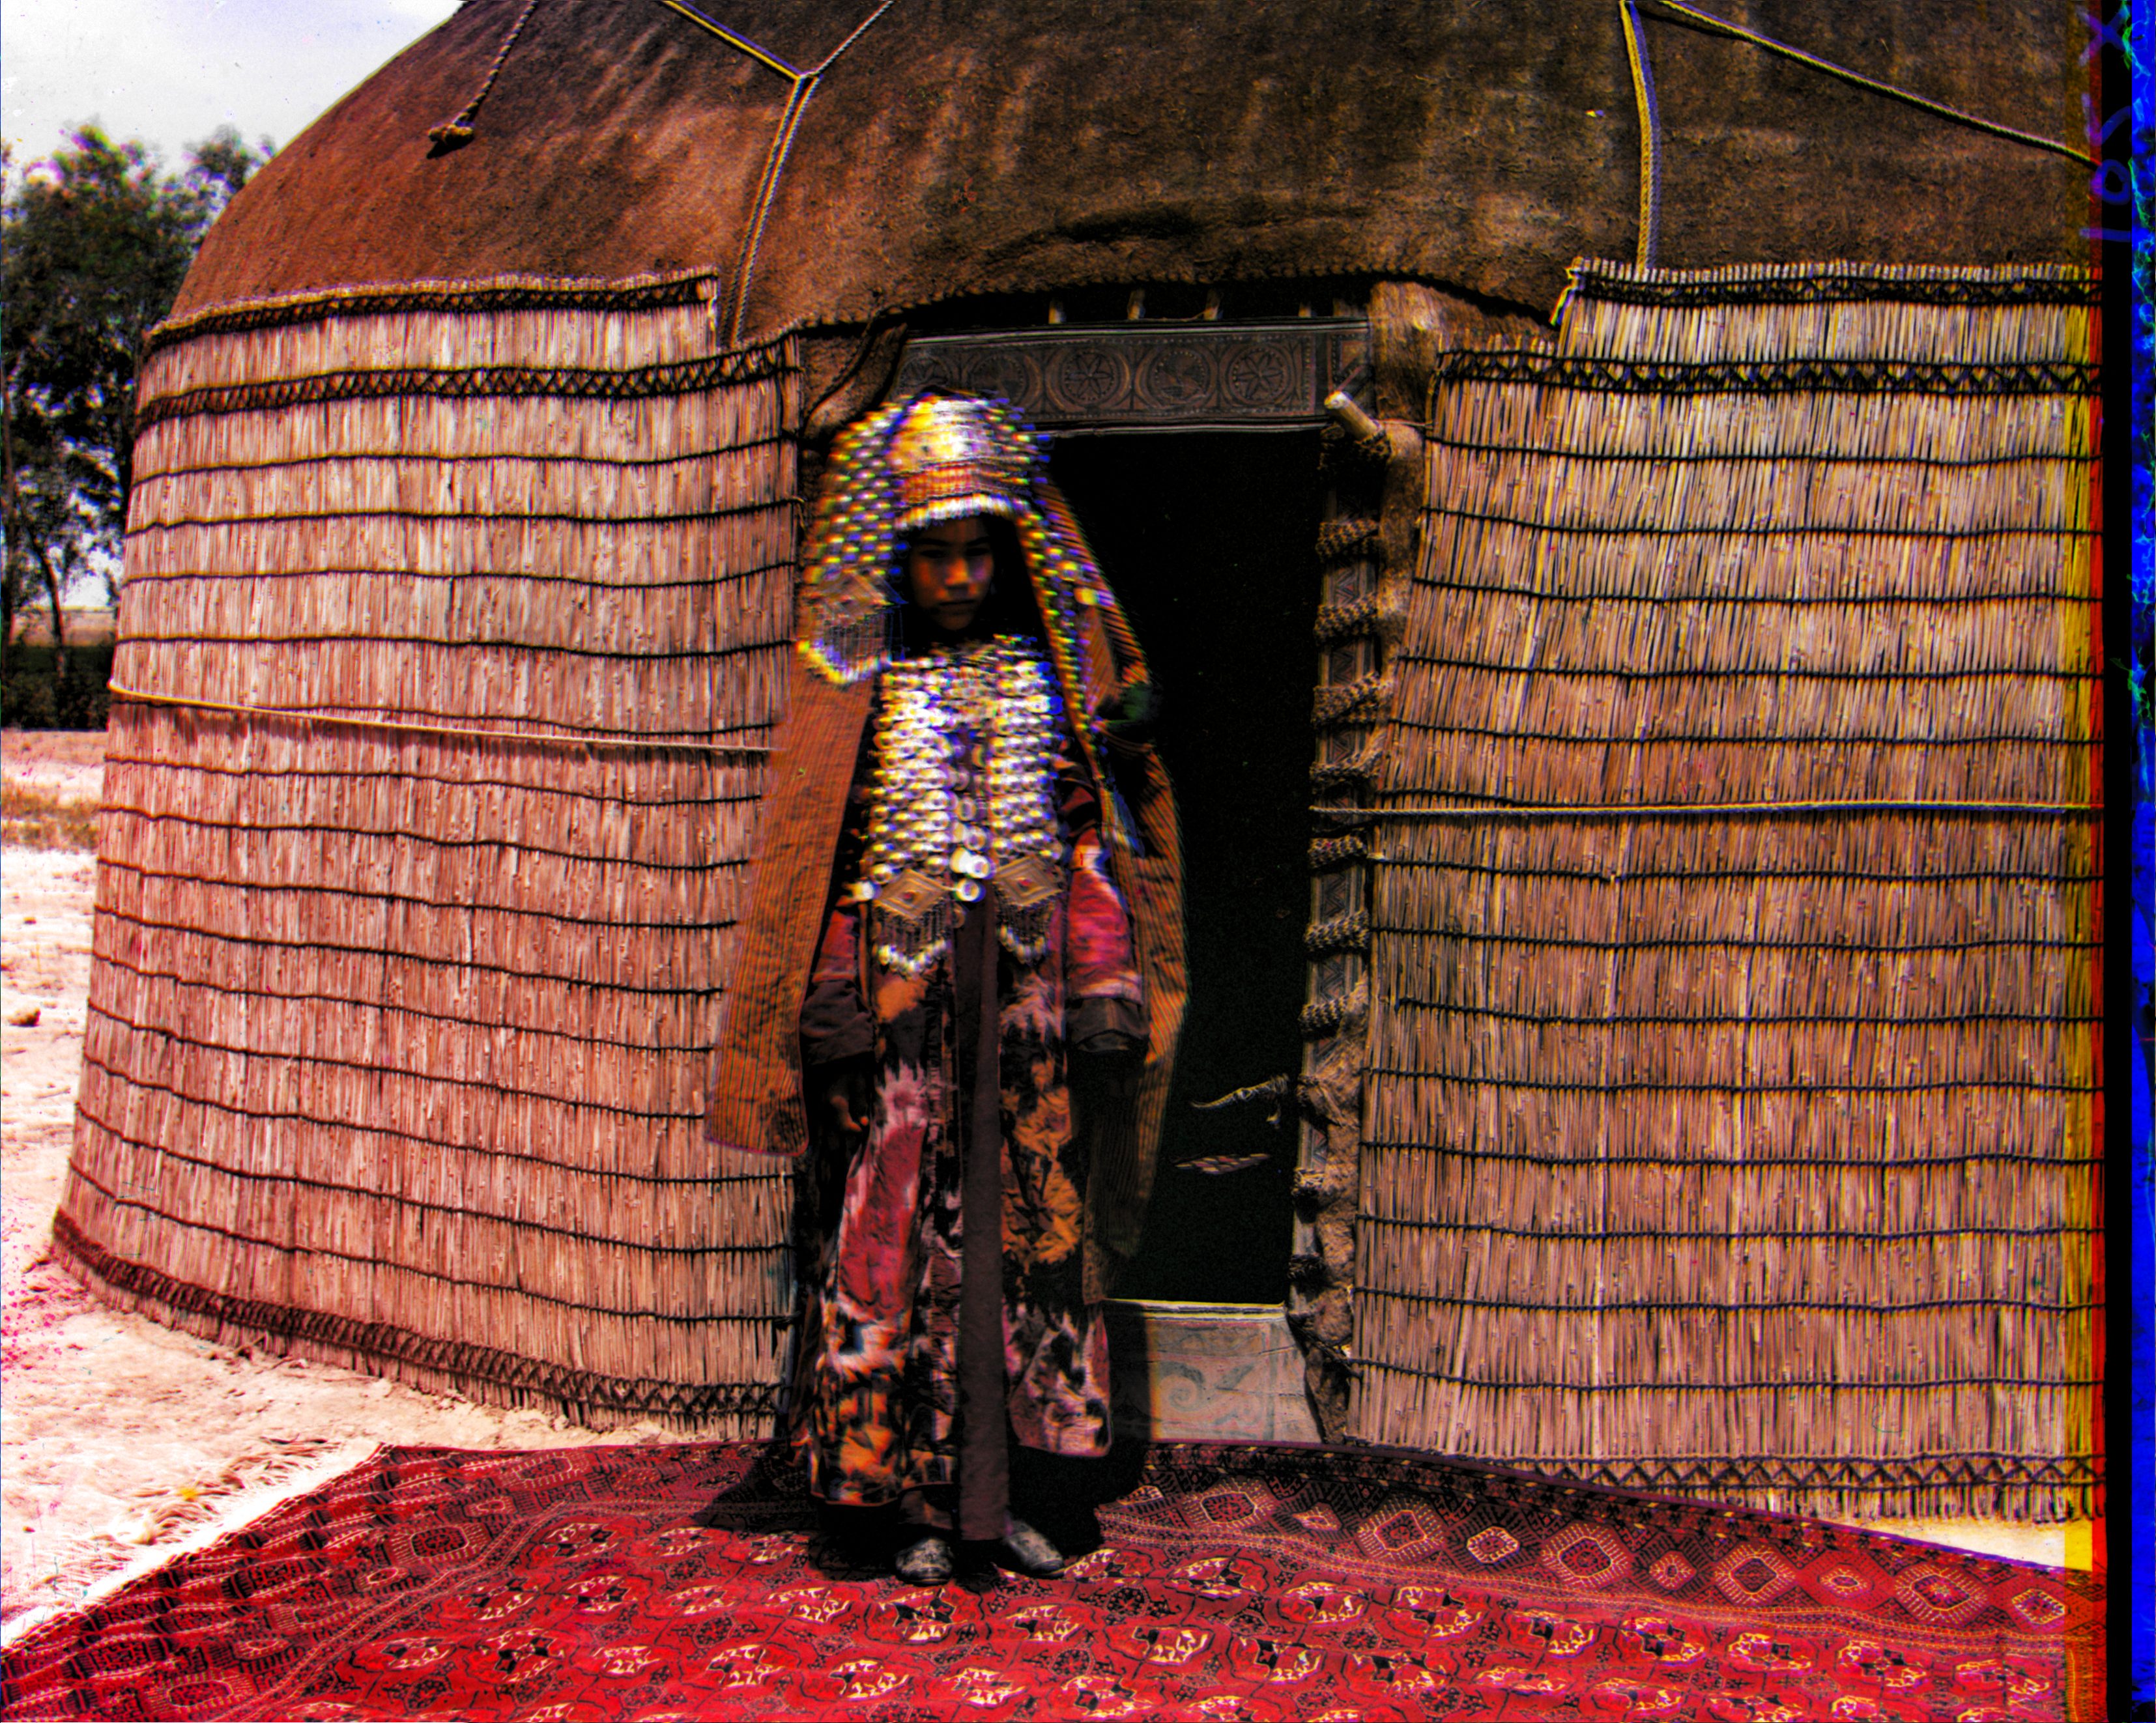
Red Offset : x = 72, y = 15
Green Offset : x = -69, y = -25
Red Offset : x = 4, y = -4
Green Offset : x = -4, y = 0
Red Offset : x = 4, y = 0
Green Offset : x = -4, y = -3

Red Offset : x = 4, y = 1
Green Offset : x = -4, y = -2
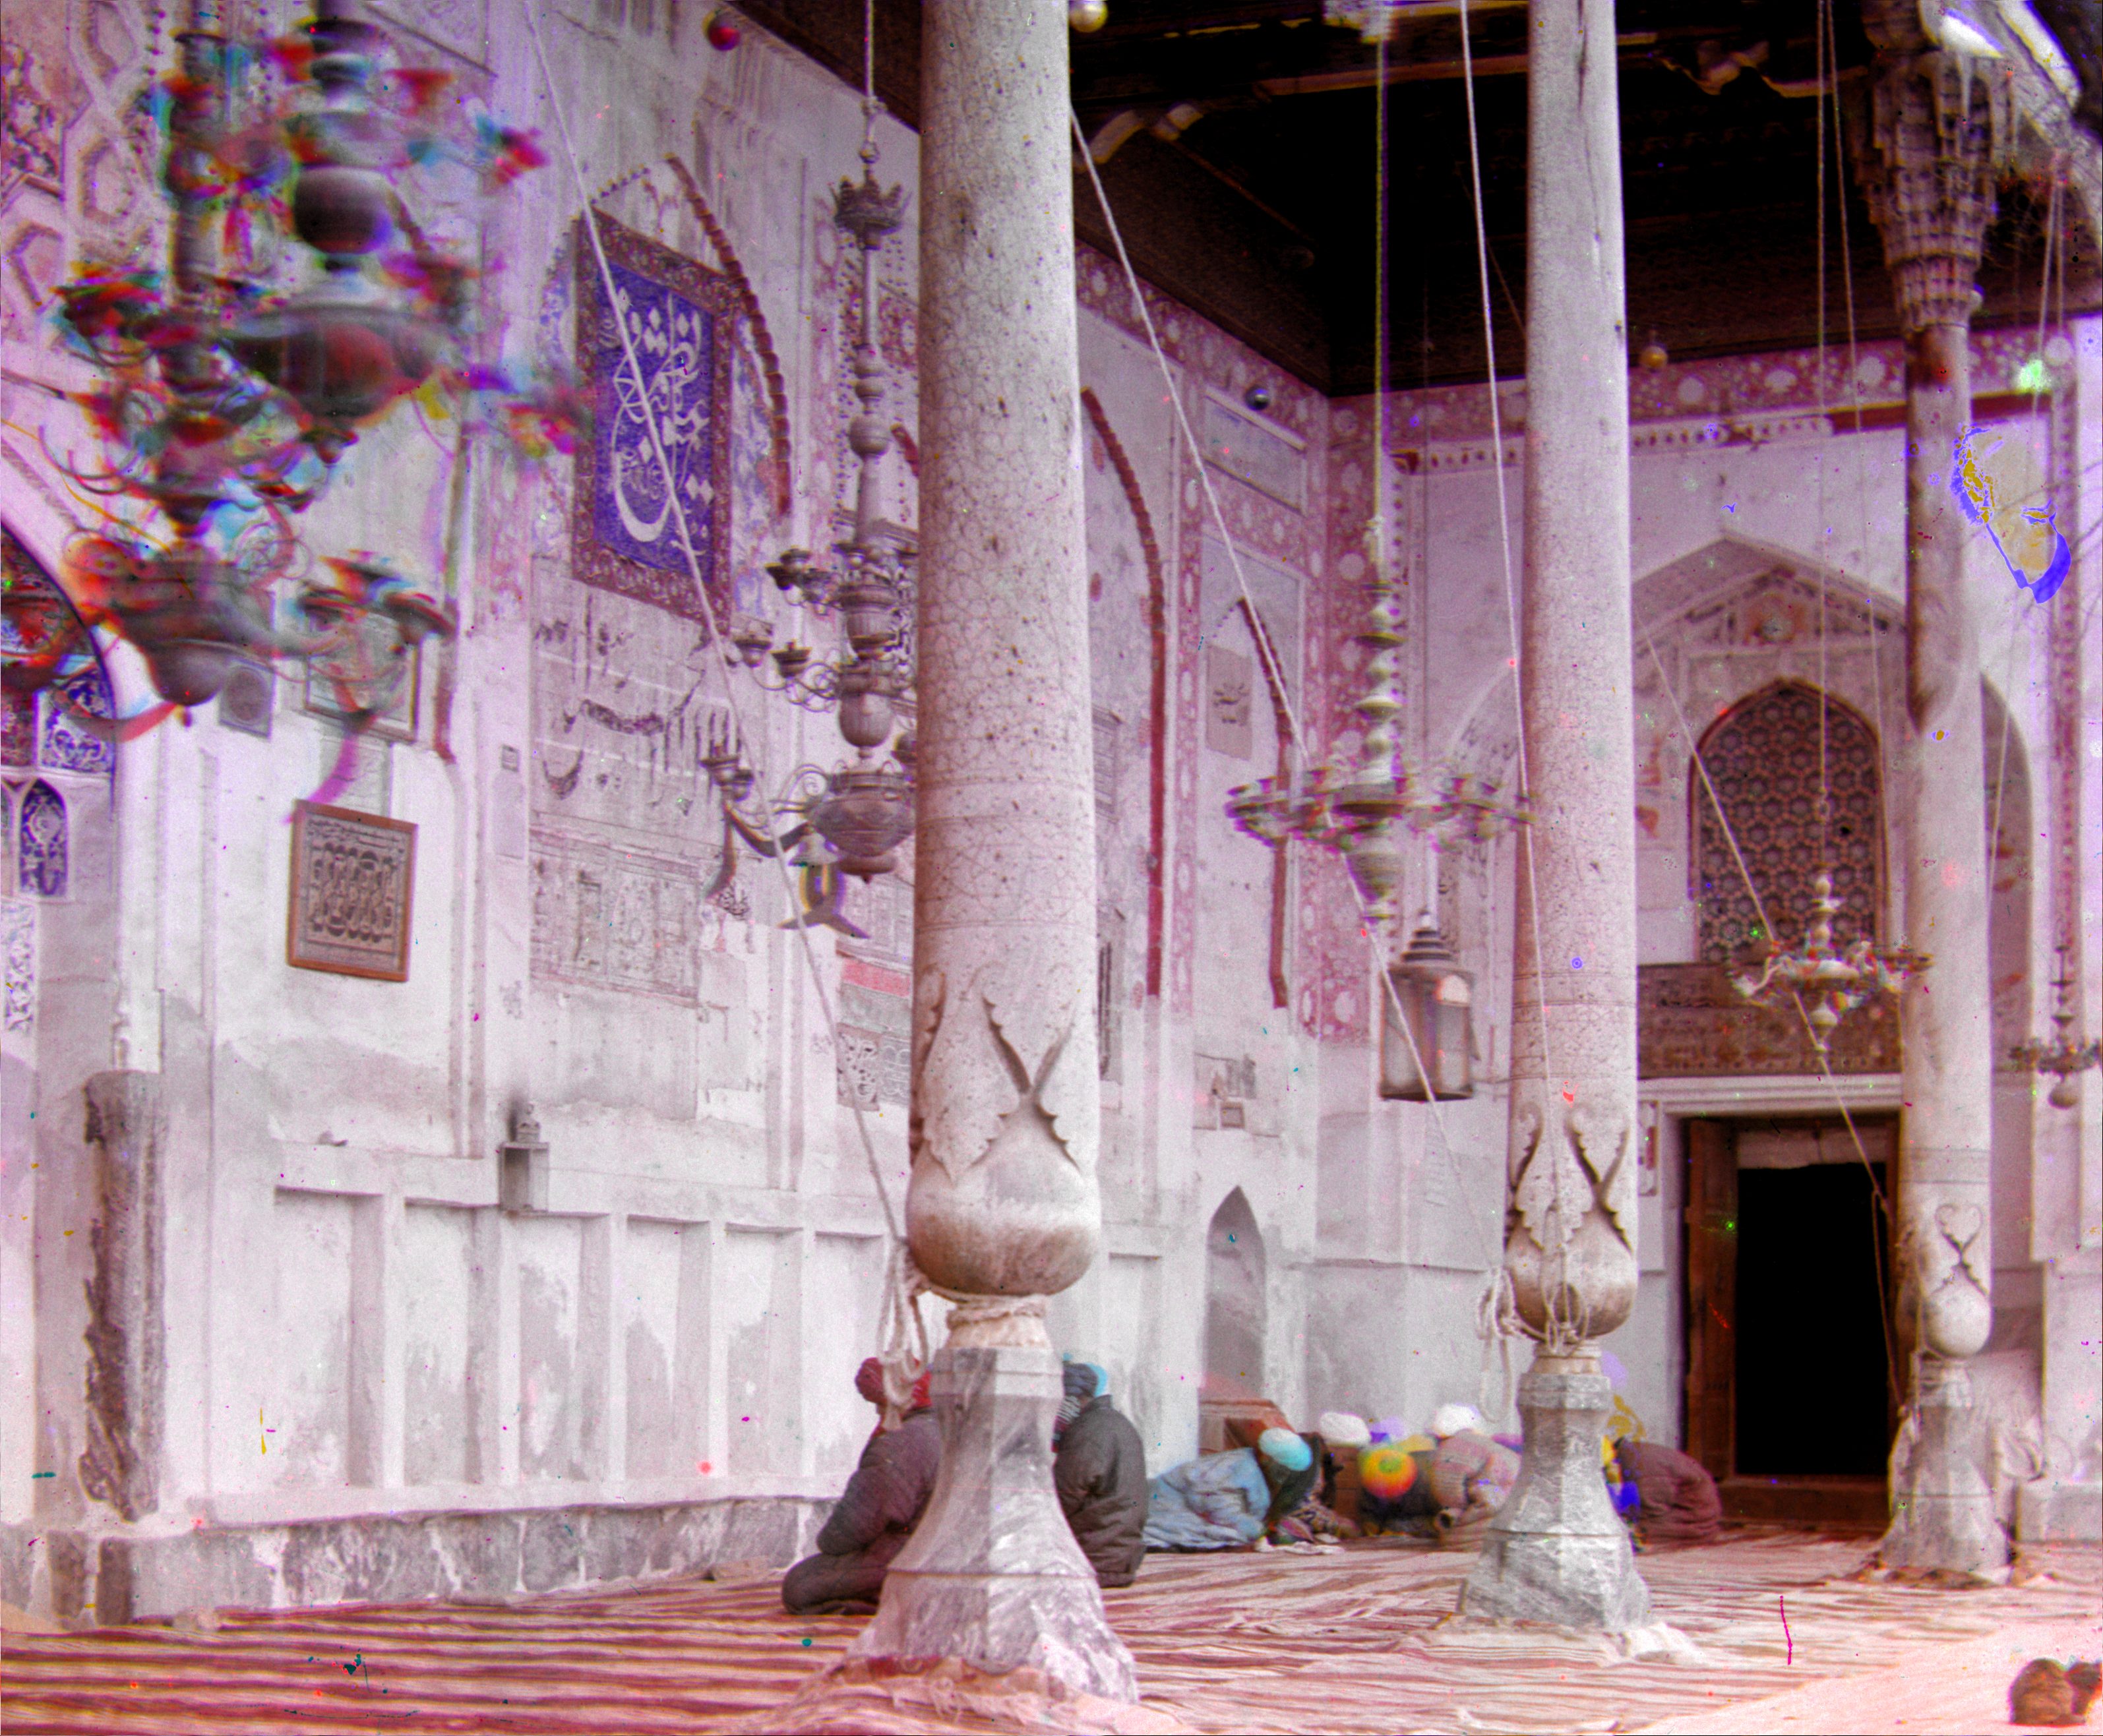
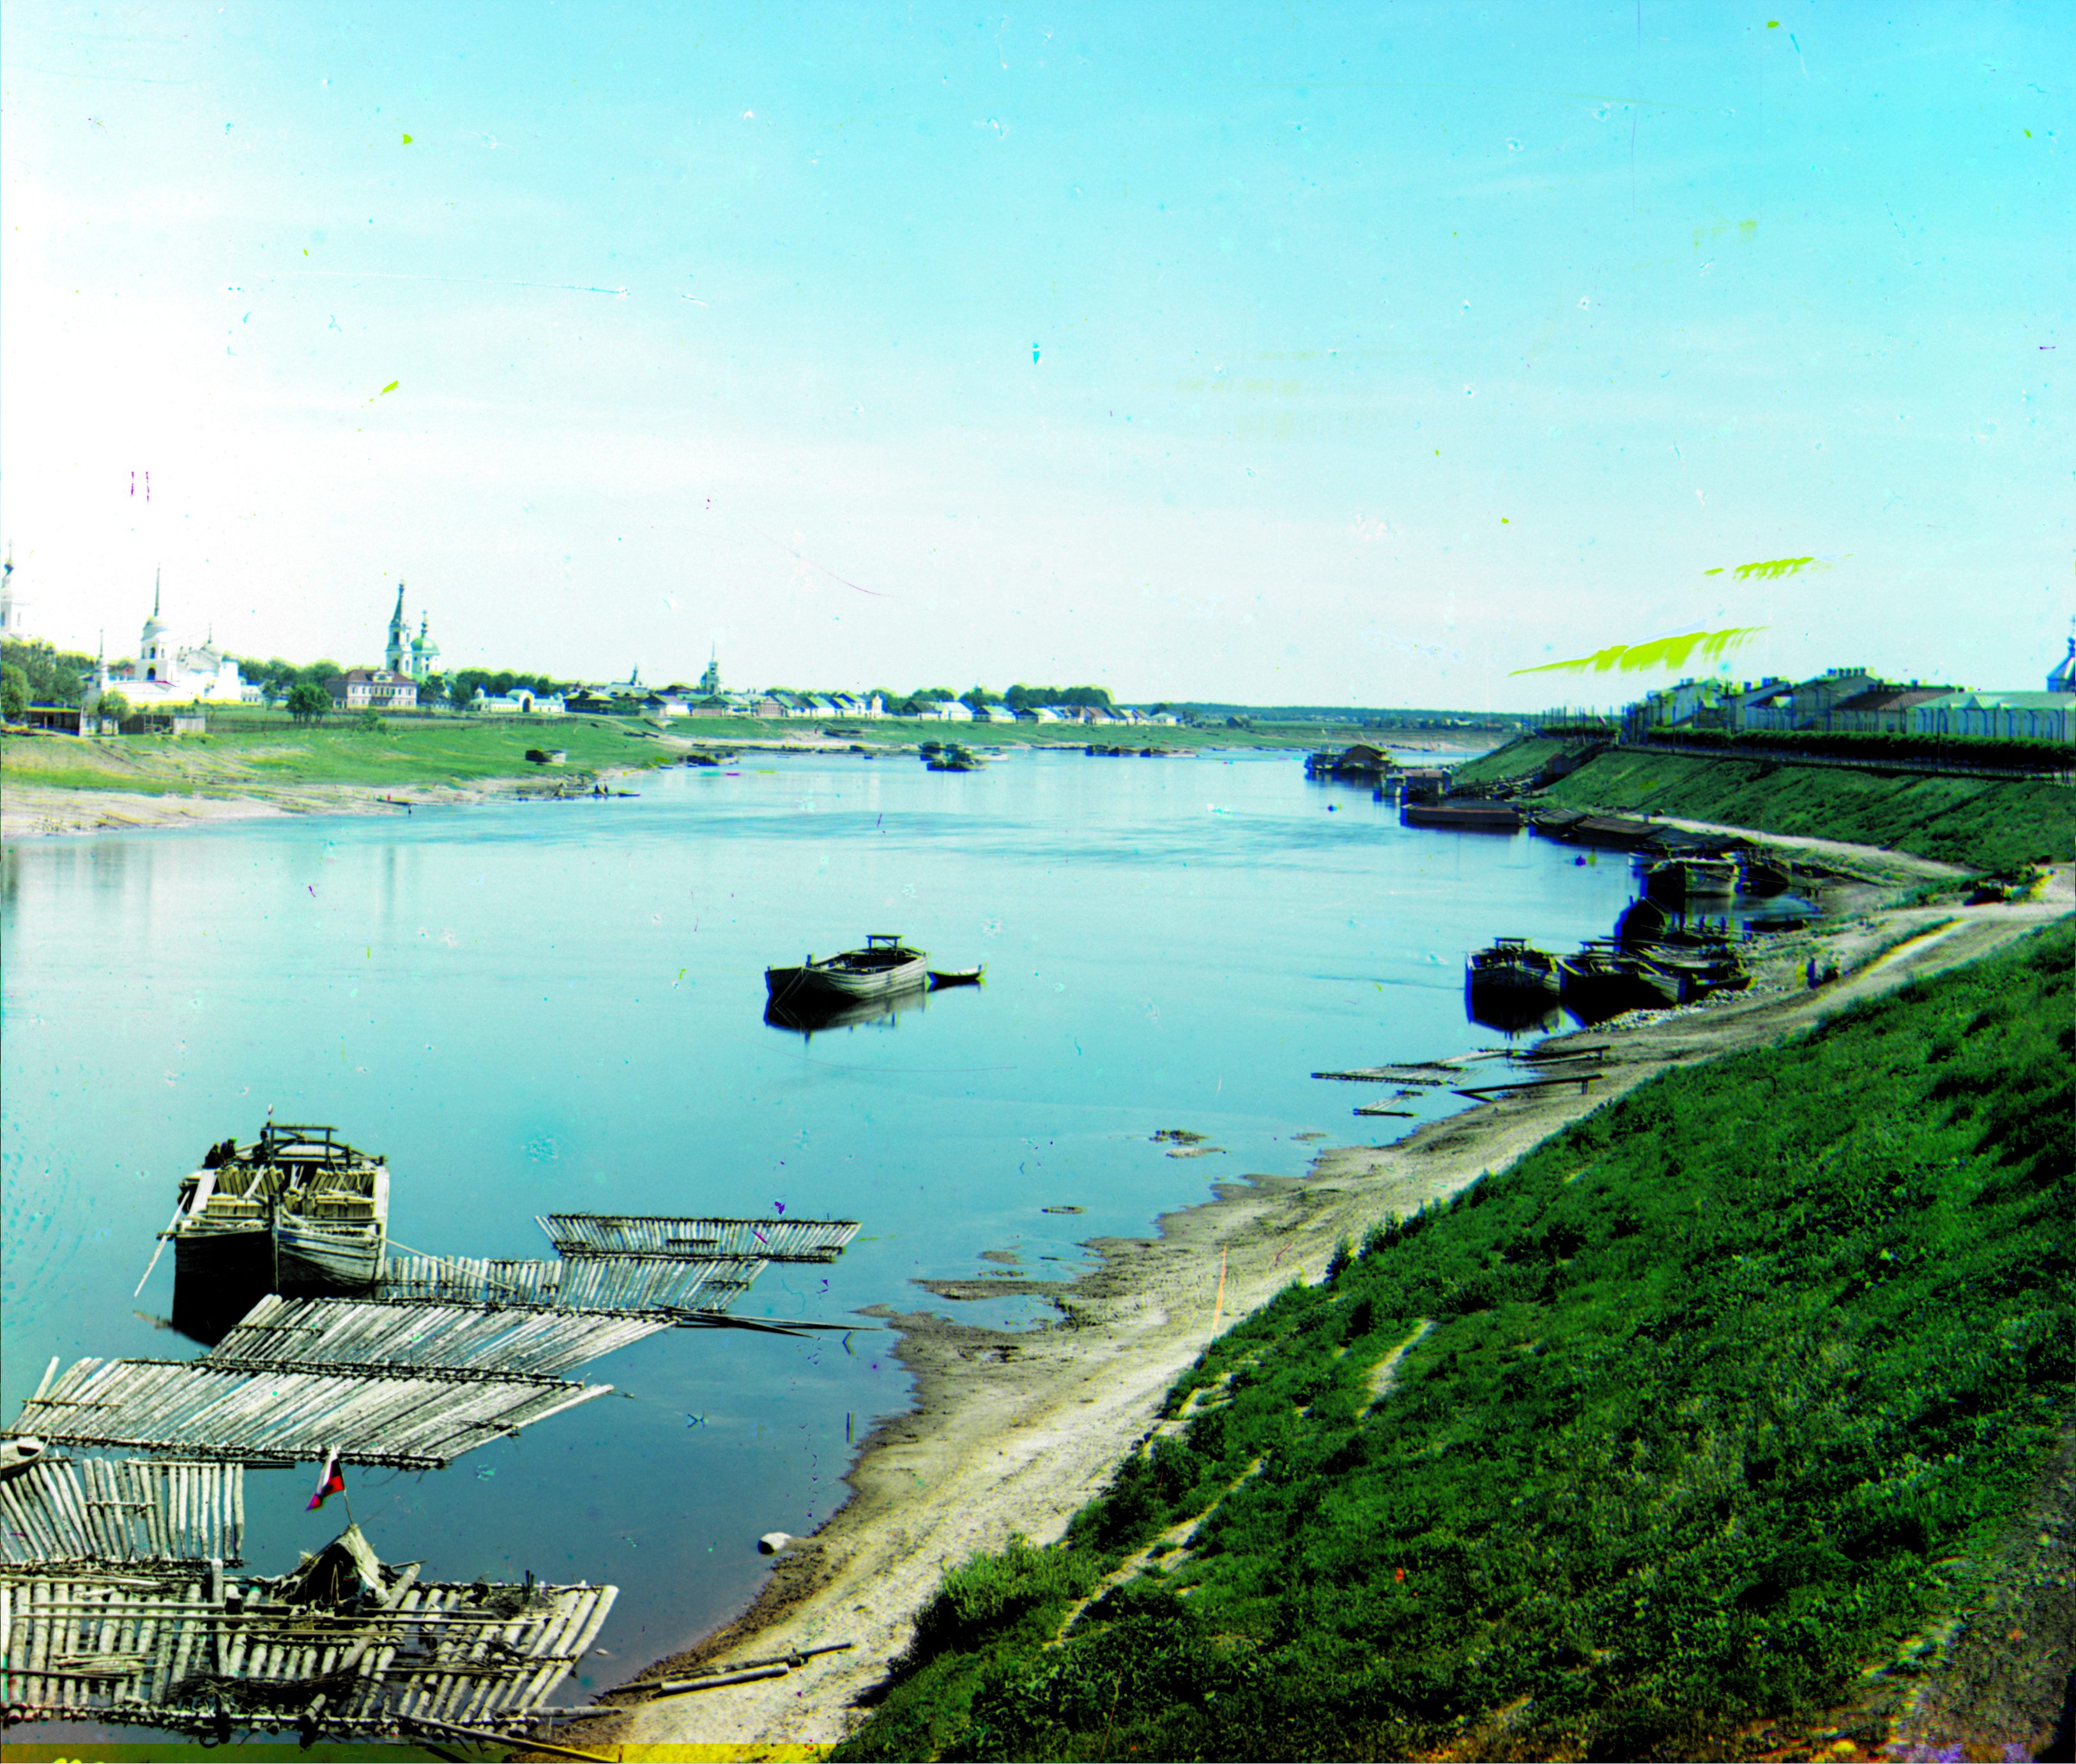
Red Offset : x = 69, y = 2
Green Offset : x = -56, y = -16
Red Offset : x = 4, y = 0
Green Offset : x = -4, y = -3
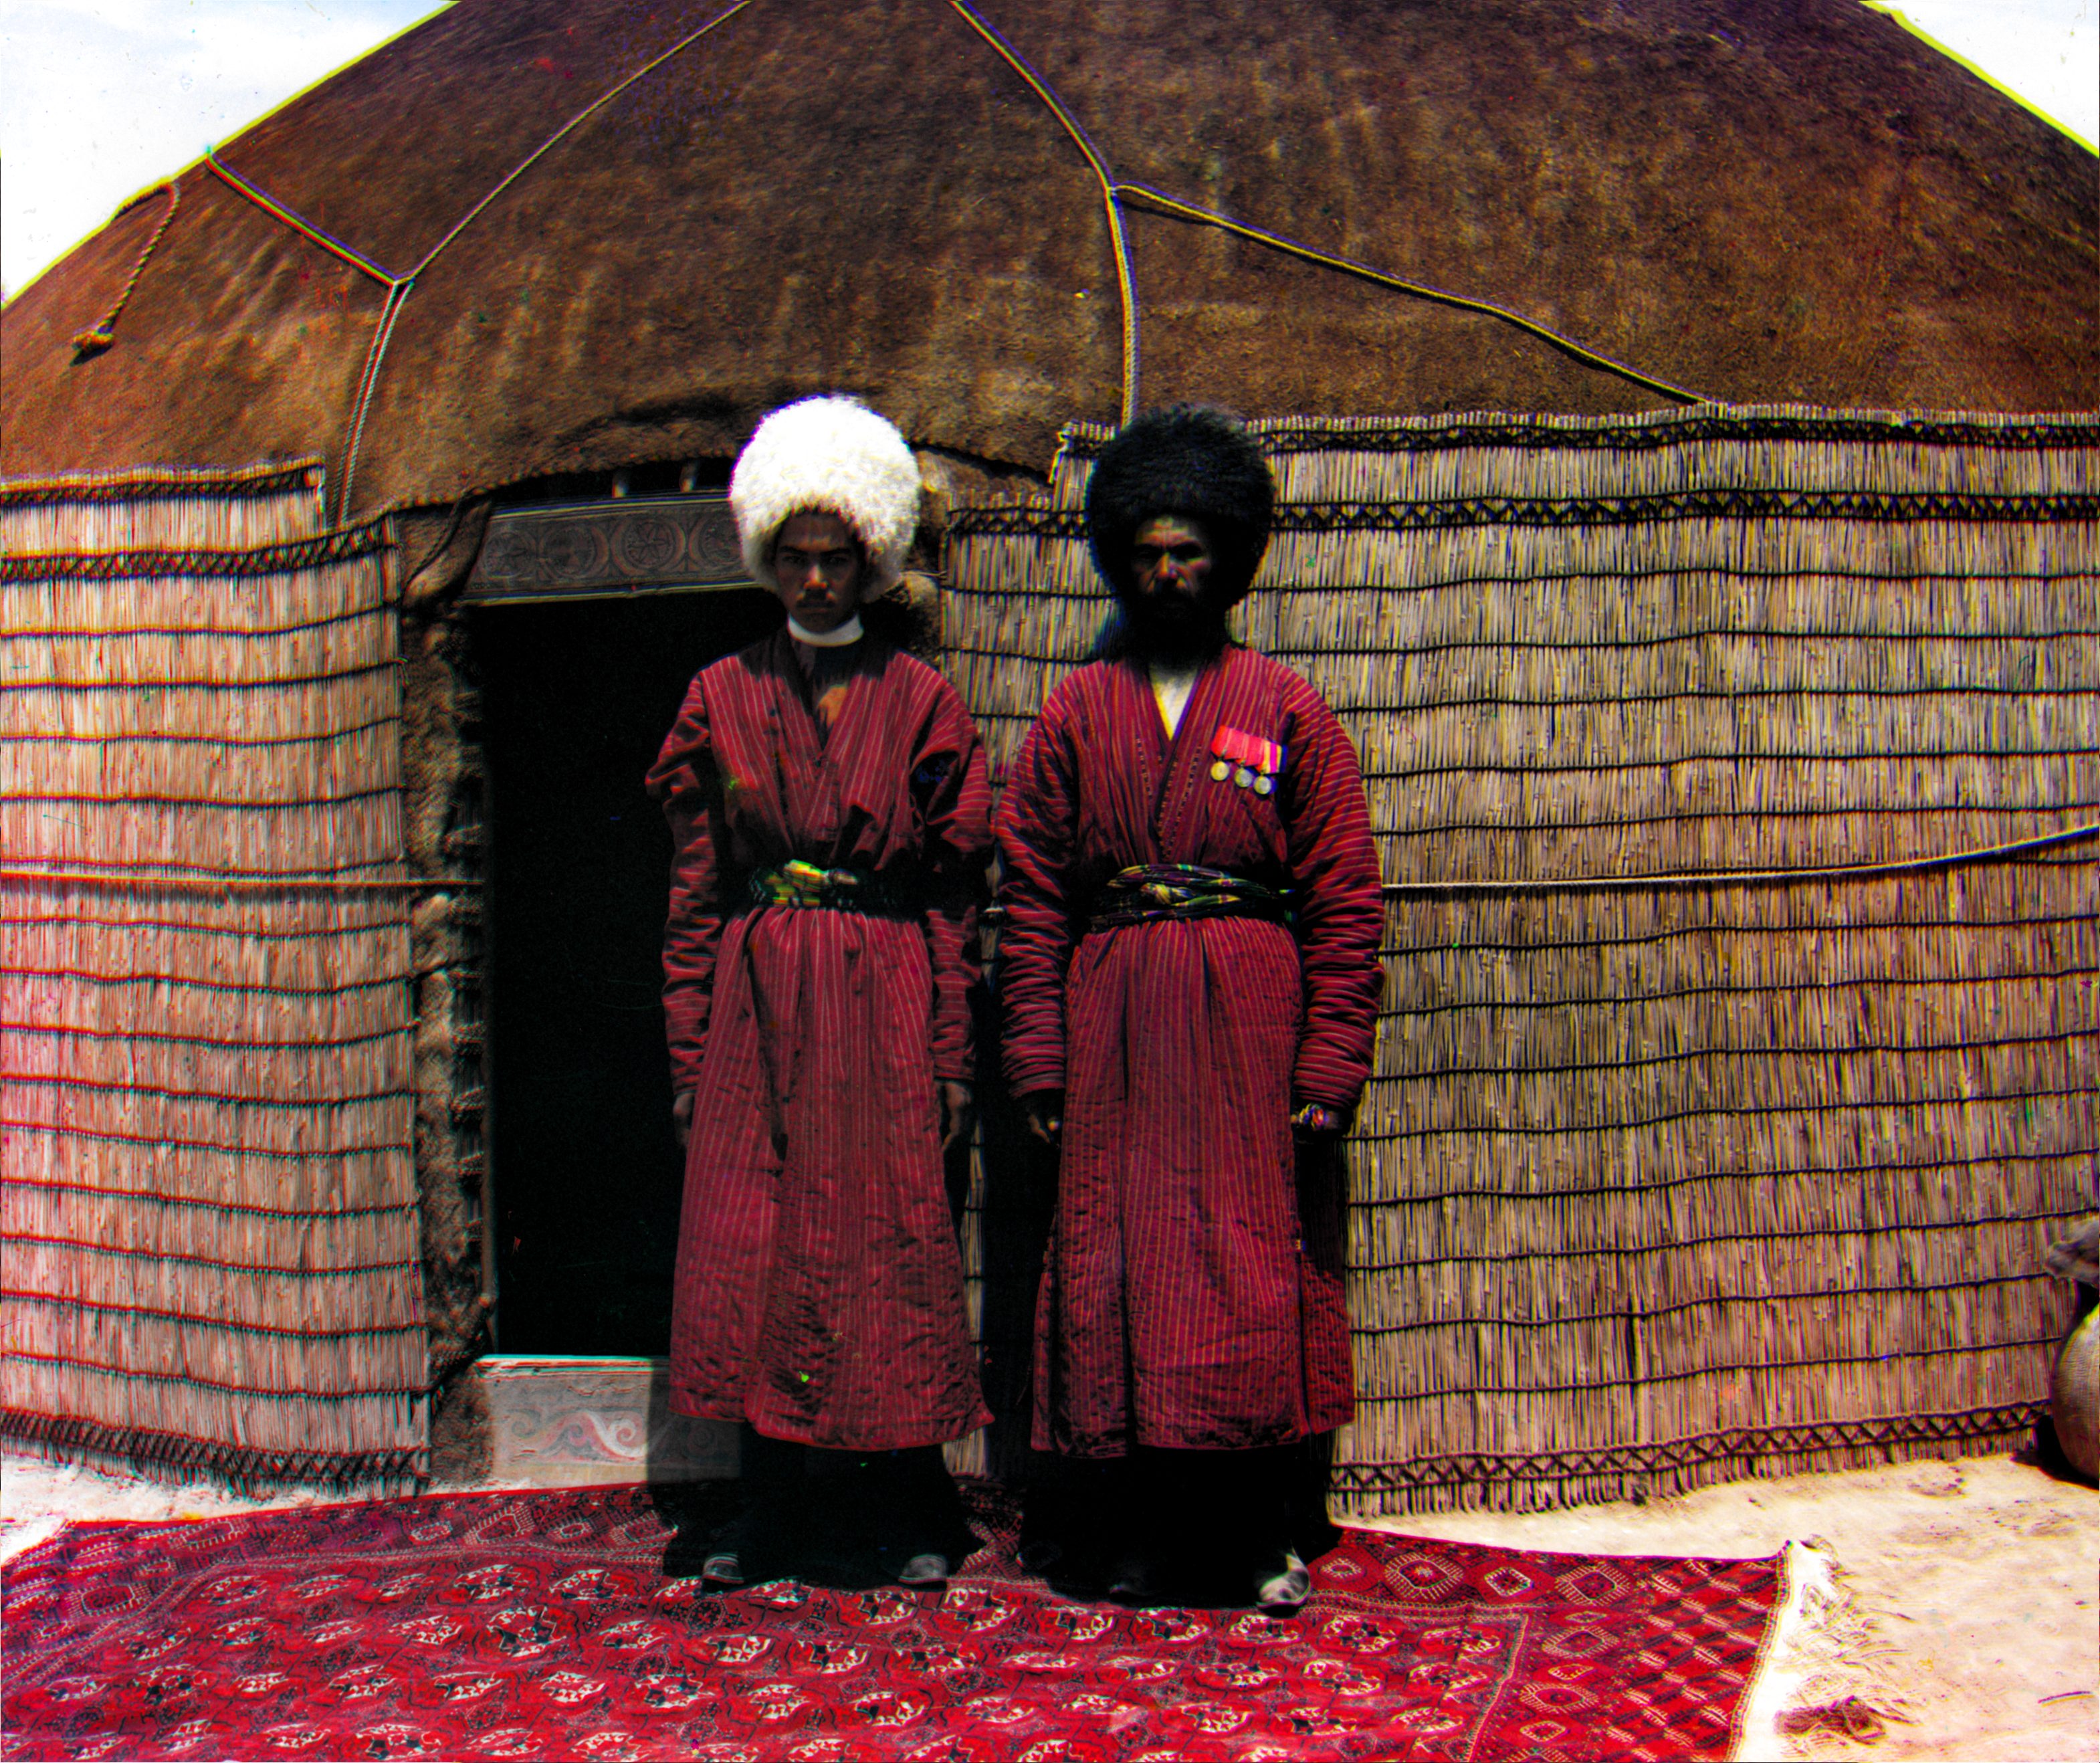
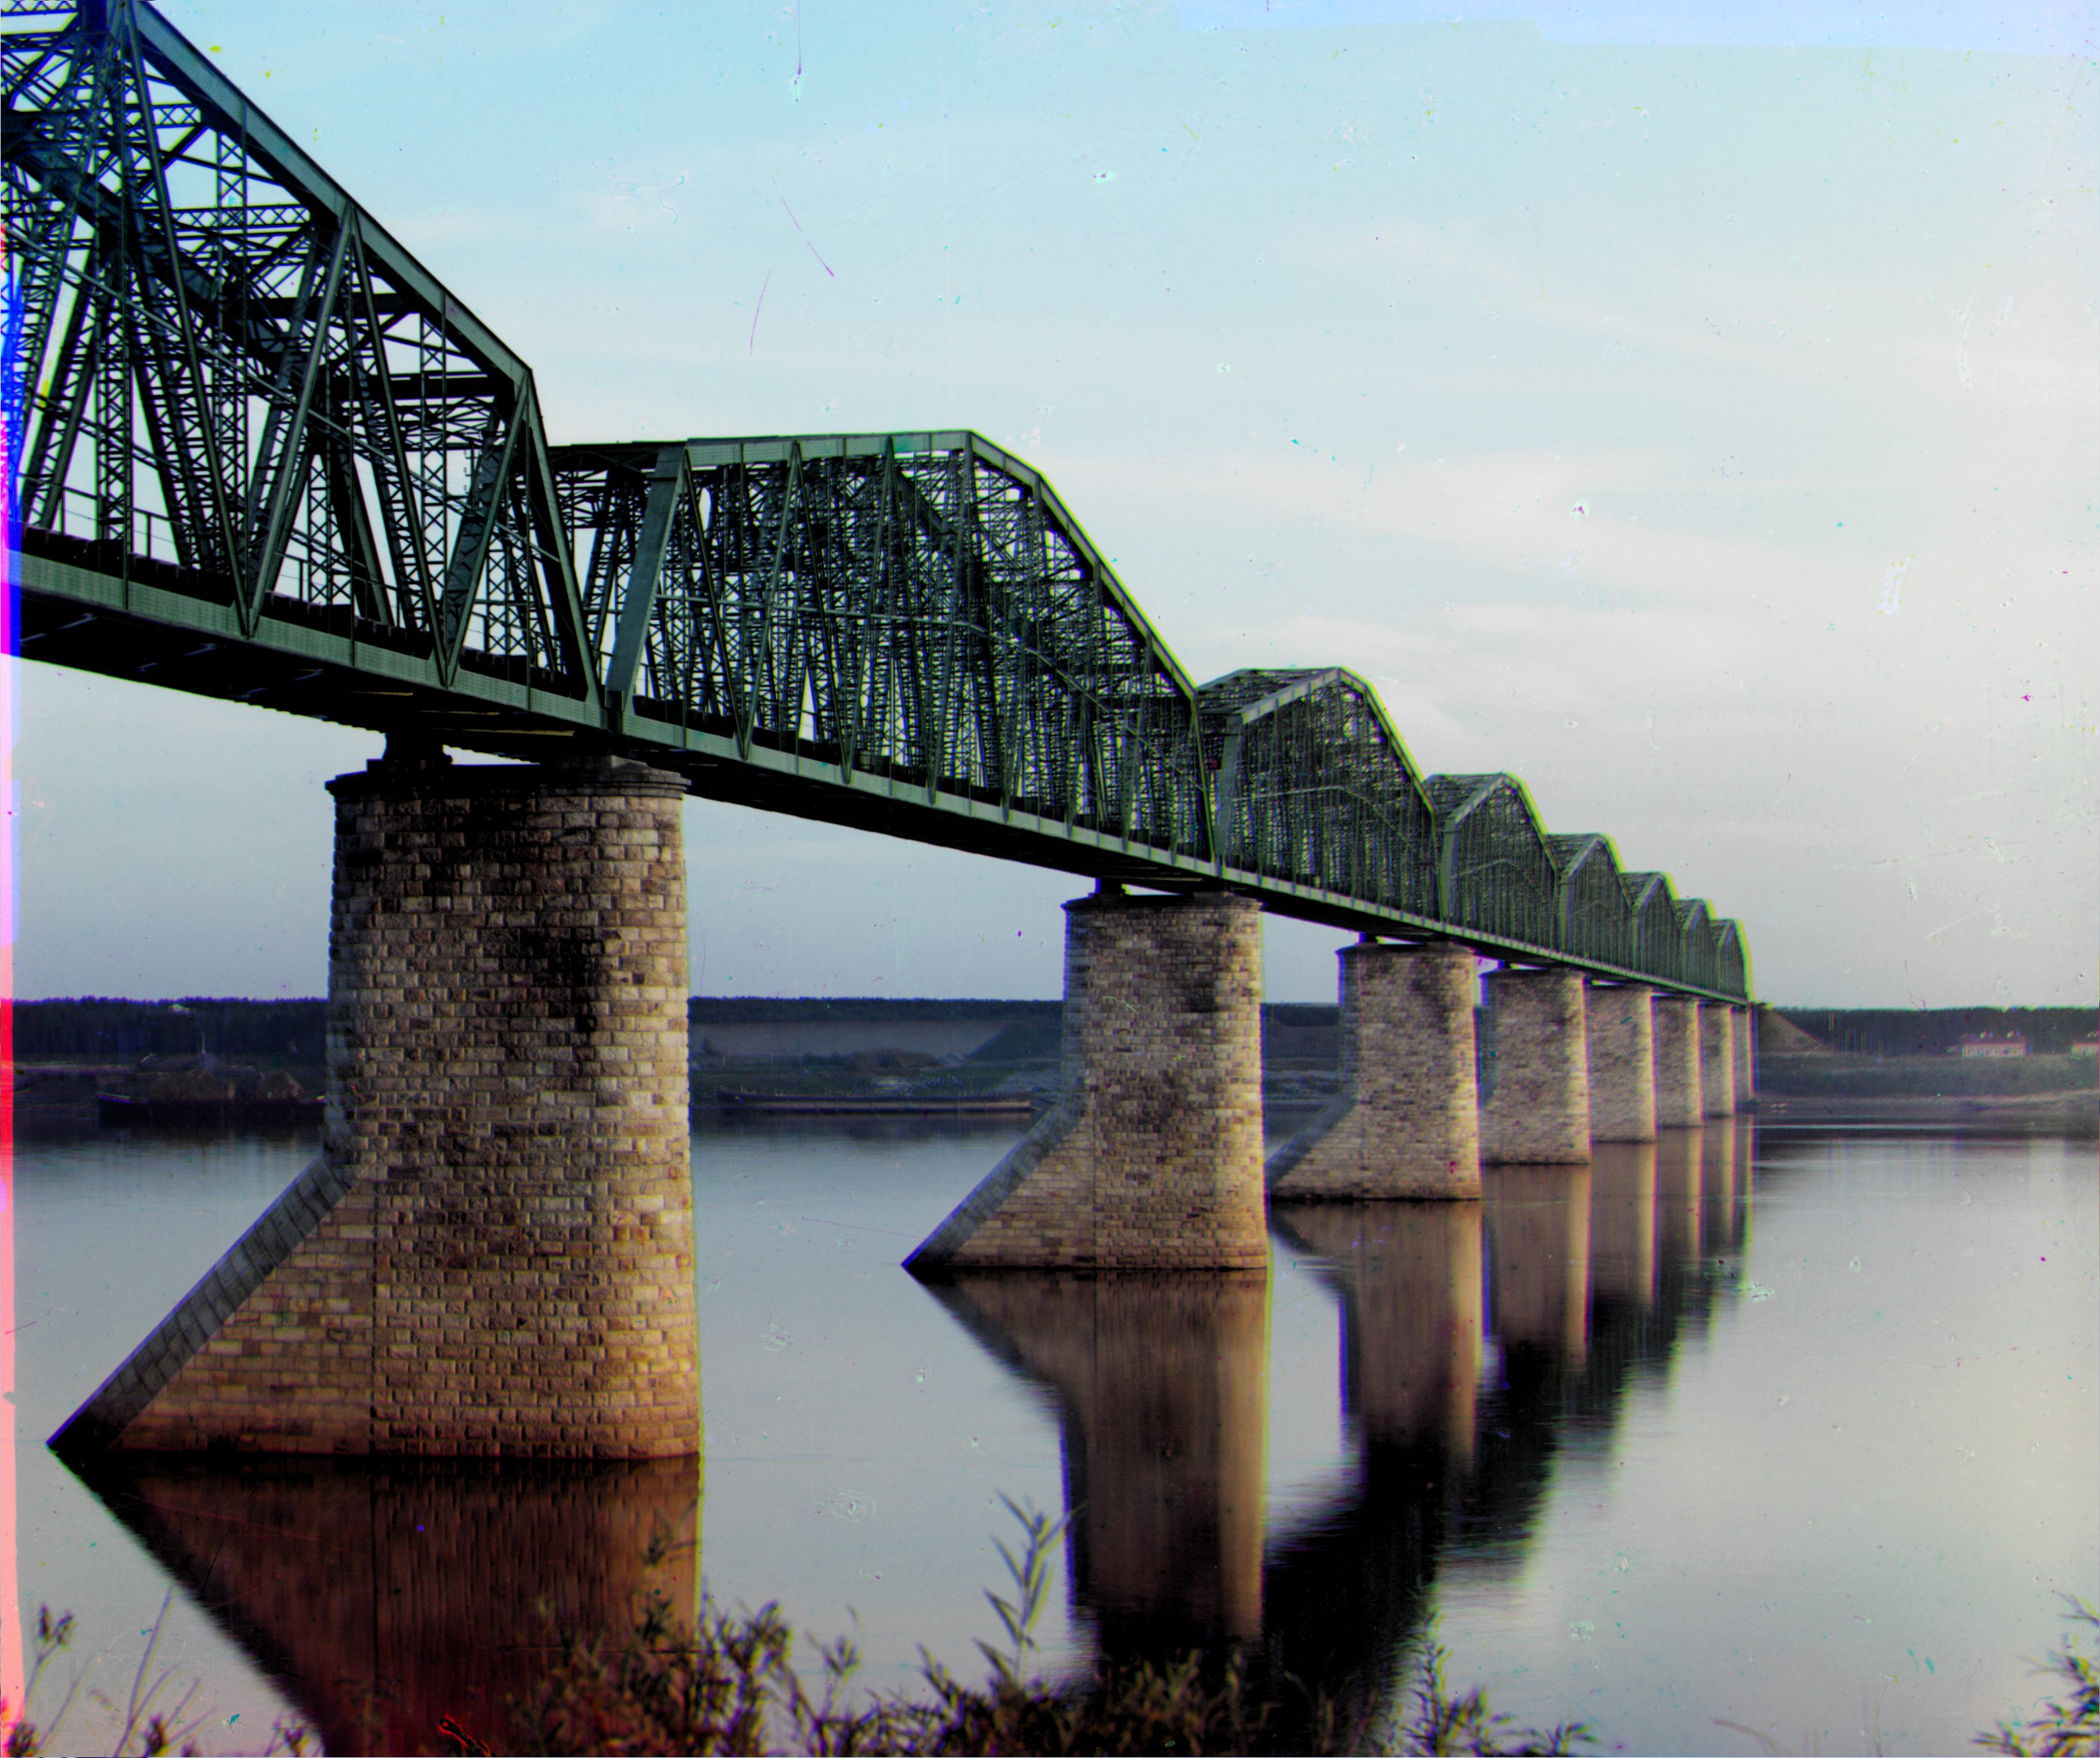
Red Offset : x = 77, y = 1
Green Offset : x = -67, y = -13
Red Offset : x = 4, y = 1
Green Offset : x = -4, y = -3
Red Offset : x = 1, y = -1
Green Offset : x = 3, y = 1
Red Offset : x = 4, y = 0
Green Offset : x = -4, y = 0
Red Offset : x = 3 y = 1
Green Offset : x = -2, y = -2
Red Offset : x = 3 y = 0
Green Offset : x = 0 y = 0
Red Offset : x = 4 y = 0
Green Offset : x = -1, y = 0
Red Offset : x = 3 y = 0
Green Offset : x = -1, y = -2

Red Offset : x = 4 y = 0
Green Offset : x = -4, y = 0
Red Offset : x = 46 y = 23
Green Offset : x = -34, y = -21
Red Offset : x = 4 y = 0
Green Offset : x = -4, y = -1
Red Offset : x = 58 y = 22
Green Offset : x = -32, y = 5
Red Offset : x = 4 y = 0
Green Offset : x = -4, y = -2
Red Offset : x = 4 y = 0
Green Offset : x = -4, y = 0
Large Images
Red Offset : x = 60, y = -11
Green Offset : x = -37, y = -3
Red Offset : x = 61, y = 3
Green Offset : x = -32, y = -21
Red Offset : x = 40, y = 0
Green Offset : x = 0, y = 0
Red Offset : x = 50, y = 28
Green Offset : x = -34, y = -11
Red Offset : x = 46, y = 10
Green Offset : x = -24, y = -43
Red Offset : x = 46, y = 10
Green Offset : x = -24, y = -43
Red Offset : x = 54, y = 7
Green Offset : x = -40, y = -14
Red Offset : x = 55, y = 13
Green Offset : x =-13 , y = 11
Red Offset : x =52 , y = 18
Green Offset : x = -40, y = -12
Red Offset : x = 59, y = 14
Green Offset : x = -49, y = -37
Red Offset : x = 17, y = 13
Green Offset : x = -35, y = -24
Red Offset : x =43 , y = 27
Green Offset : x = -44, y = 0
Red Offset : x = 34 , y = 8
Green Offset : x = -16, y = -5
Red Offset : x = 68, y = 8
Green Offset : x = -58 , y = -24
Red Offset : x = 27 , y = 0
Green Offset : x = -15, y = 8
Red Offset : x = 26, y = 7
Green Offset : x = 17, y = -9
Red Offset : x = 47, y = 14
Green Offset : x = -24, y = -20
Red Offset : x = 54, y = 15
Green Offset : x = 0, y = 0
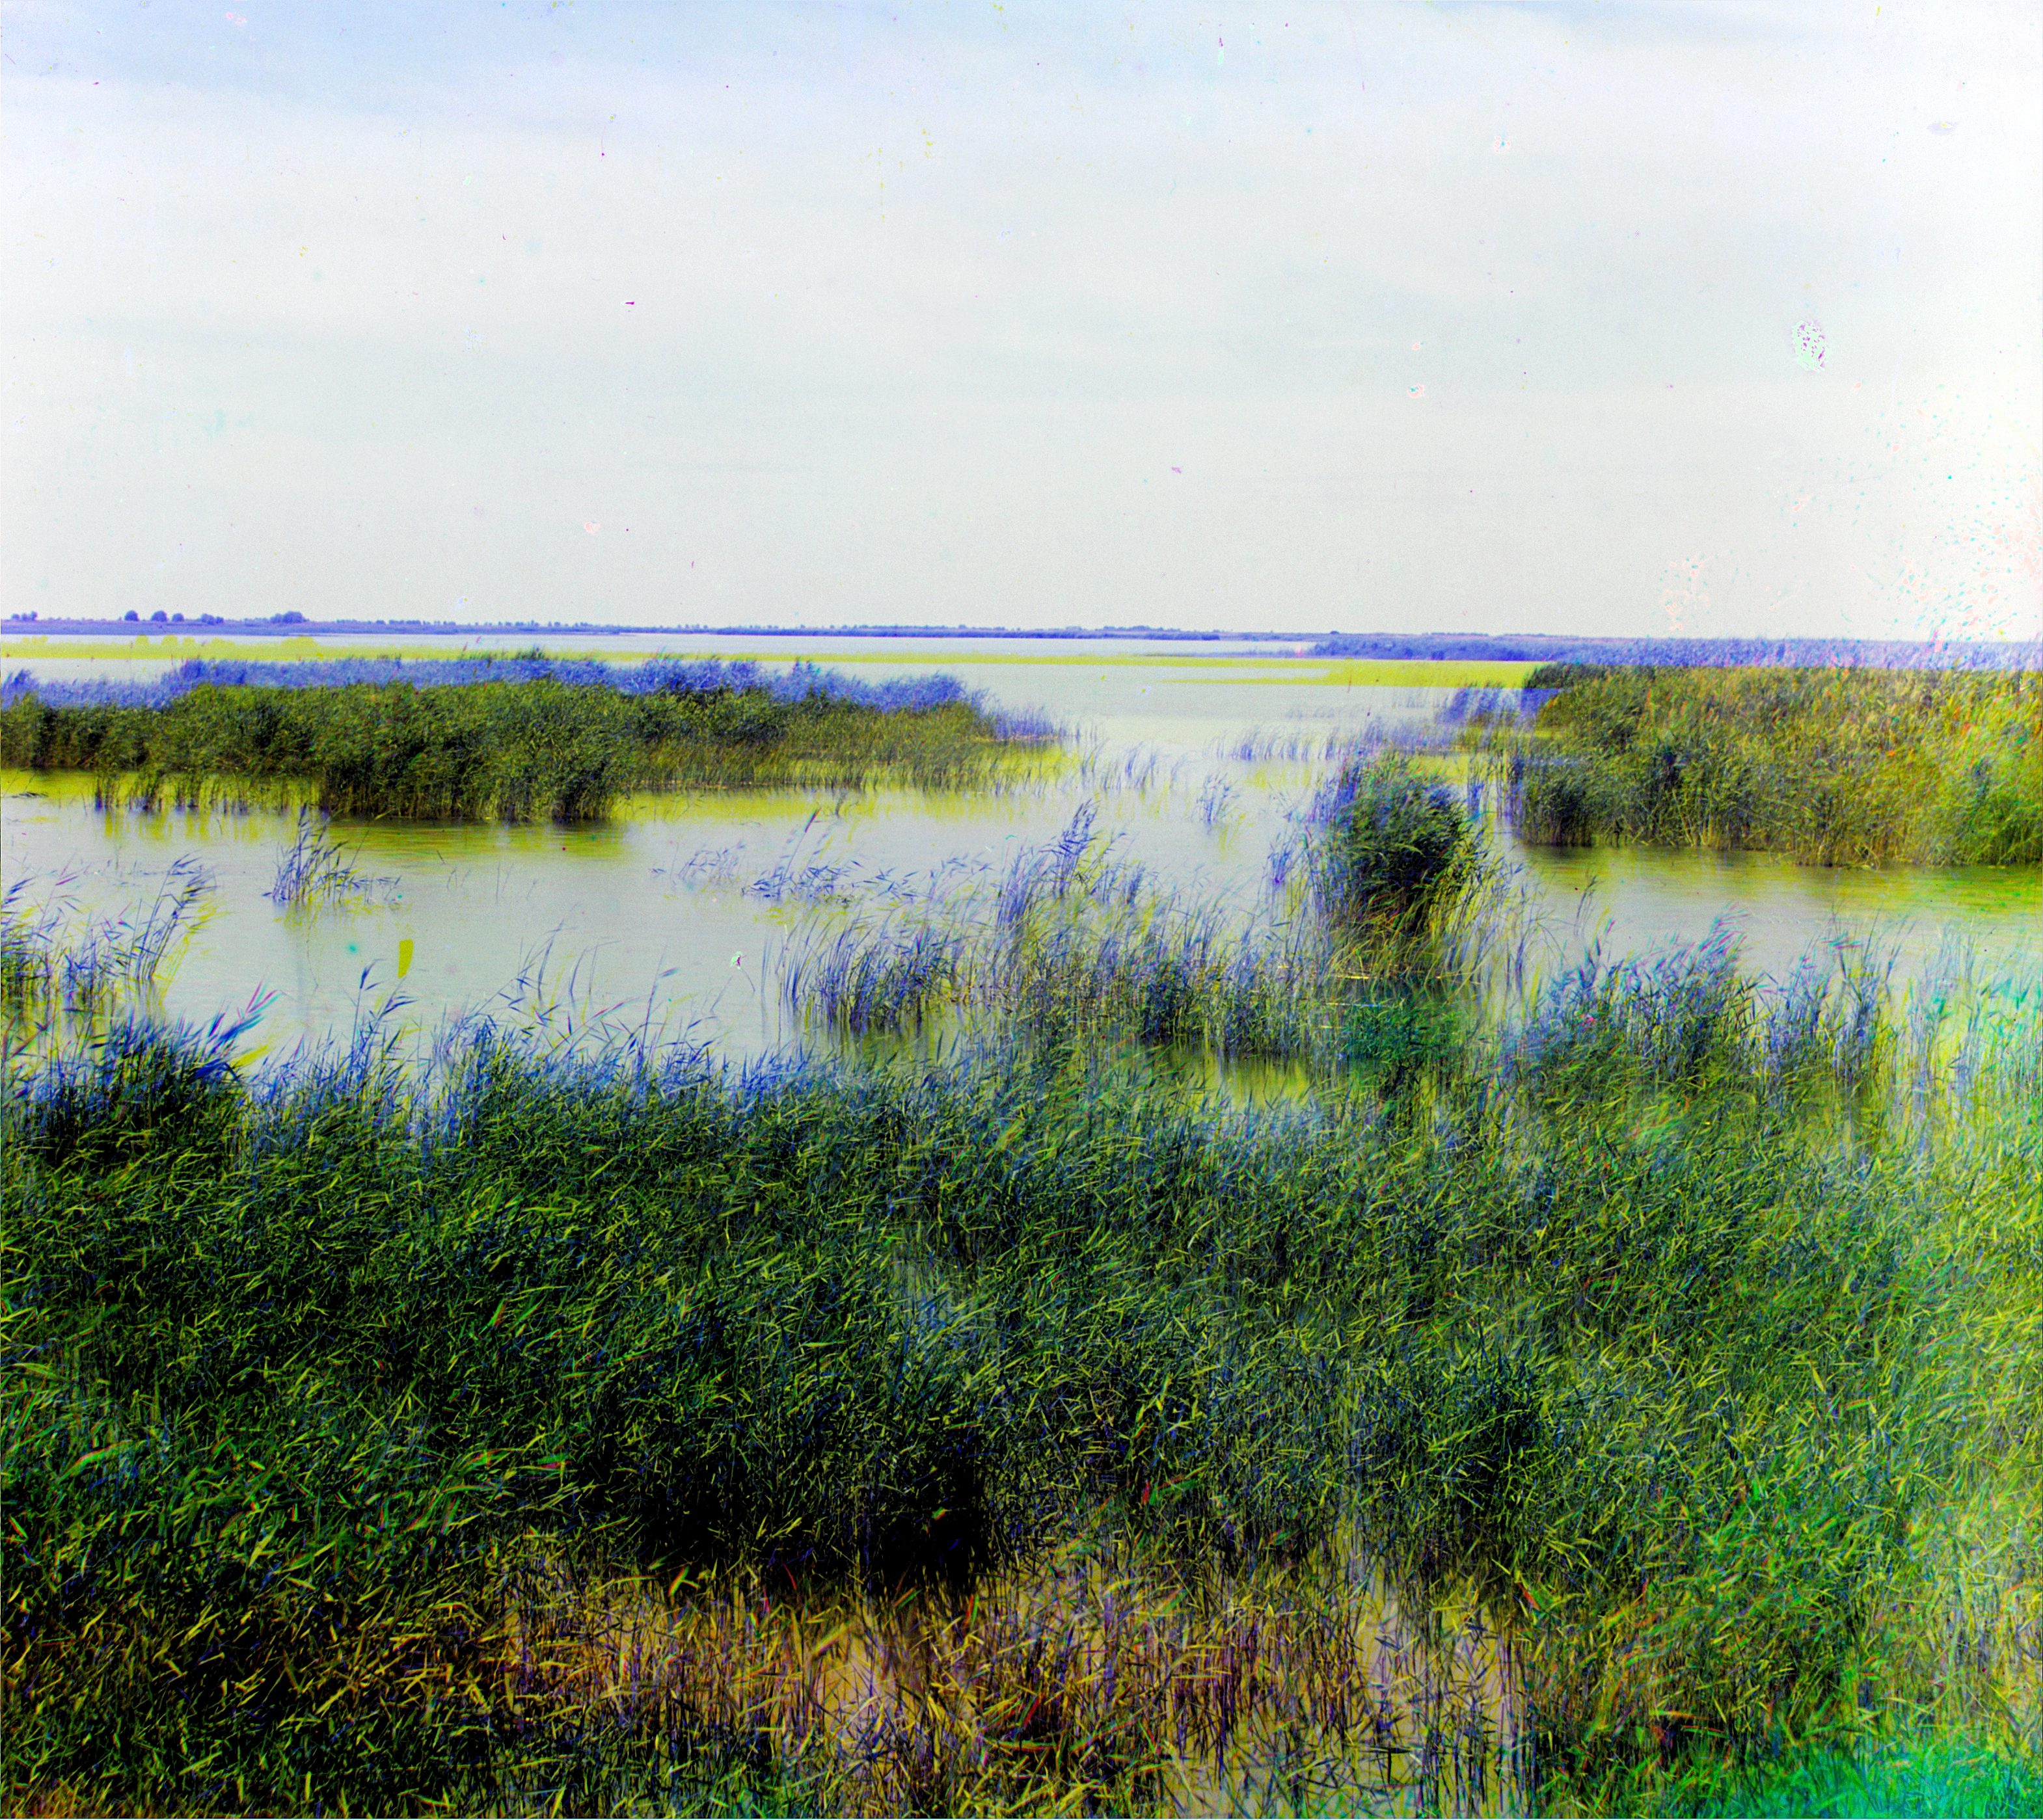
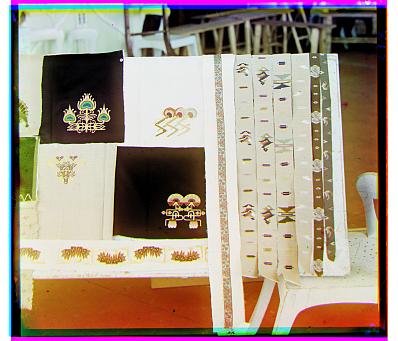
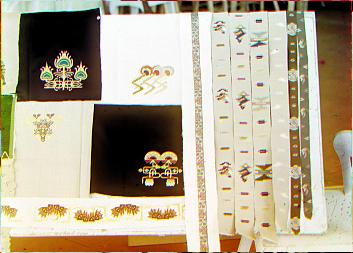
Additional Images
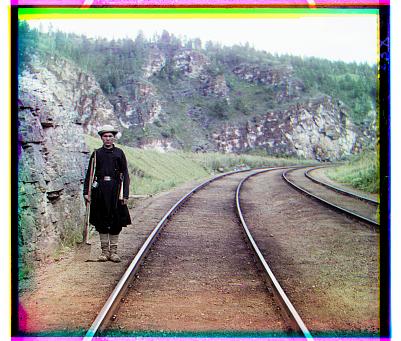
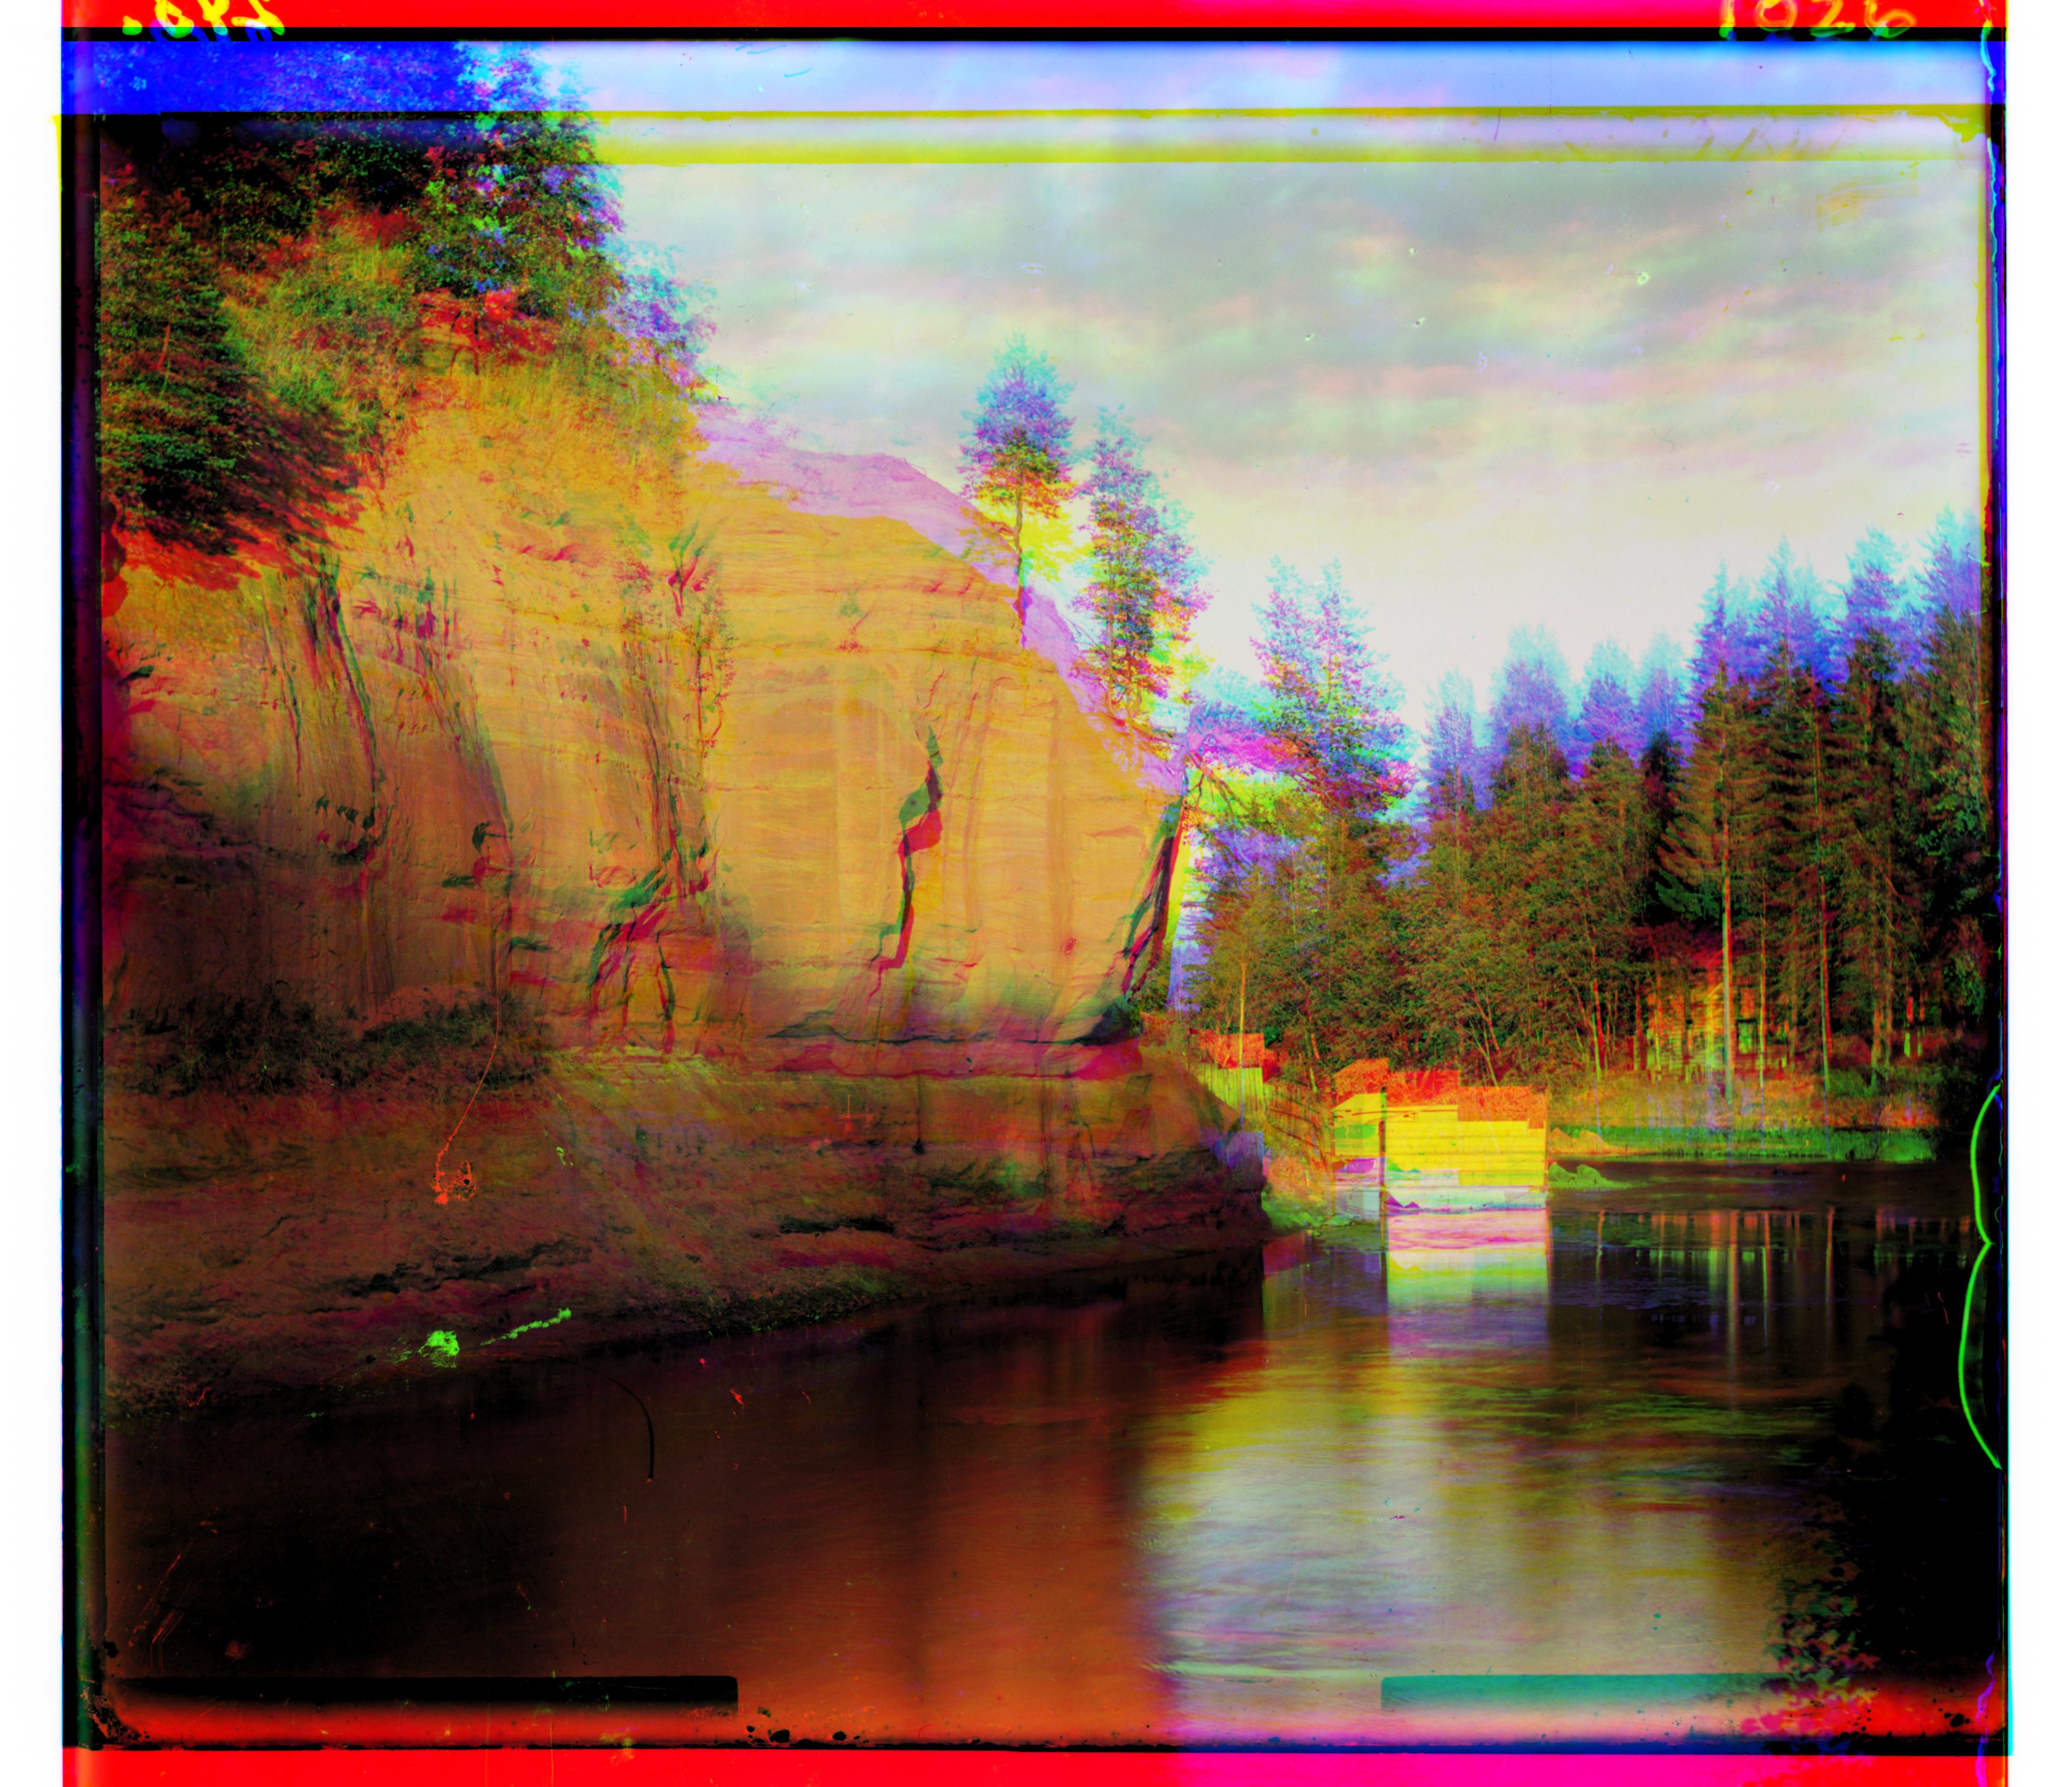
Raw Result
Red Offset : x = 4 y = -2
Green Offset : x = -4 y = 1
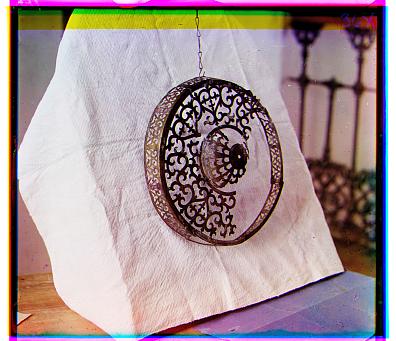
Raw Result
Red Offset : x = 4 y = -2
Green Offset : x = -4 y = -1
Raw Result
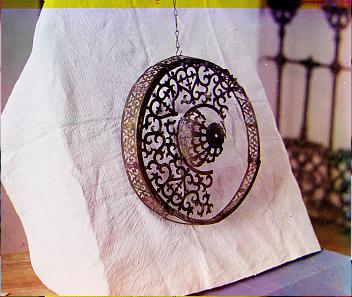
Red Offset : x = 4 y = 2
Green Offset : x = -4 y = -2
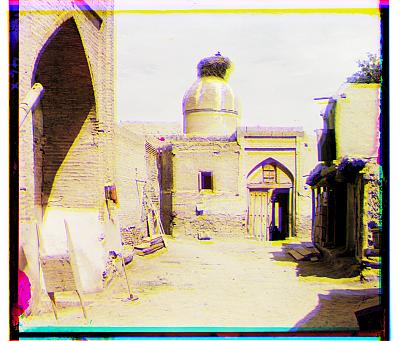
Raw Result
Red Offset : x = 4 y = 0
Green Offset : x = -3 y = -3
Raw Result
Red Offset : x = 4 y = 1
Green Offset : x = -4 y = -1
Raw Result
Red Offset : x = 112, y = -5
Green Offset : x = -39, y = 1
Raw Result
Red Offset : x = 73, y = 15
Green Offset : x = -59 y = -28
Raw Result
Red Offset : x = 12, y = 12
Green Offset : x = -12, y = -2
Raw Result
Red Offset : x = 66, y = -5
Green Offset : x = -56, y = 6
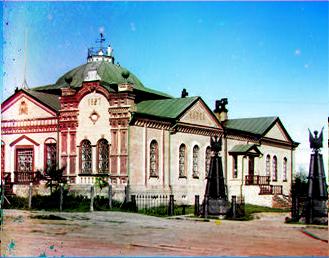
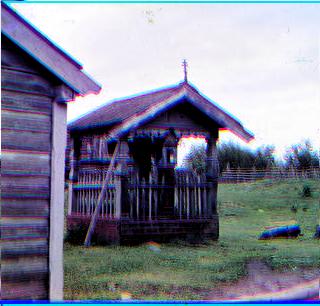
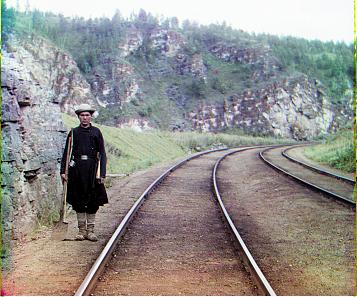
1- We sharp the raw result image to enhance the contrast but it wont work good for all images especially for those one which have lots of textures in the edge`s portions like building, sometime it makes the image forged but it can work well for those that consist faces.
2- To automatically crop images, we design a simple function to detect long edges and remove artefacts based on detected edges. First of all, We use canny filter to get an edge map then estimate long horizontal and vertical edges based on two constraints :
2-1 The interval for inspection of possible long edges in the image should be limit since long edges would appear in a the natural image itself and we just want to investigate the image`s boarder.
2-2 The number of white pixels that each row or column has should be lower than a specific threshold.
and finally cut bad regions with strange colour.
3- Certain adjustment on one image can cause the opposite effects on other images so the numerical values that we used in program were empirically determined during experimentation.